Manage Section – Documentation
The Manage Section provides a centralized place to manage content on the platform.
It is purpose-built for administrators, content creators, and service operators who need robust tools to manage Clips, Services, and Jobs in one streamlined location.
This section ensures seamless control over media assets, service configurations, and background processing tasks—driving efficiency, organization, and operational reliability.
Accessing the Manage Section
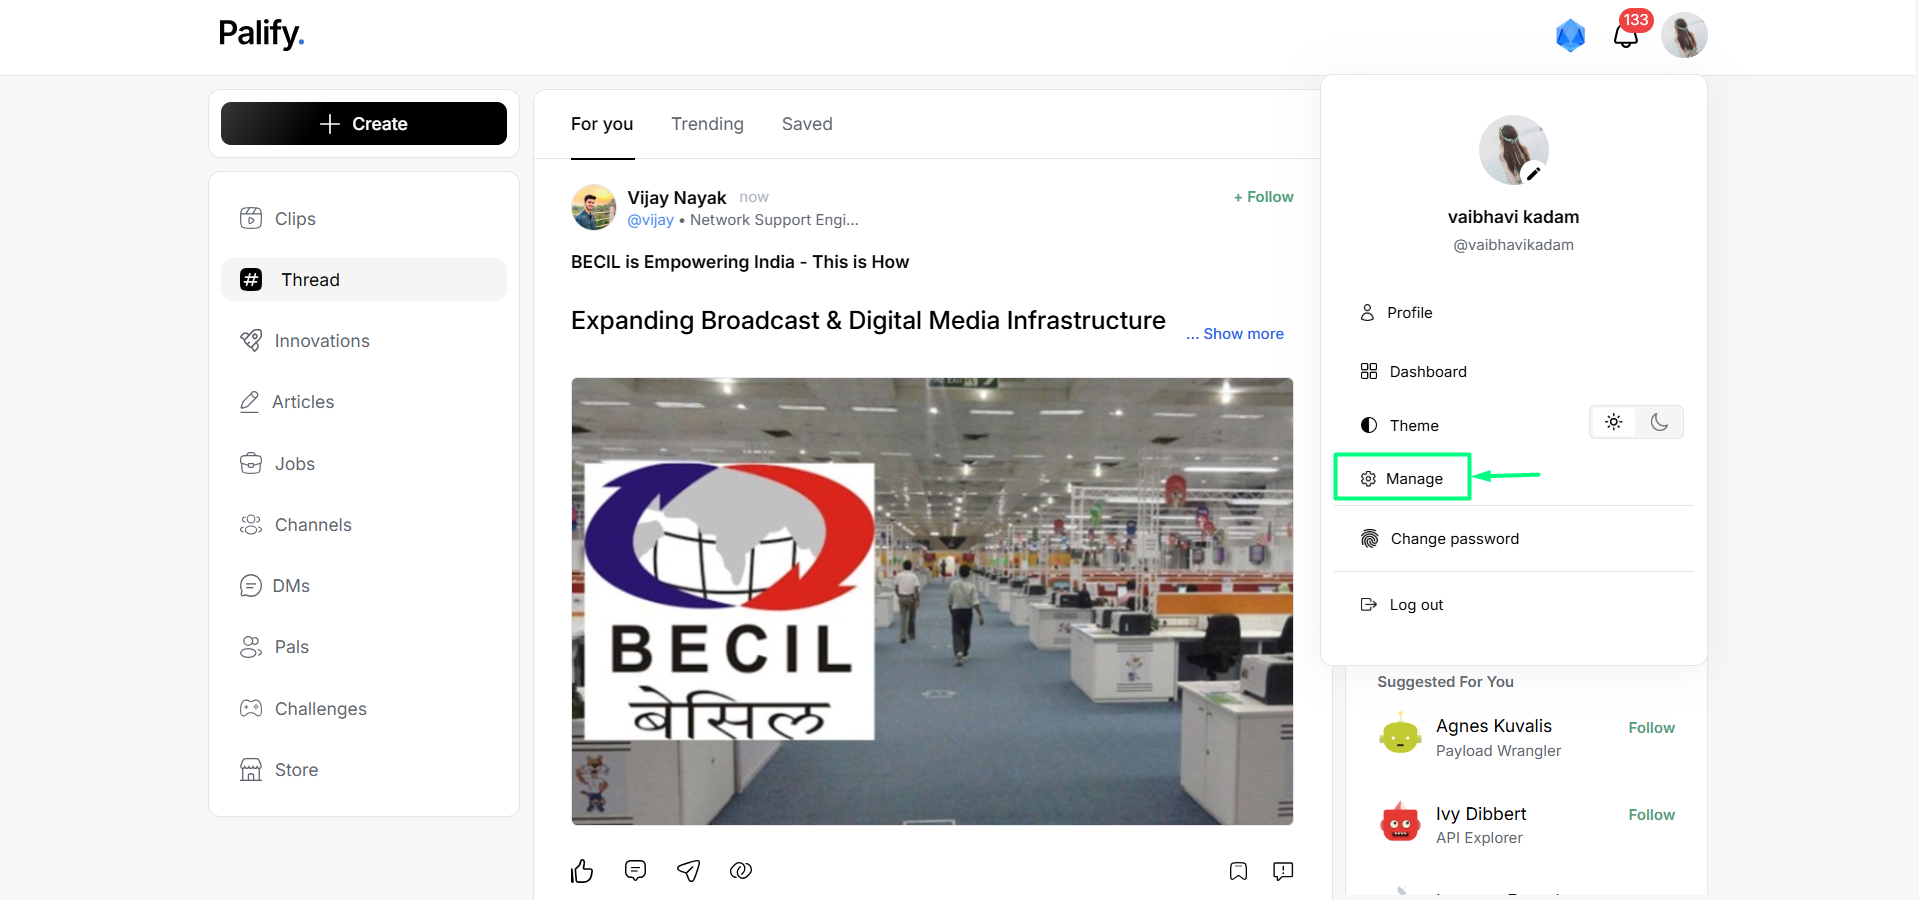
In your Profile, on the right-hand side, click on the Manage option to access all management tools.
Manage Section Overview
The Manage Section allows users to efficiently manage three key areas of the platform:
- Clips
- Services
- Jobs
This guide focuses on the Manage Clips functionality.
Manage Clips Overview
In Manage Clips, whether you’re handling a small video library or managing large-scale media campaigns, this section provides the essential tools needed to maintain, analyze, and optimize your video assets effectively.
Clip Categories
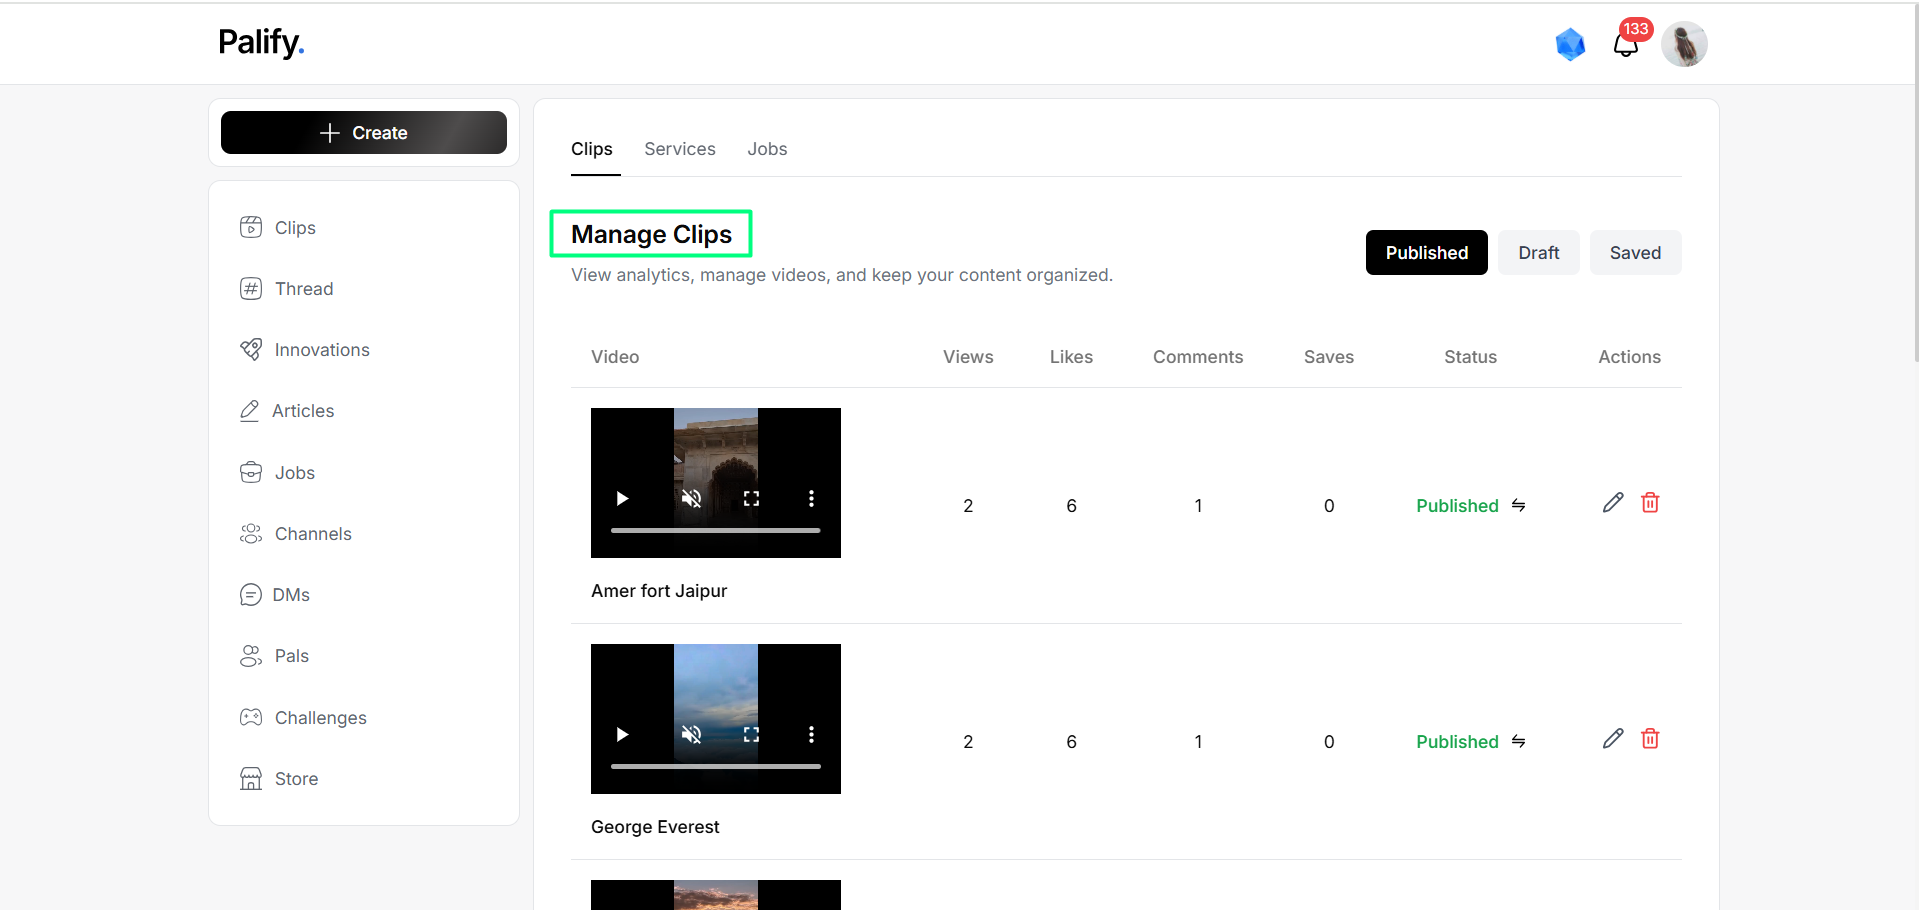
Clips are organized into three tabs based on their status:
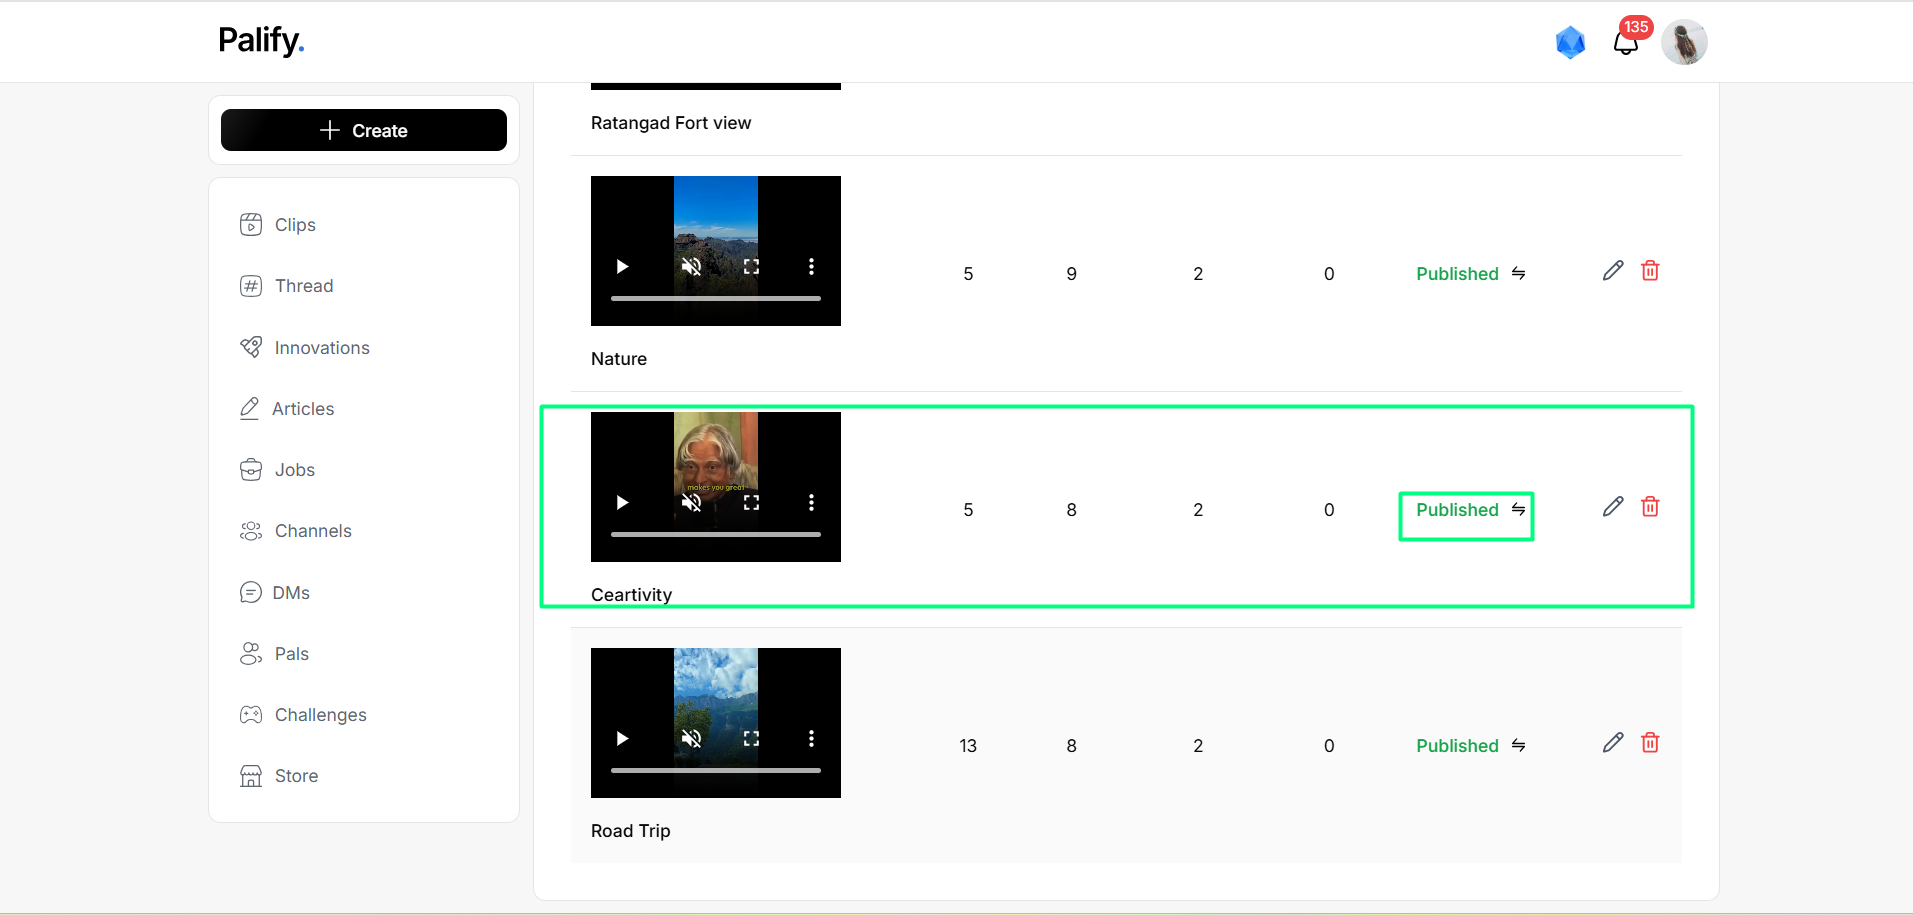
Published
These clips are live and visible to users.
Status: Published
Appear in the Published tab.
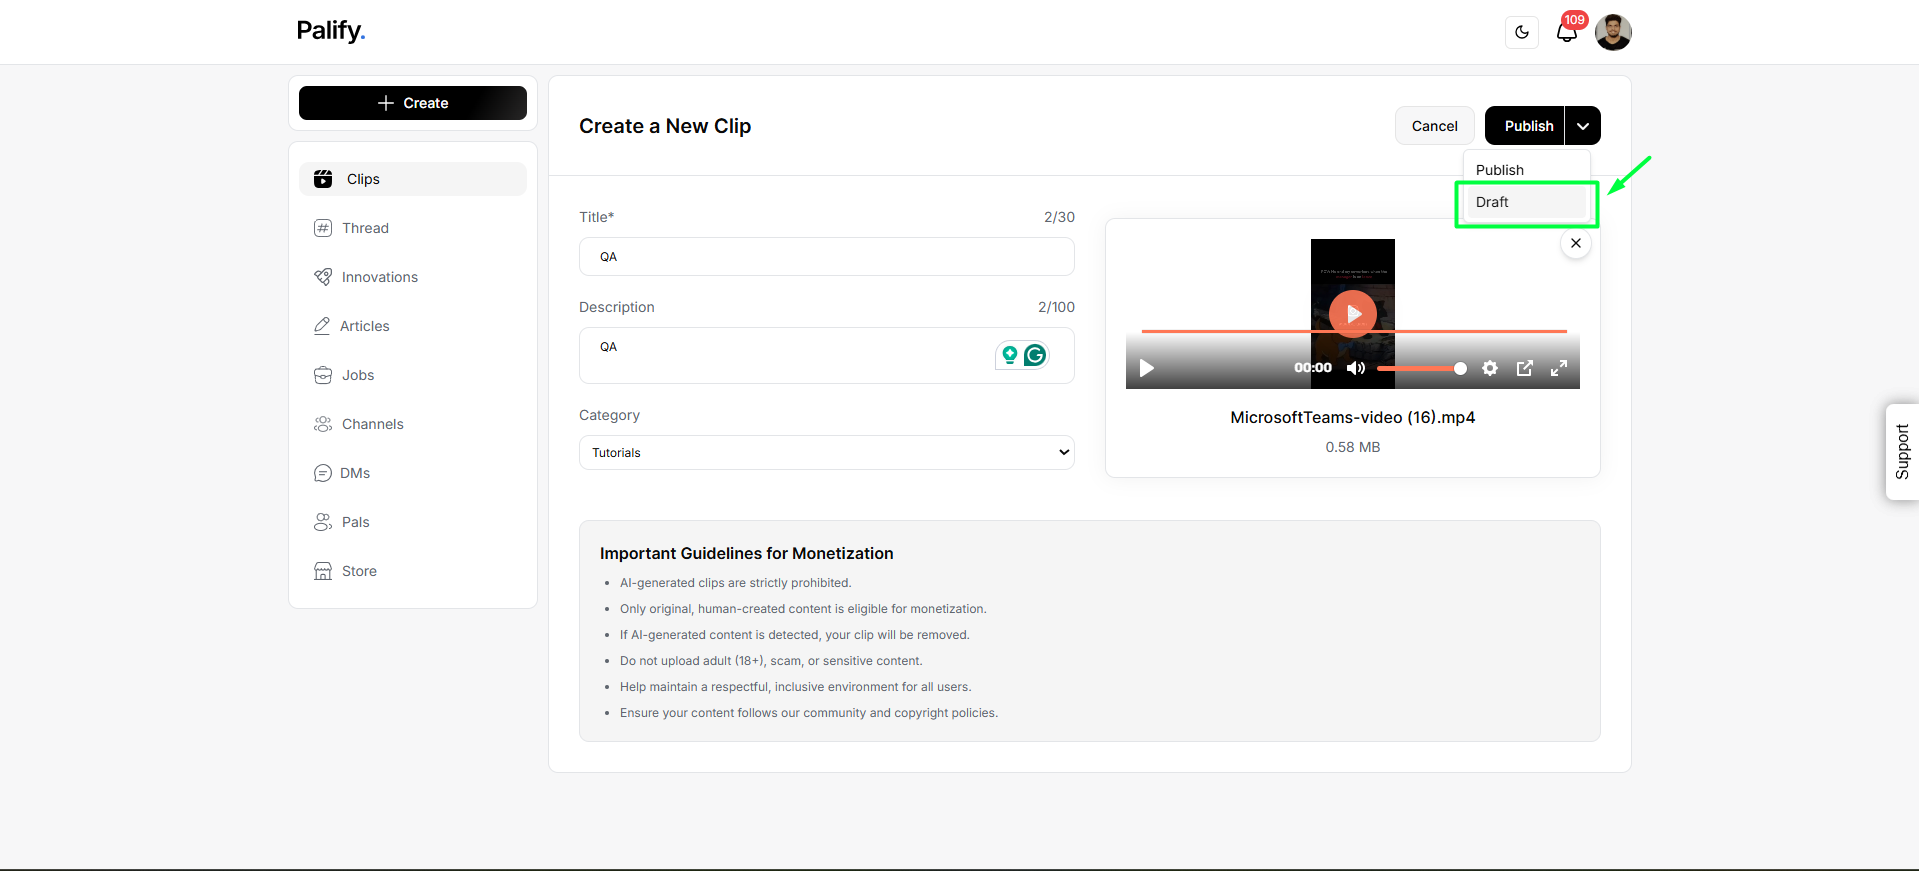
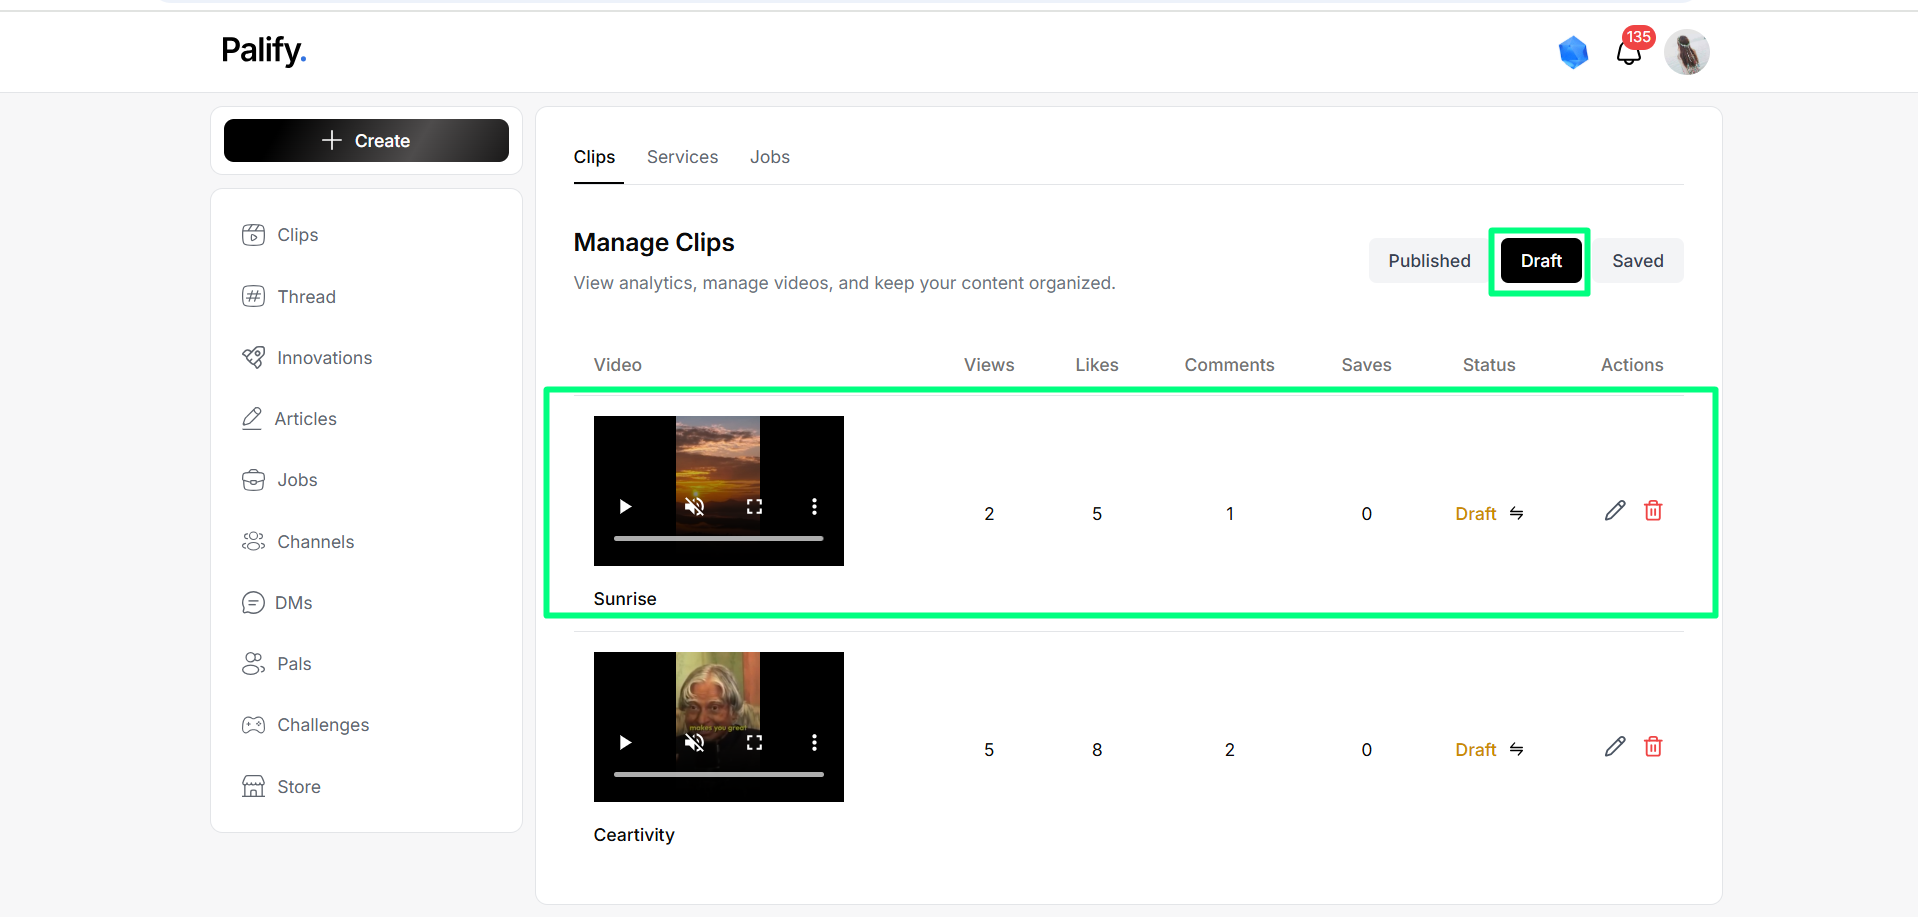
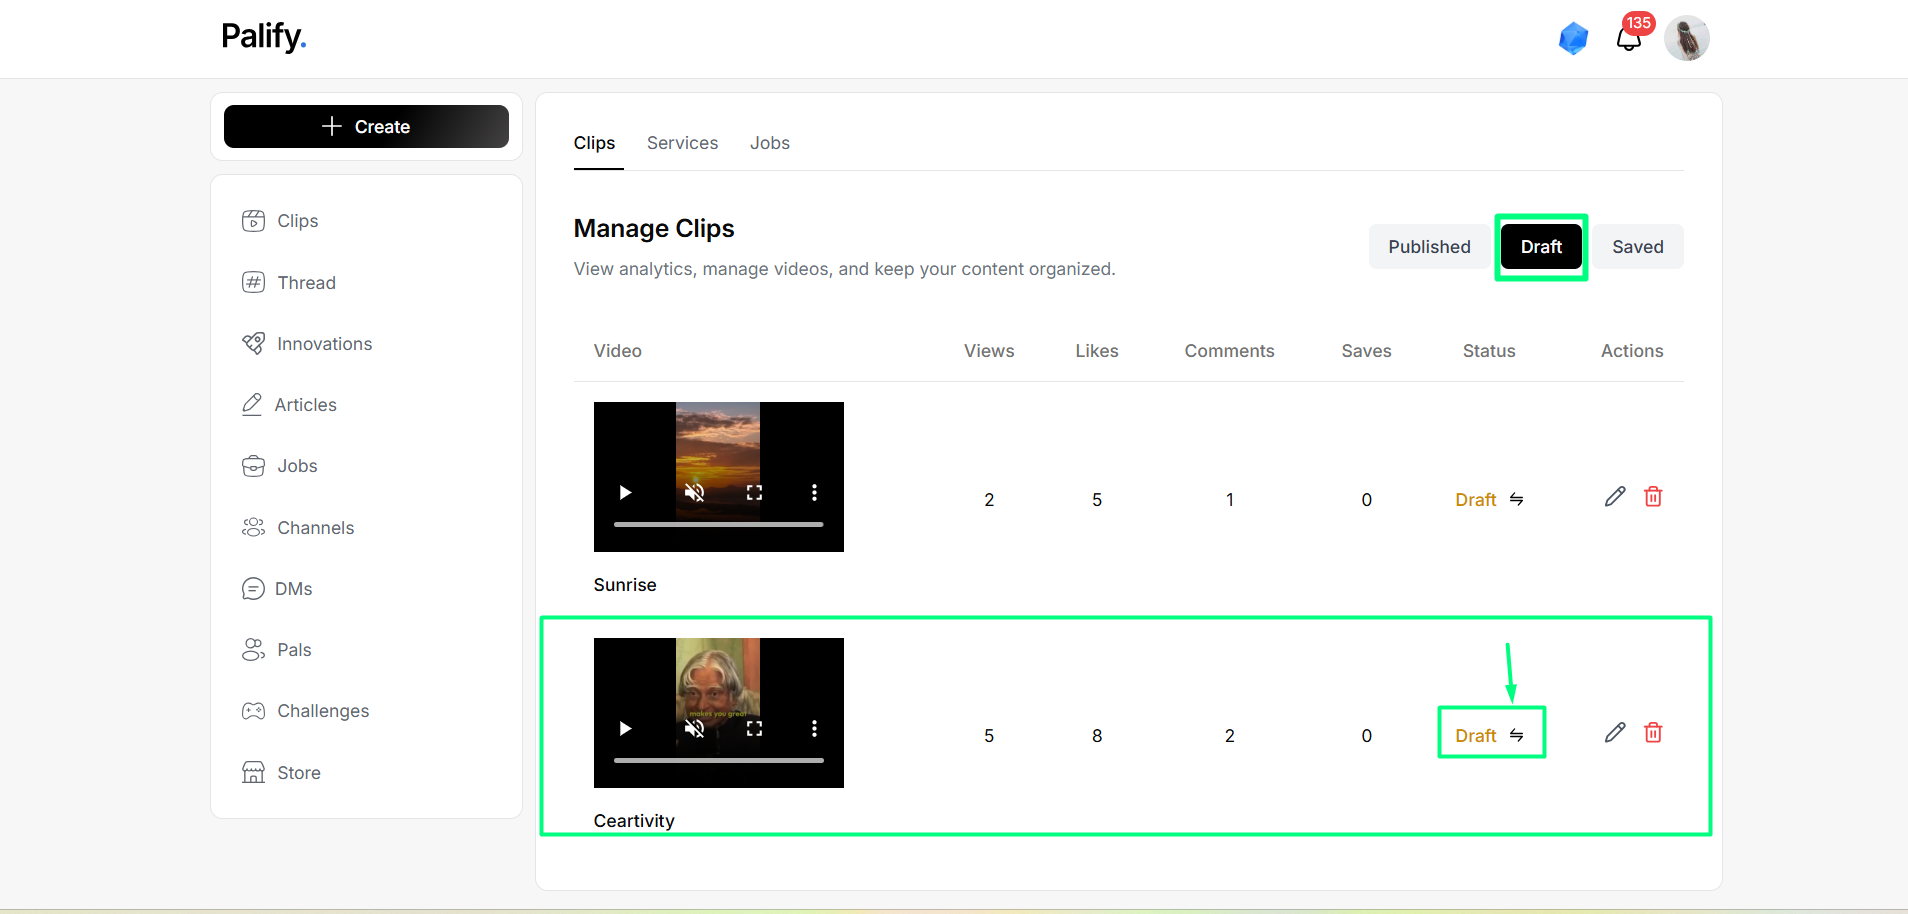
Draft
Clips under editing or review.
Not yet published.
Status: Draft
Appear in the Draft tab.
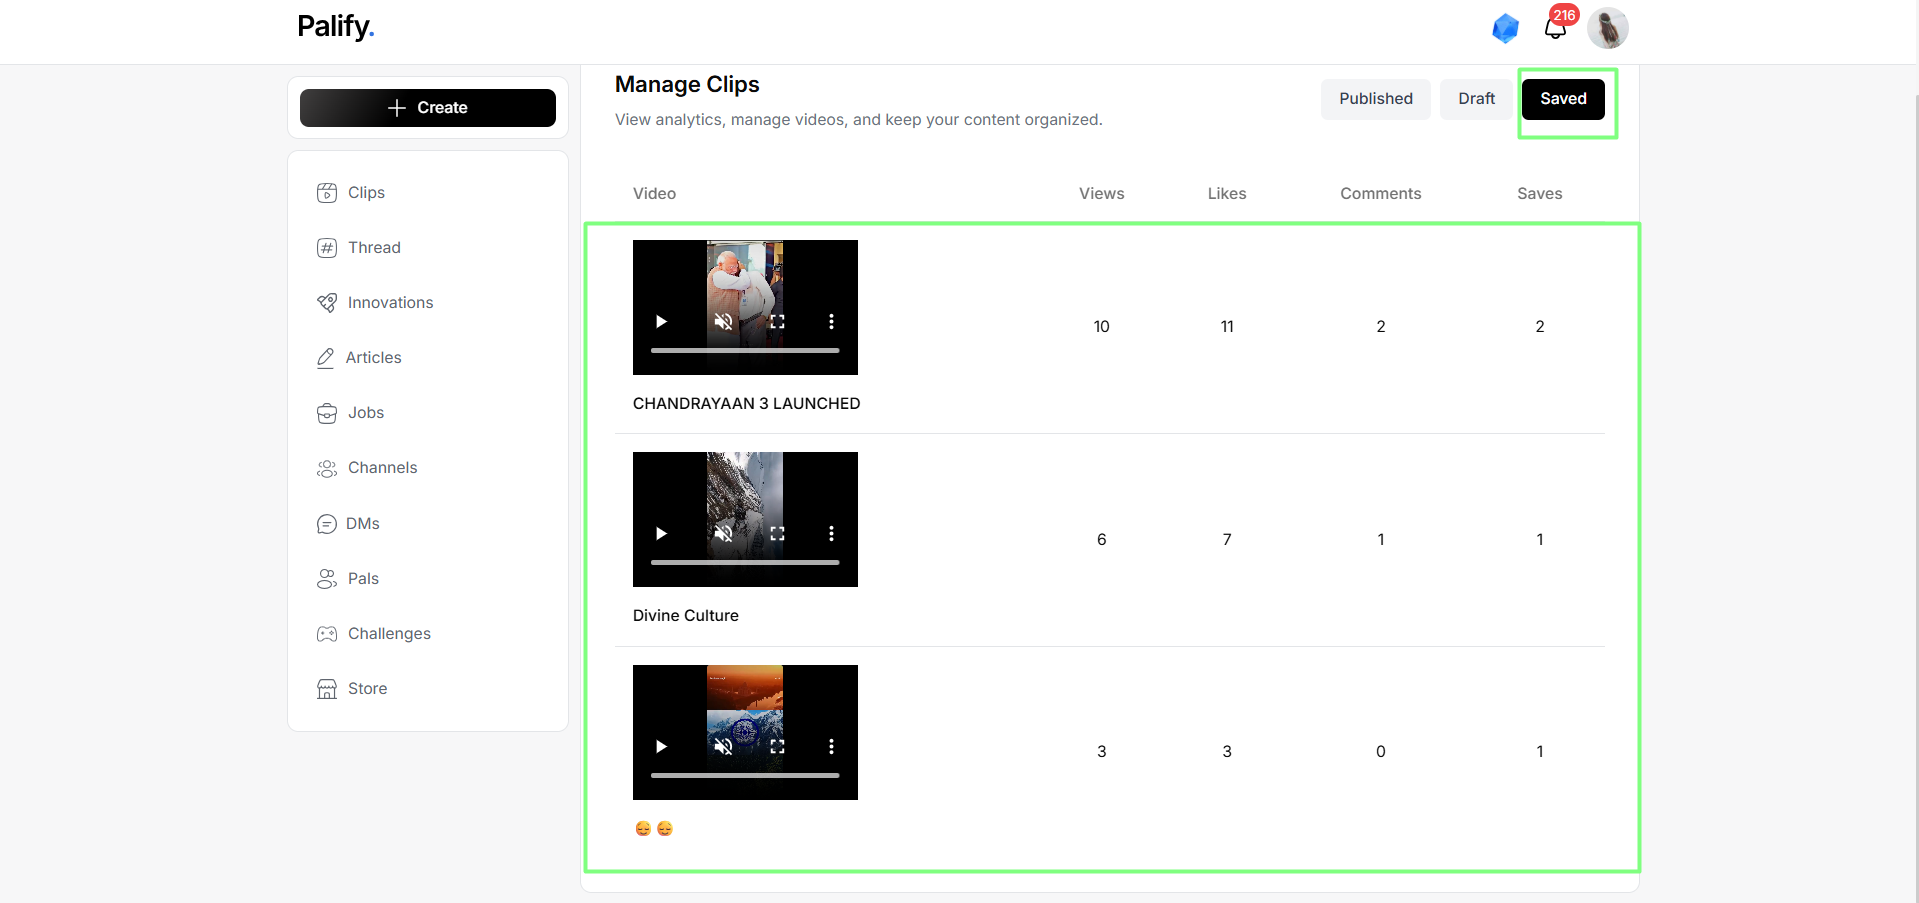
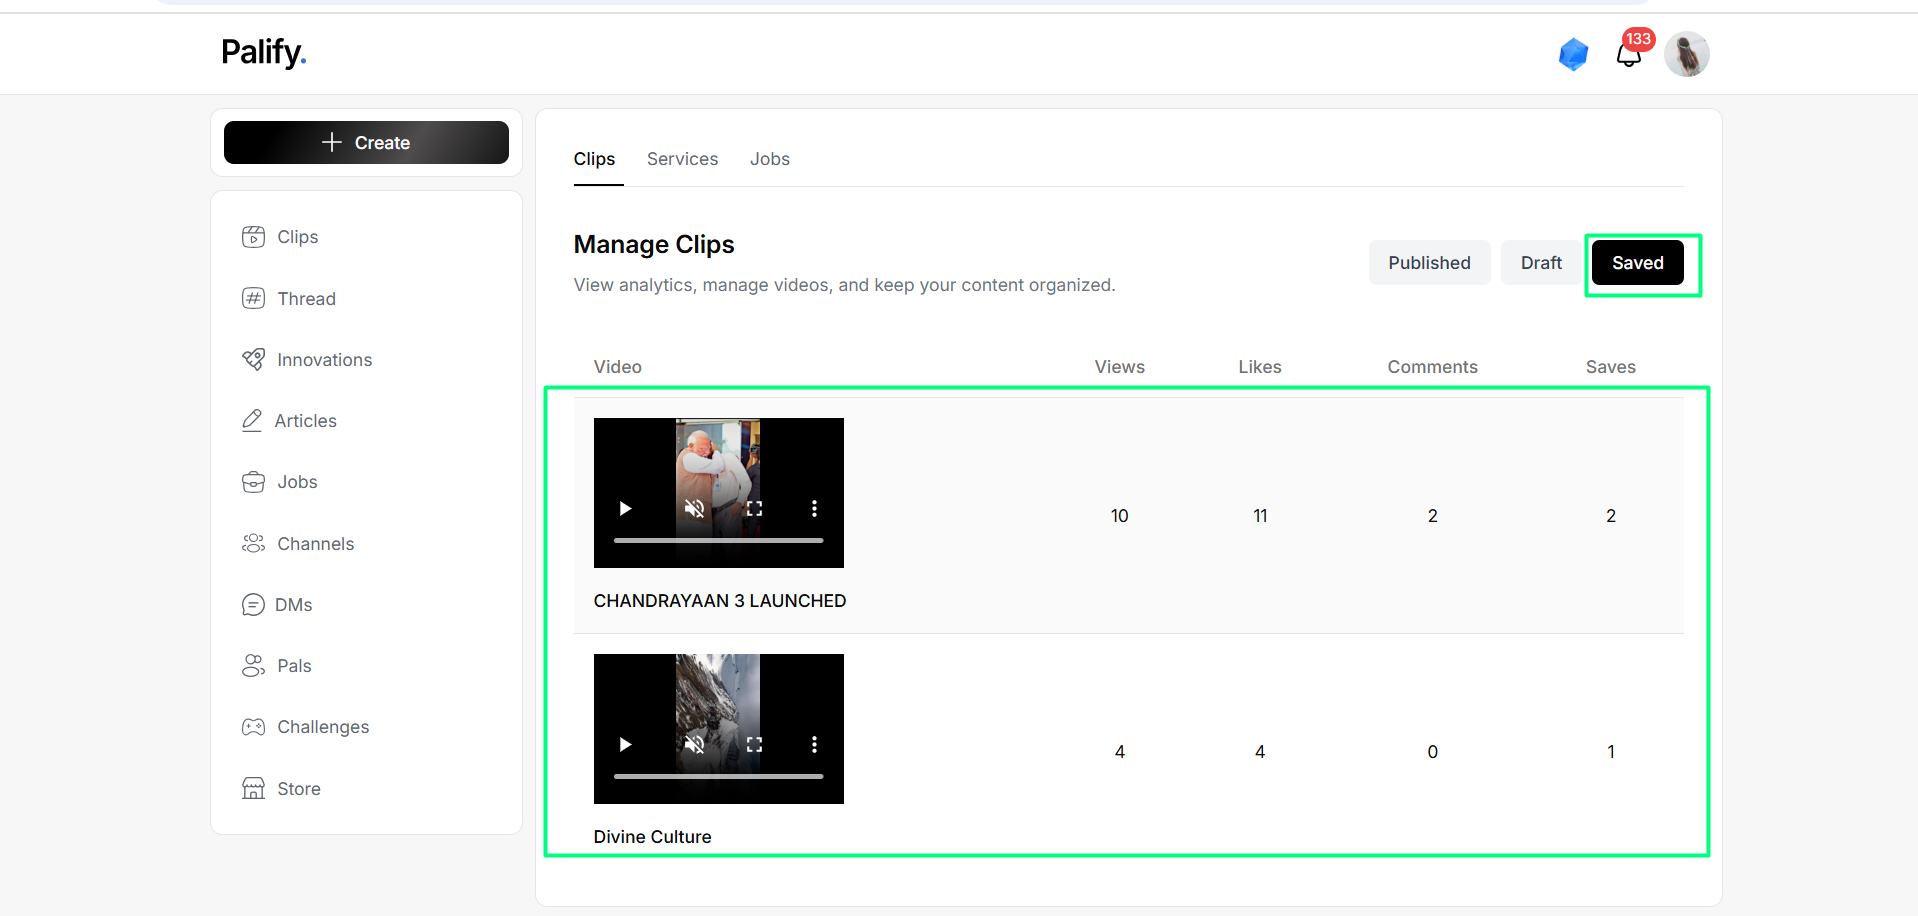
Saved
Clips saved for future use.
Not yet edited or published.
Appear in the Saved tab.
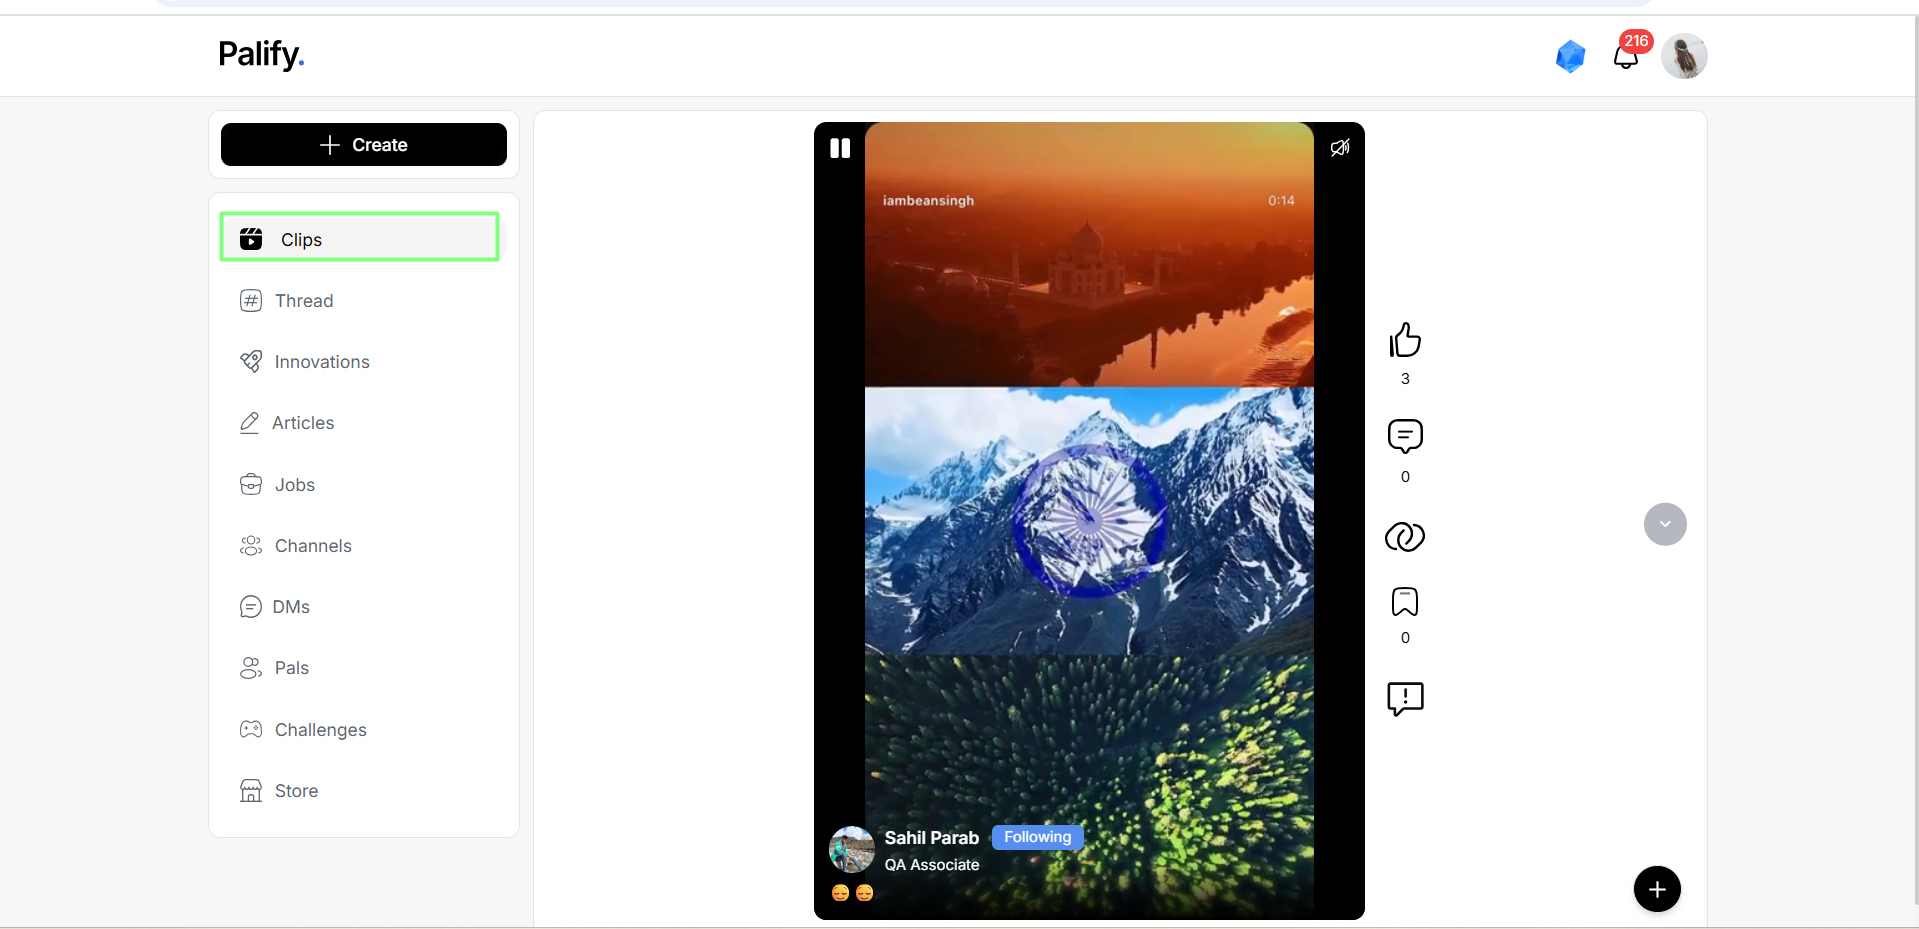
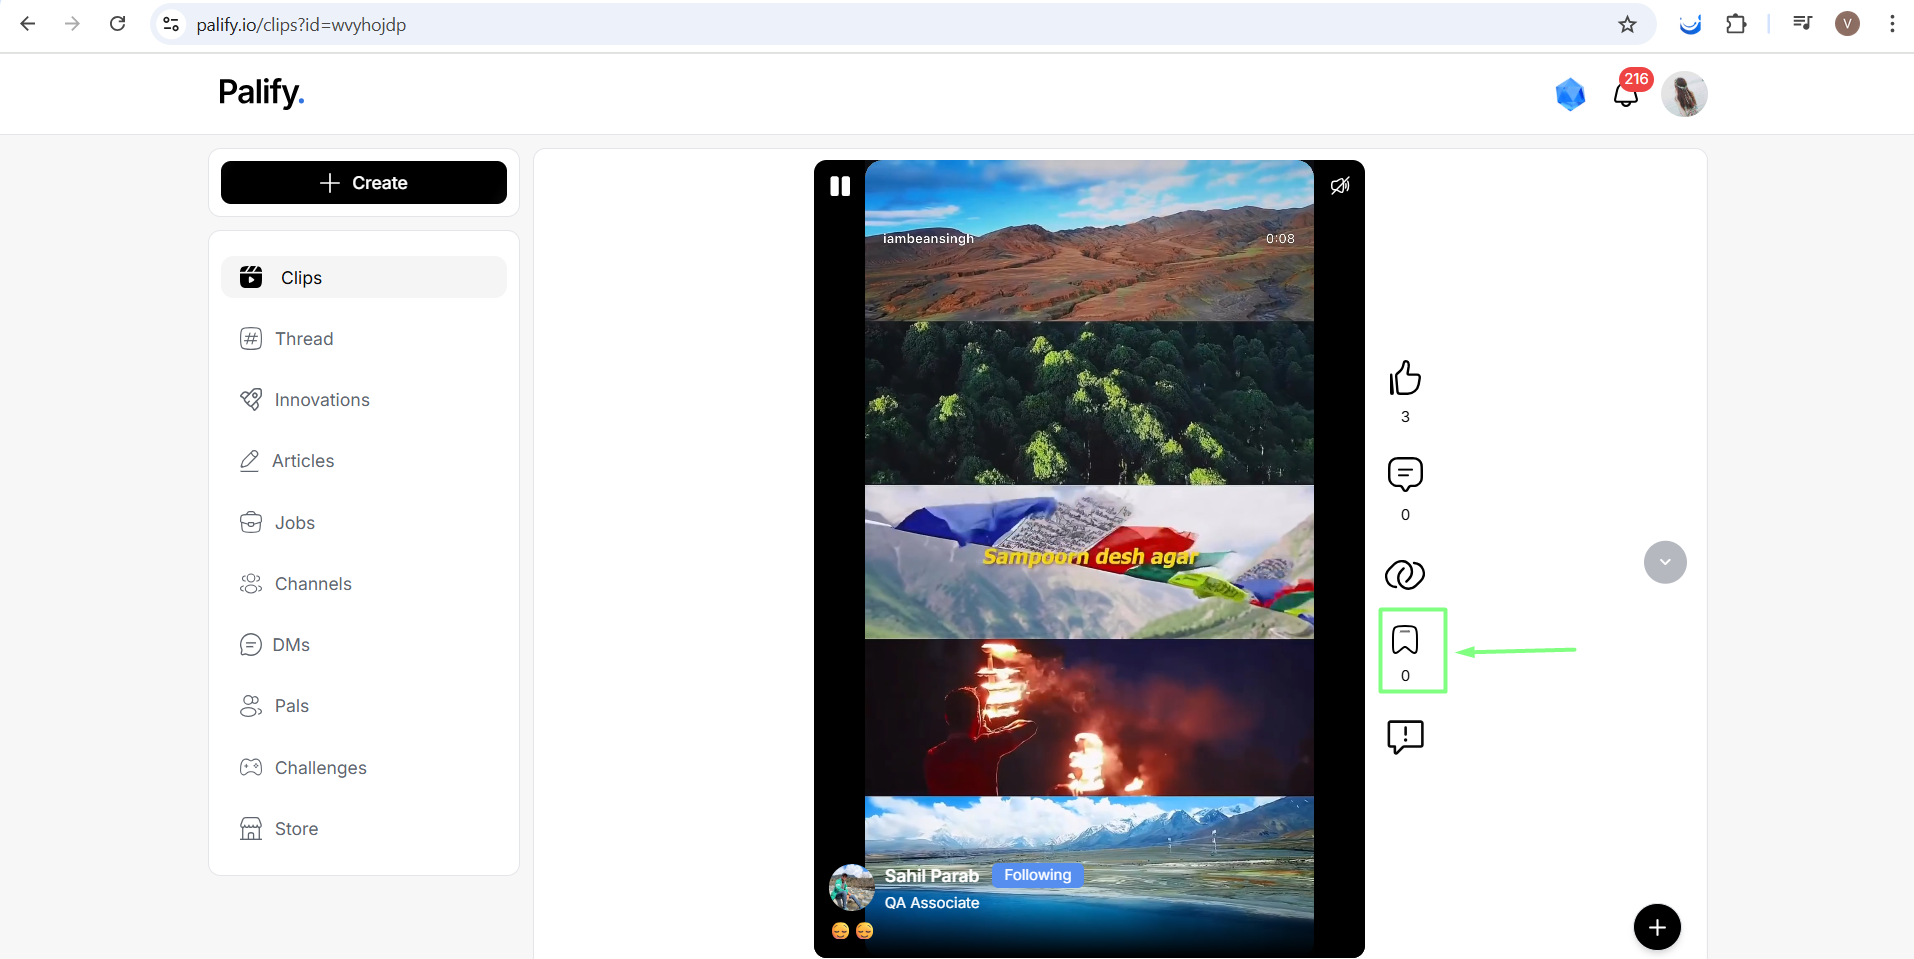
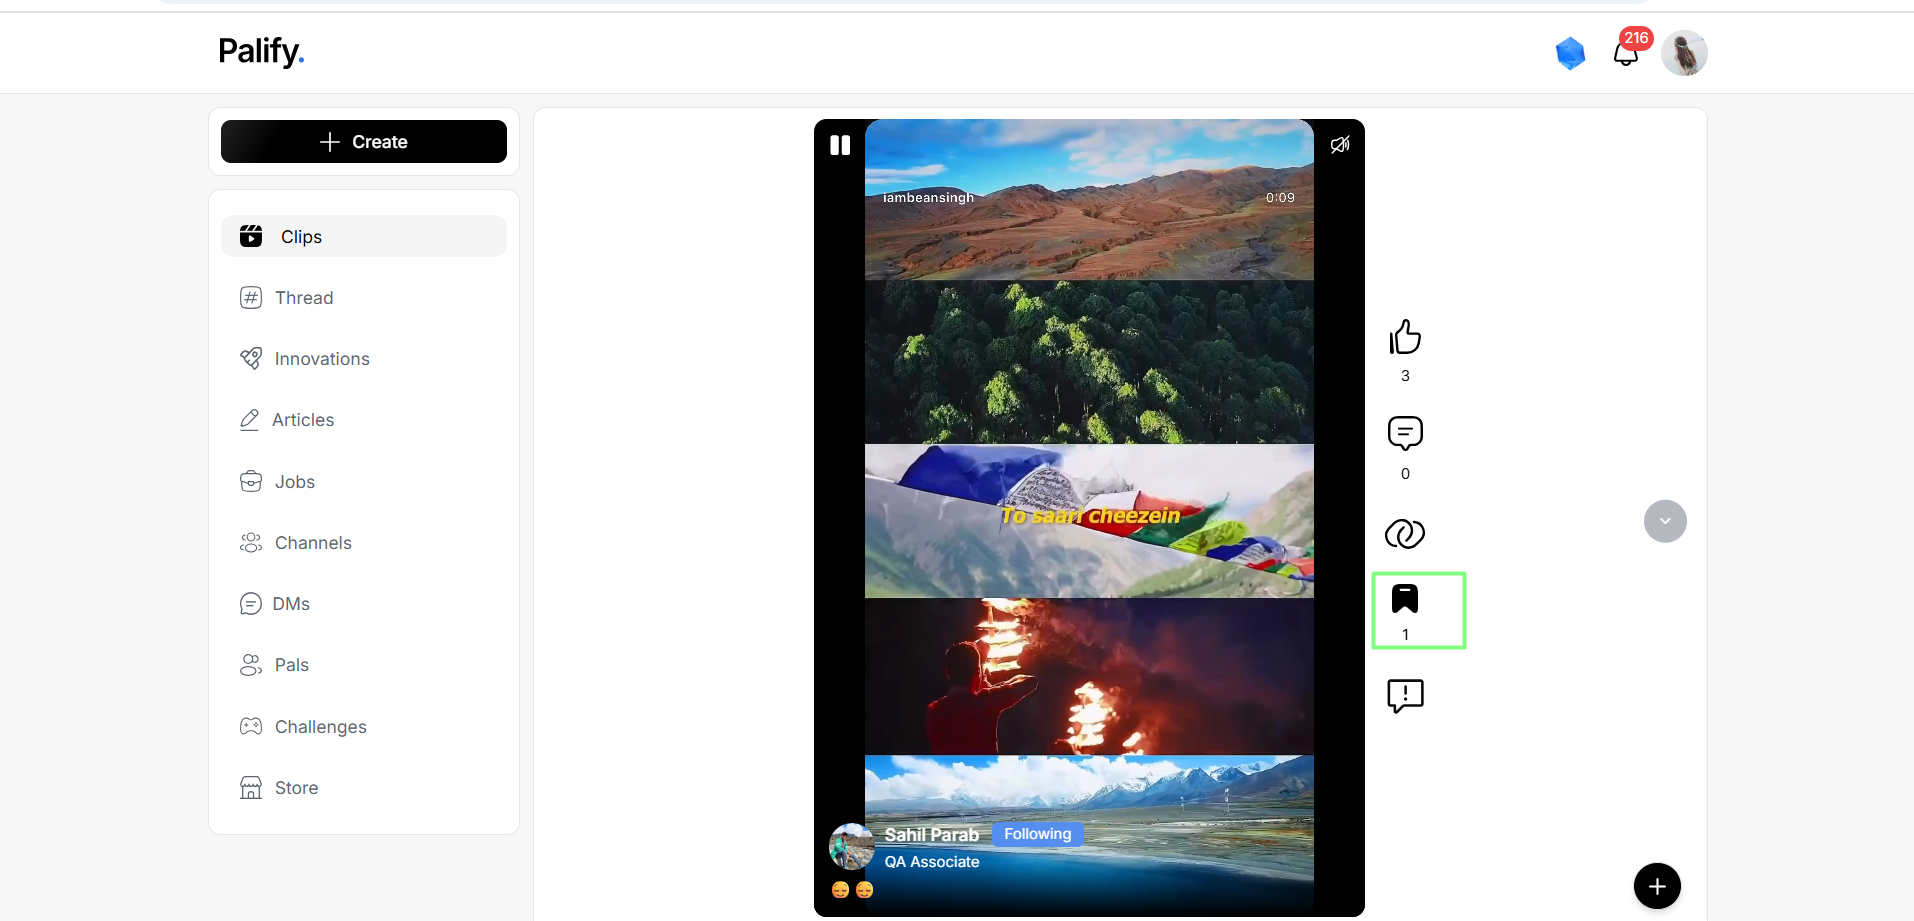
Steps to save clips:
- Navigate to the Clip Section
- Click on the Bookmark or Save Option
- Access Saved Clips
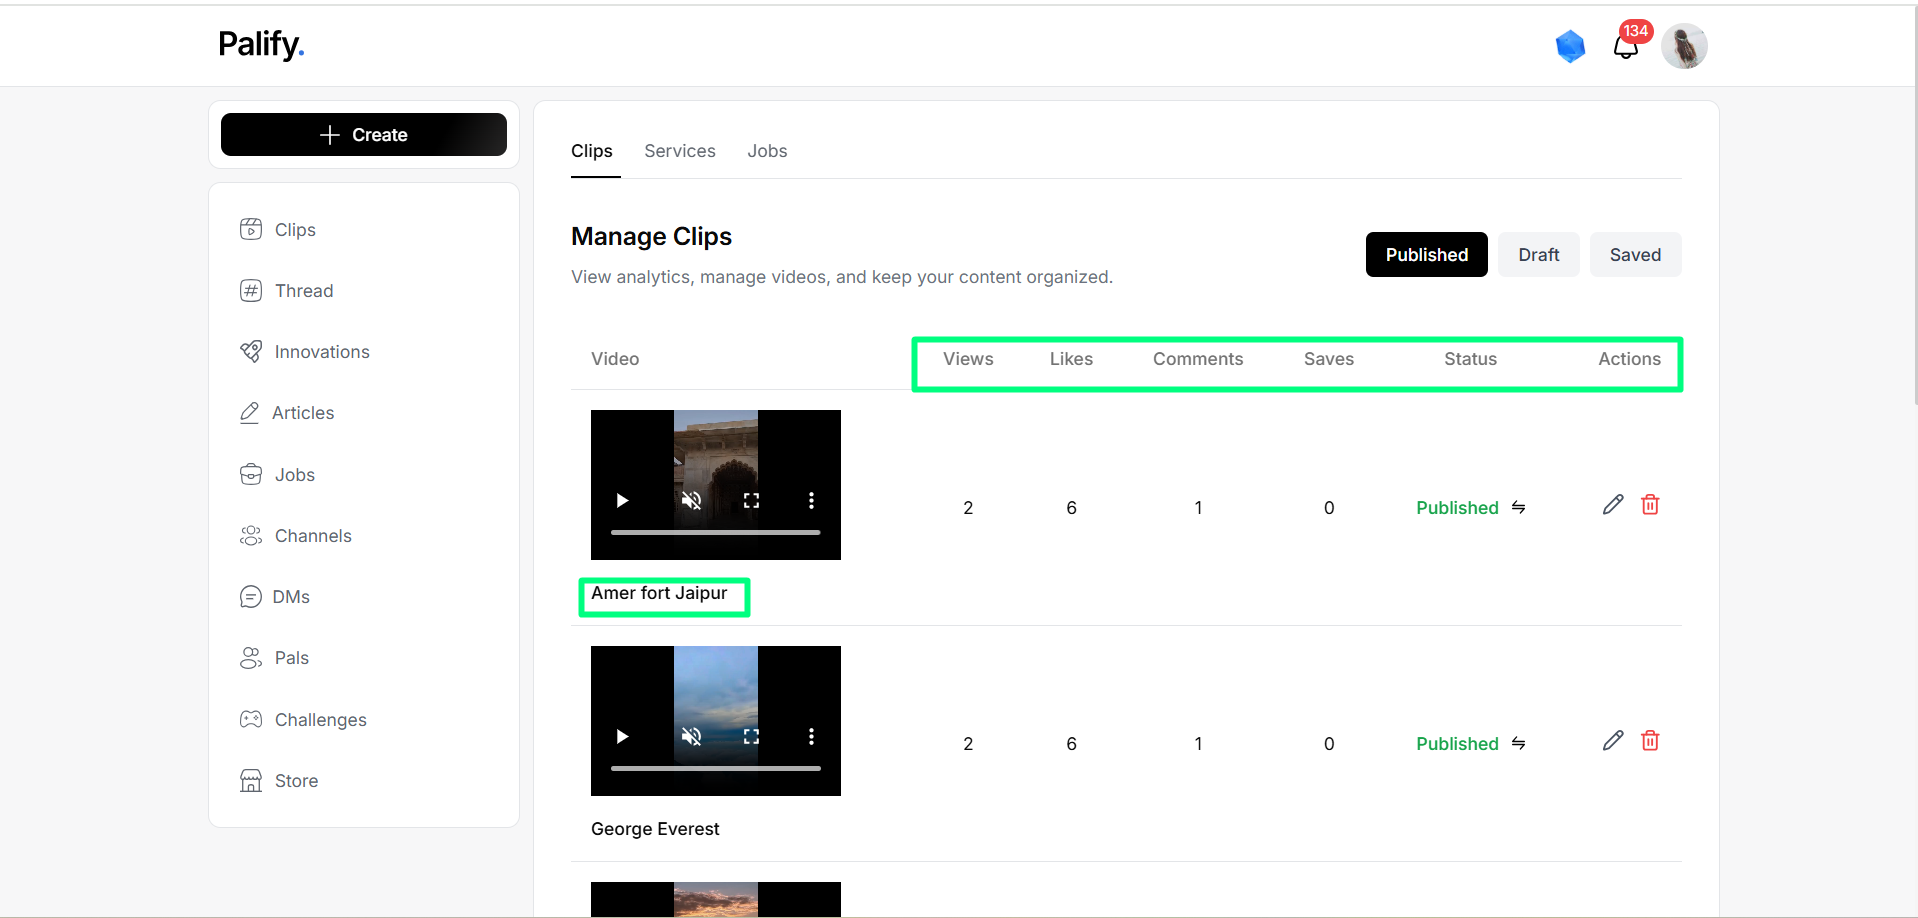
3. Clip Details
Each video clip in the Manage Clips section shows:
- Video Title – The name/title of the video.
- Views – How many times it’s been watched.
- Likes – Total number of likes.
- Comments – Number of comments added.
- Saves – Number of users who saved it.
- Status – Published or Draft.
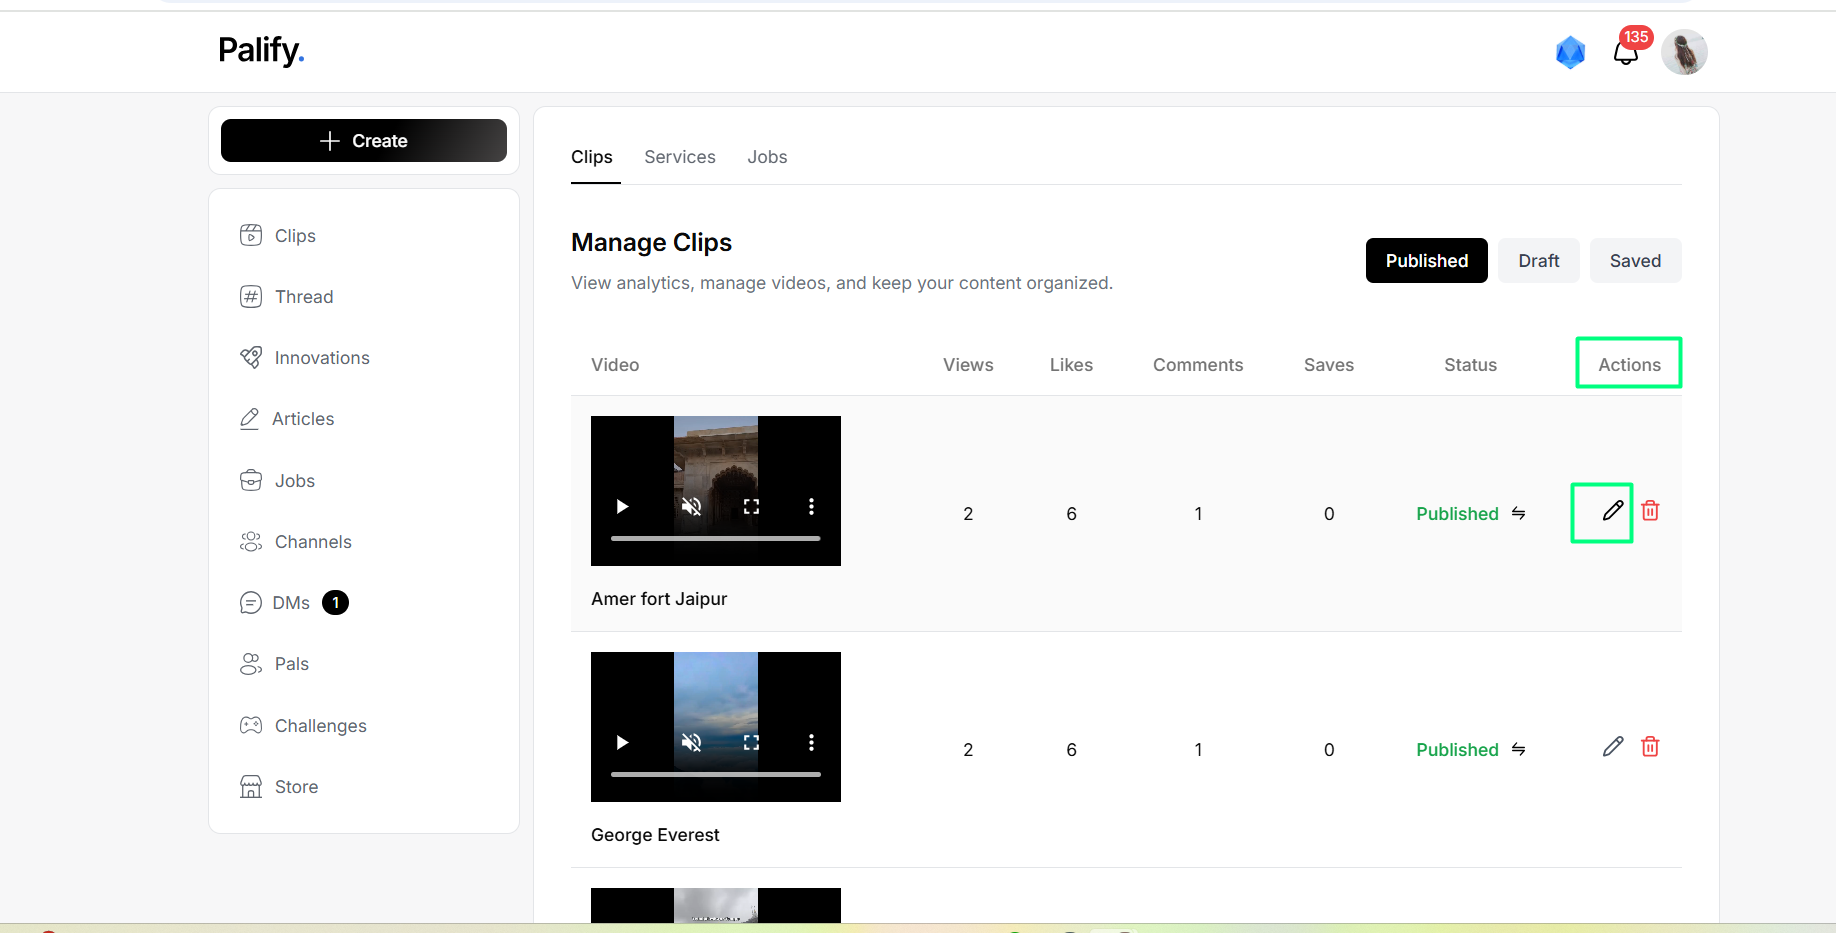
- Actions – Edit or Delete.
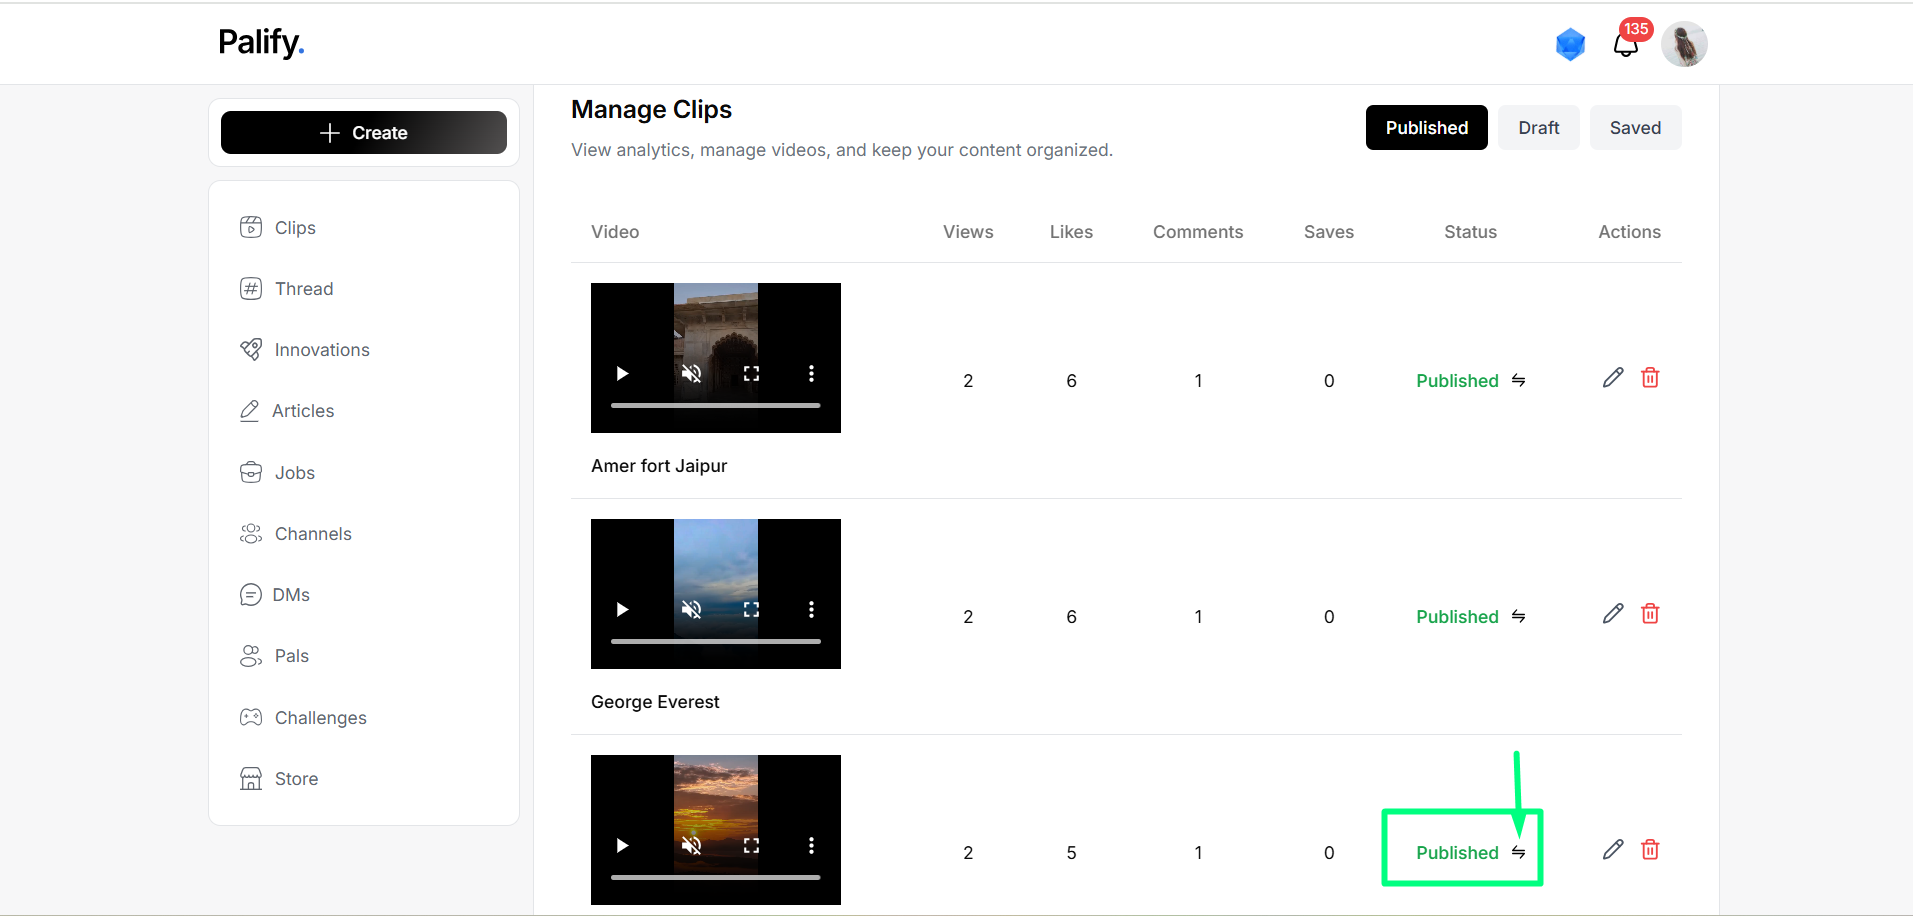
4. Changing Clip Status
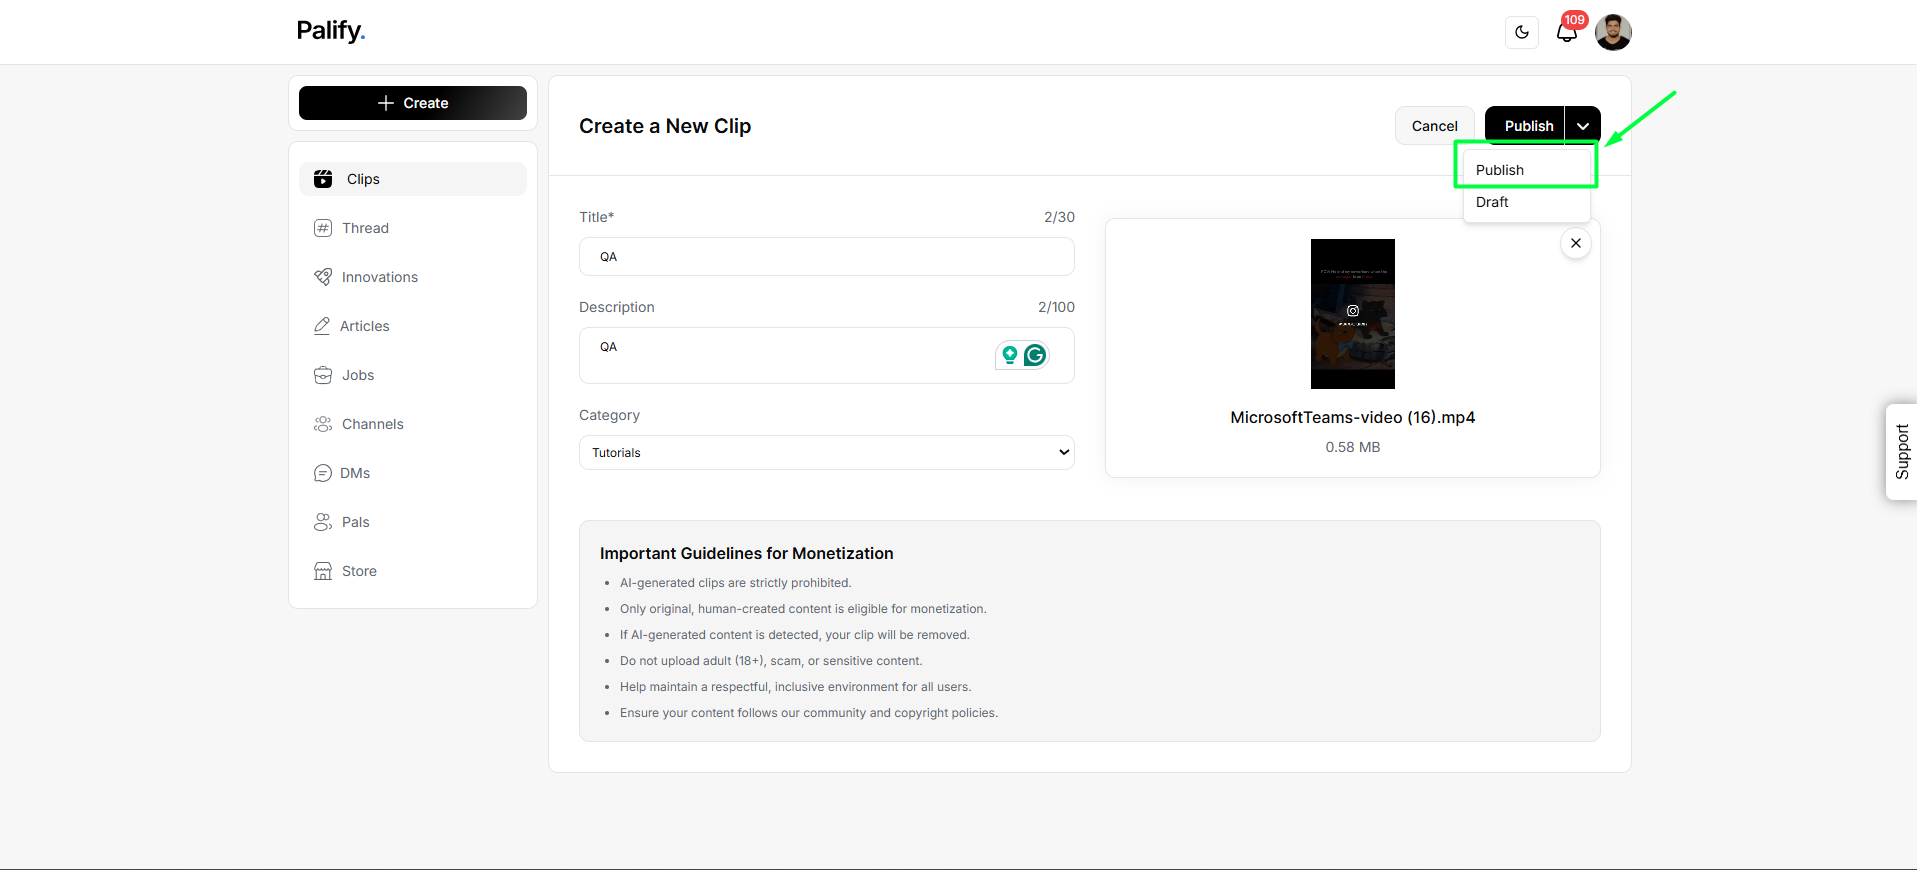
- If a clip is Published, changing the status moves it to Draft.
- If a clip is Draft, changing the status moves it to Published.
Note: Clips in the Saved section must first be moved to Draft before they can be published.
Actions: Edit & Delete
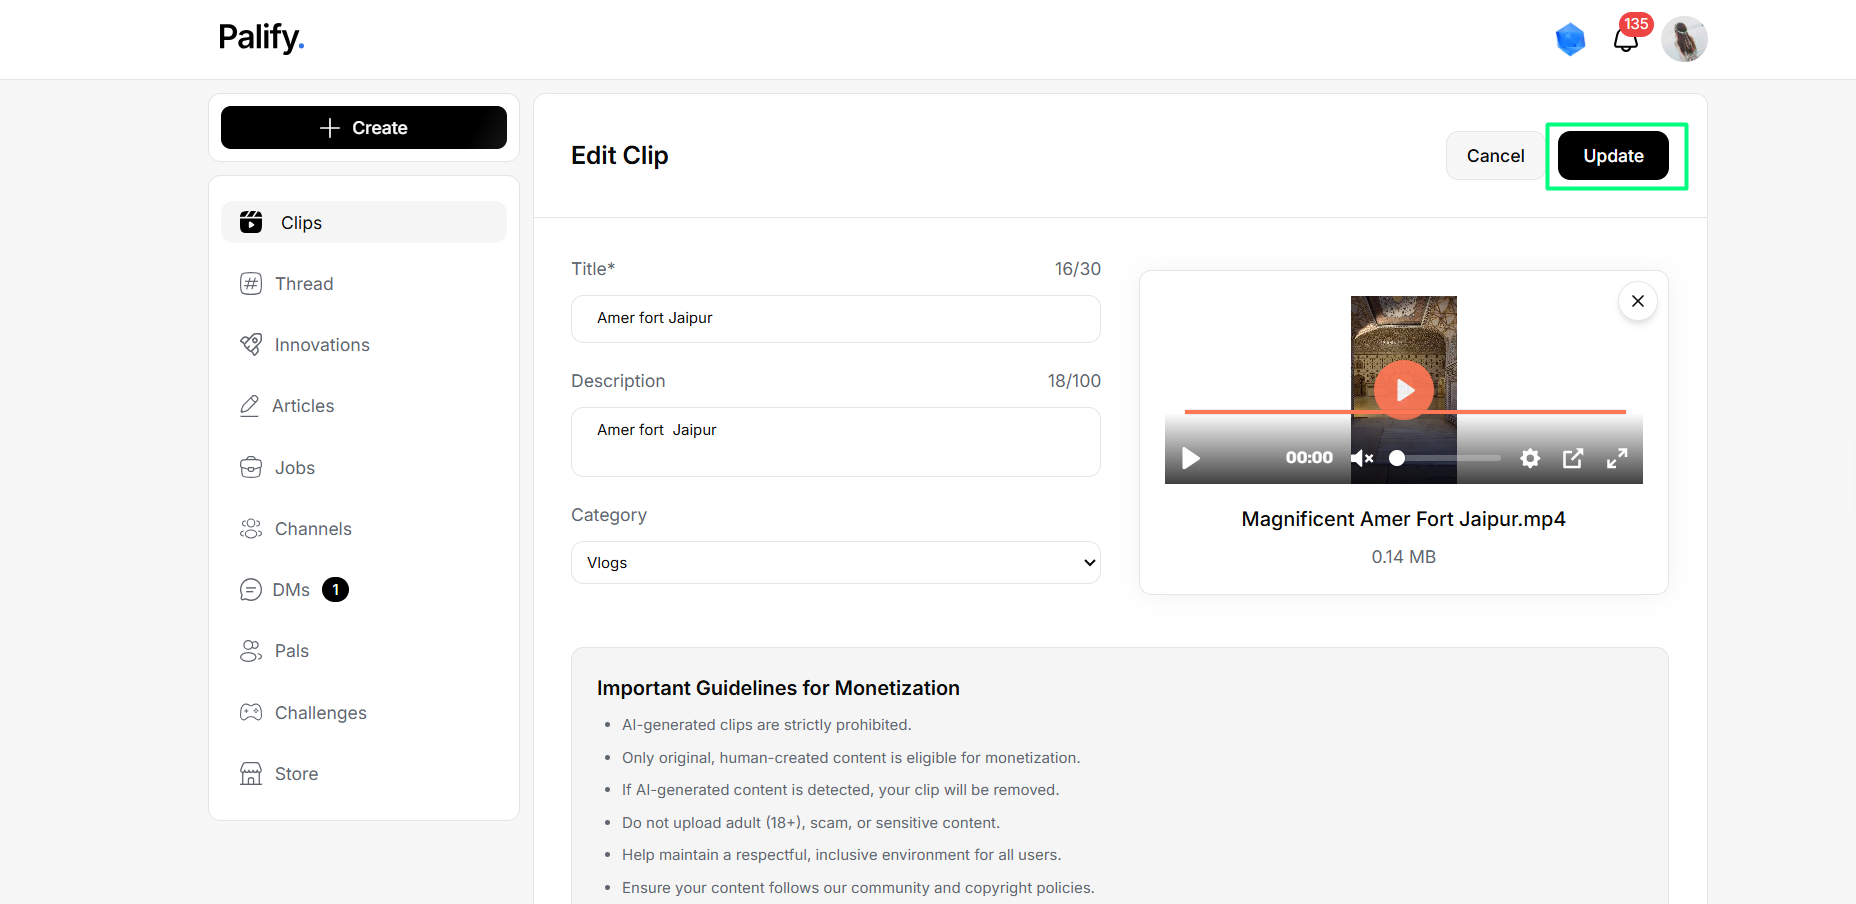
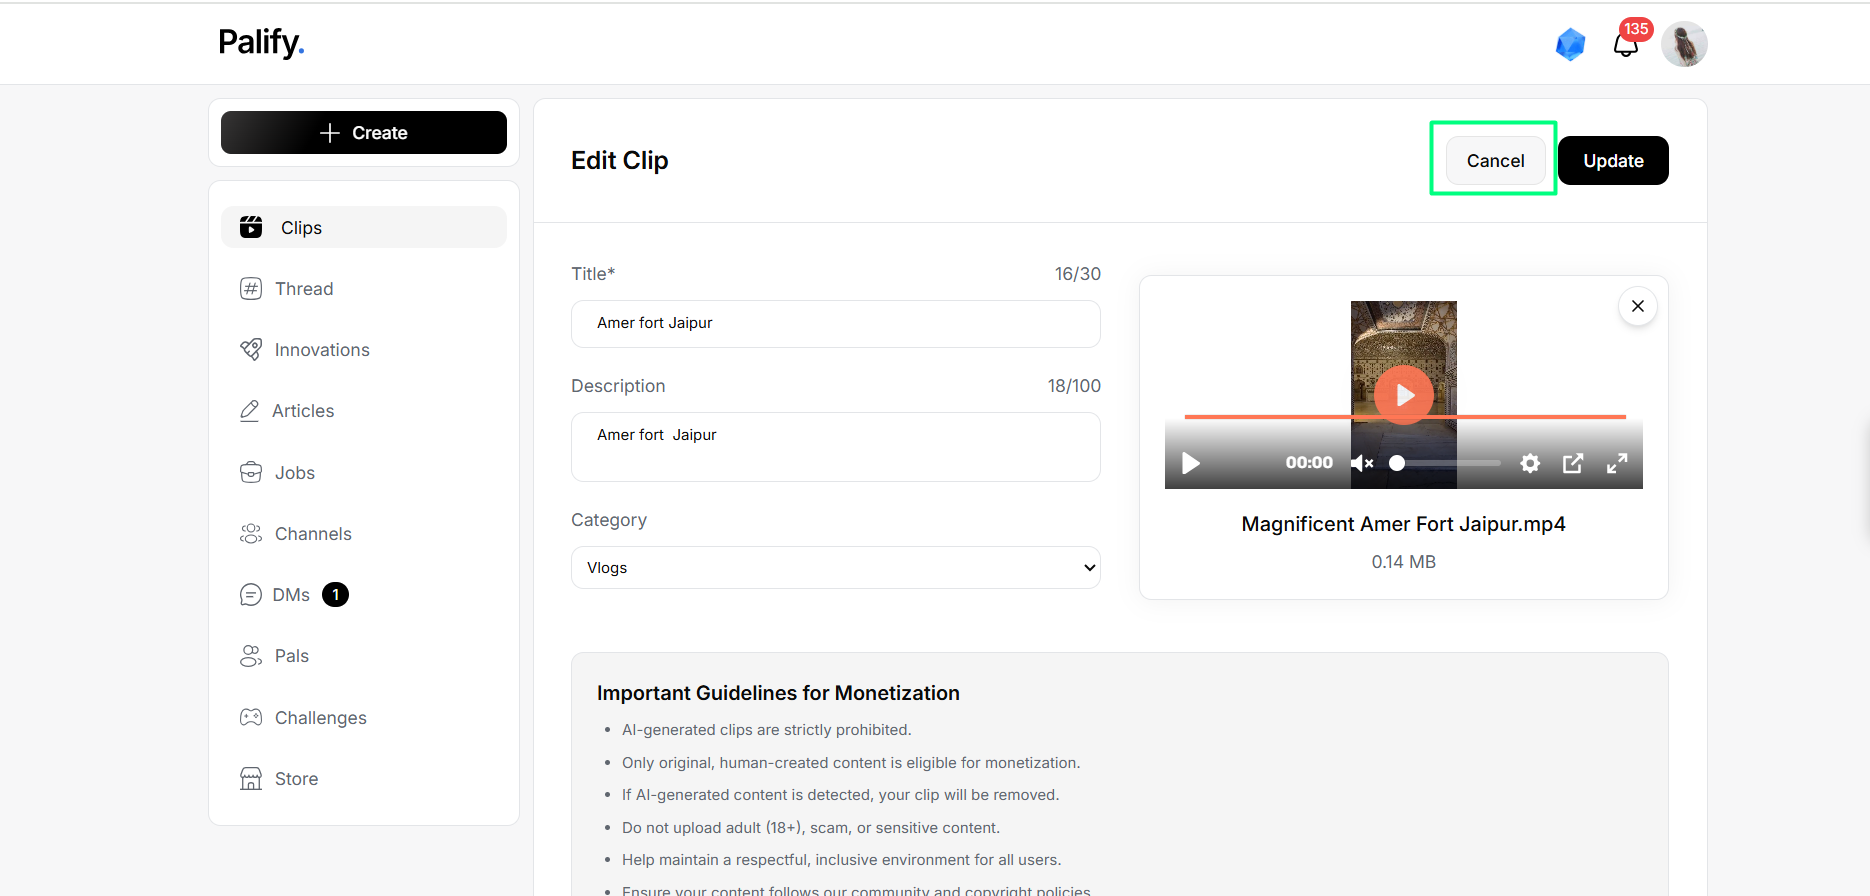
Edit
You can modify title, description, category, etc.
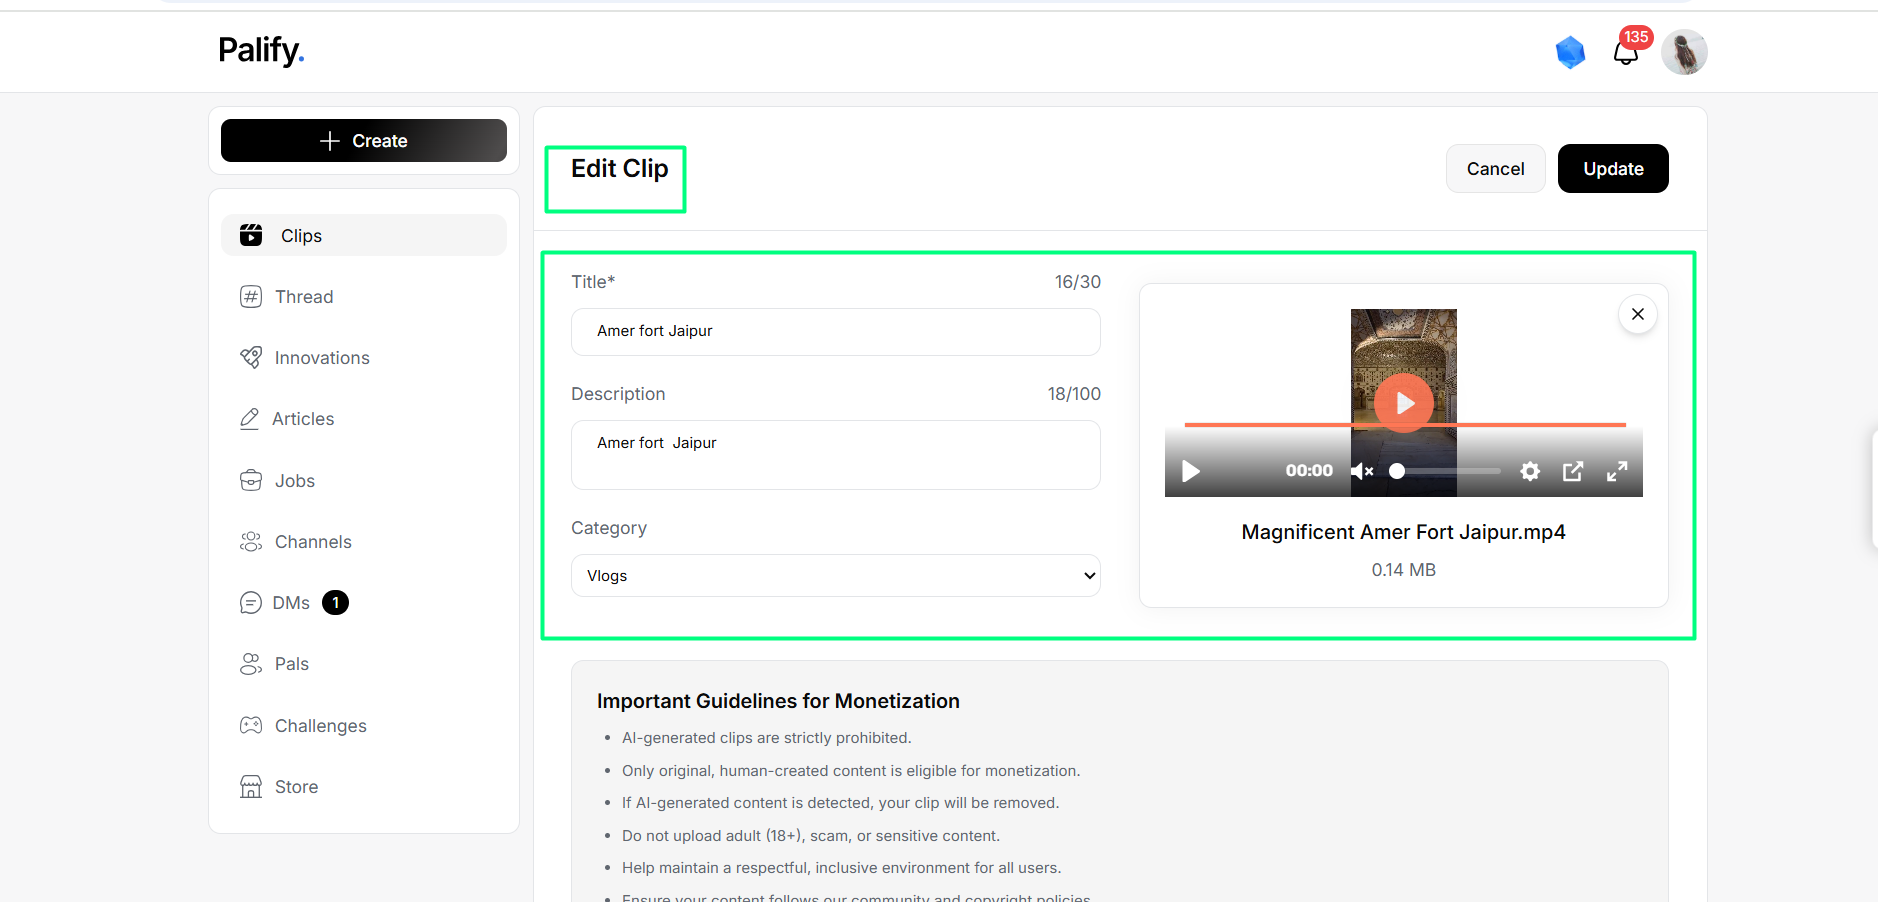
After editing:
- Click Update to save.
- Click Cancel to discard.
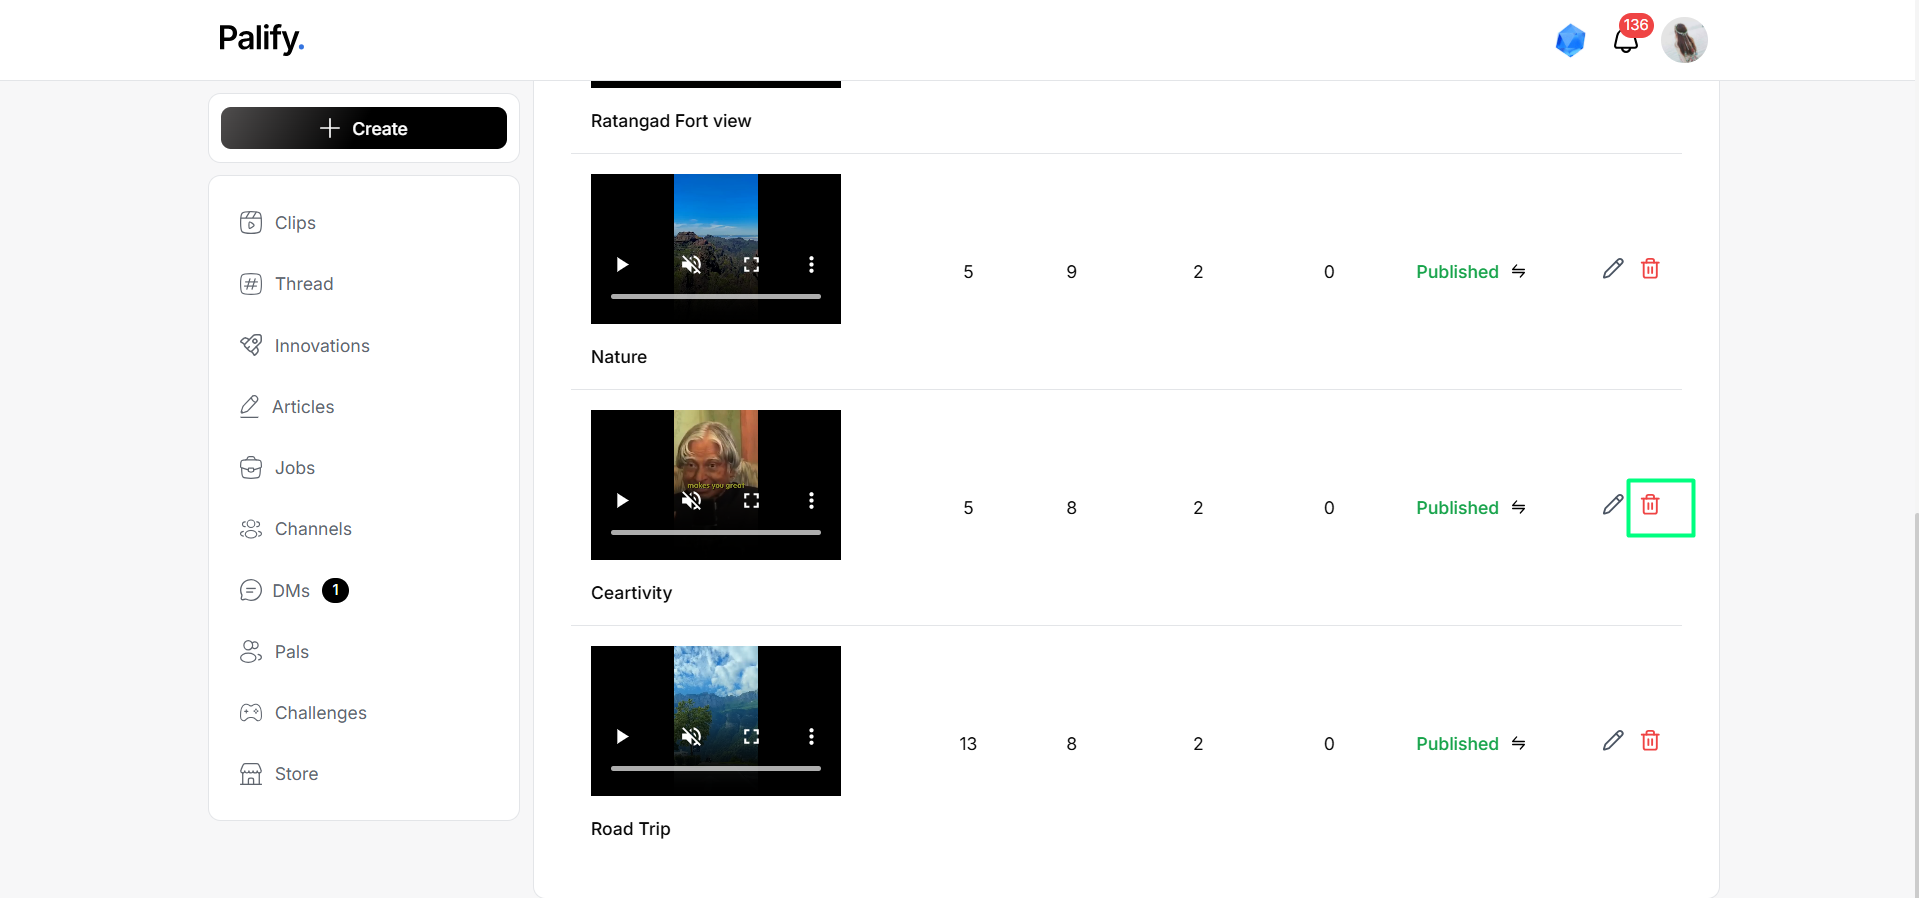
Delete
Permanently removes the clip.
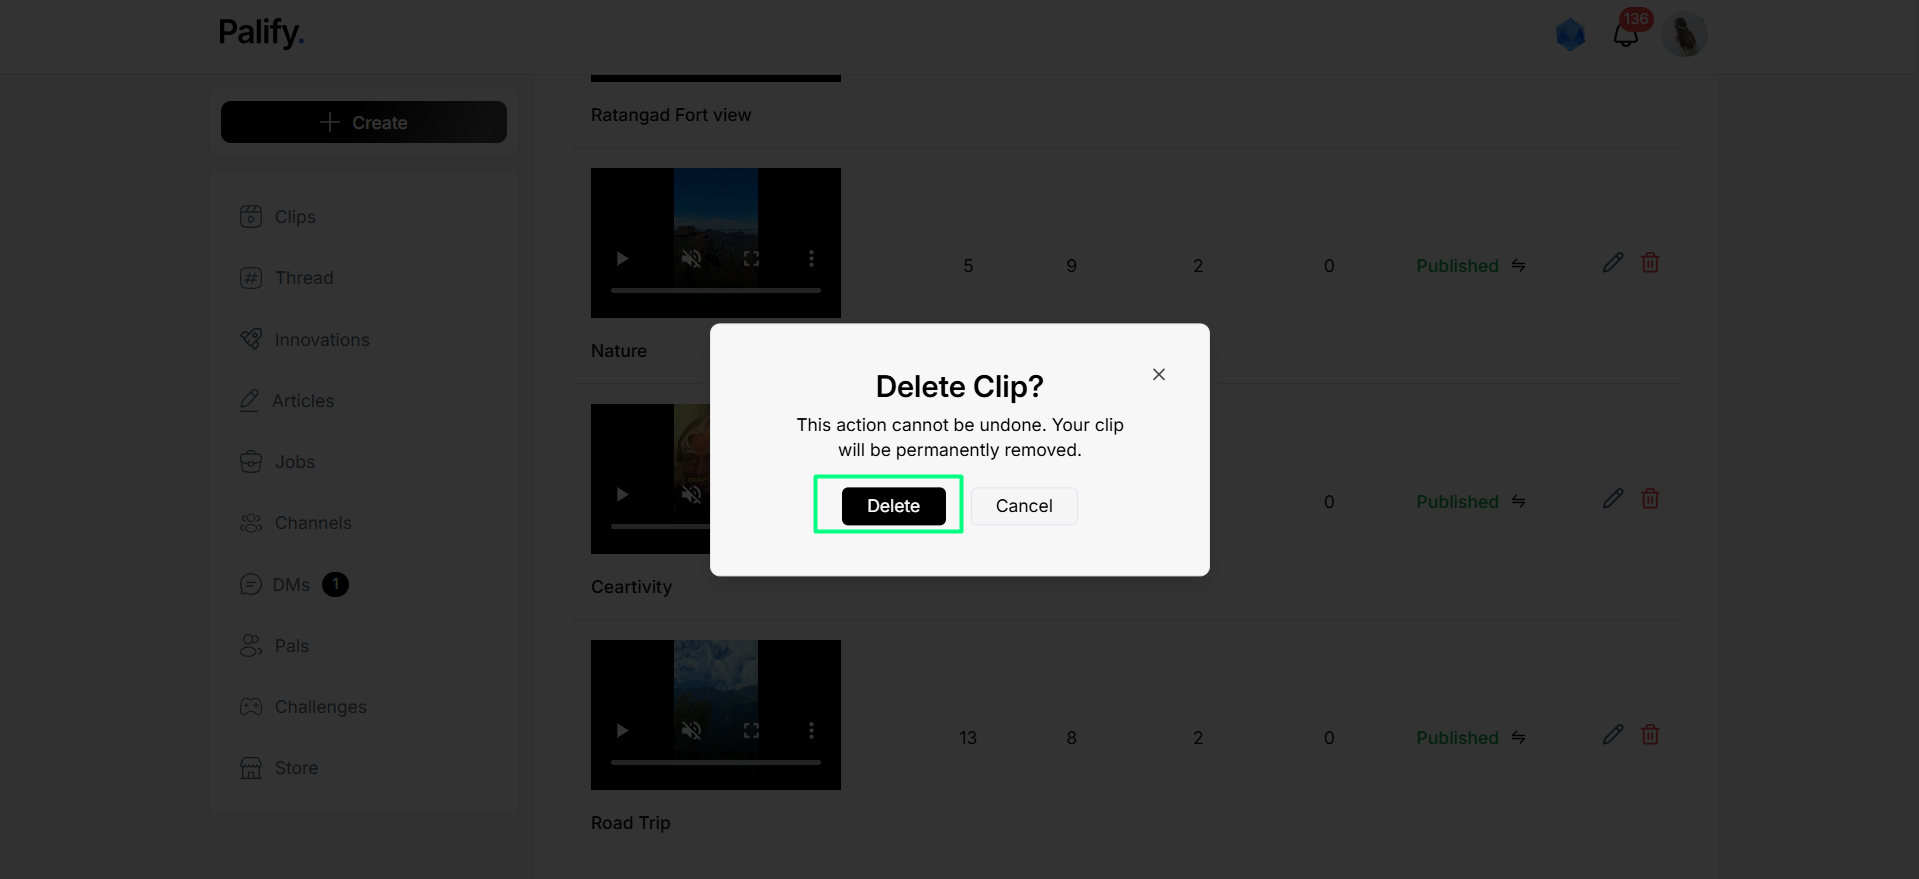
Confirmation appears before deletion.
Manage Job
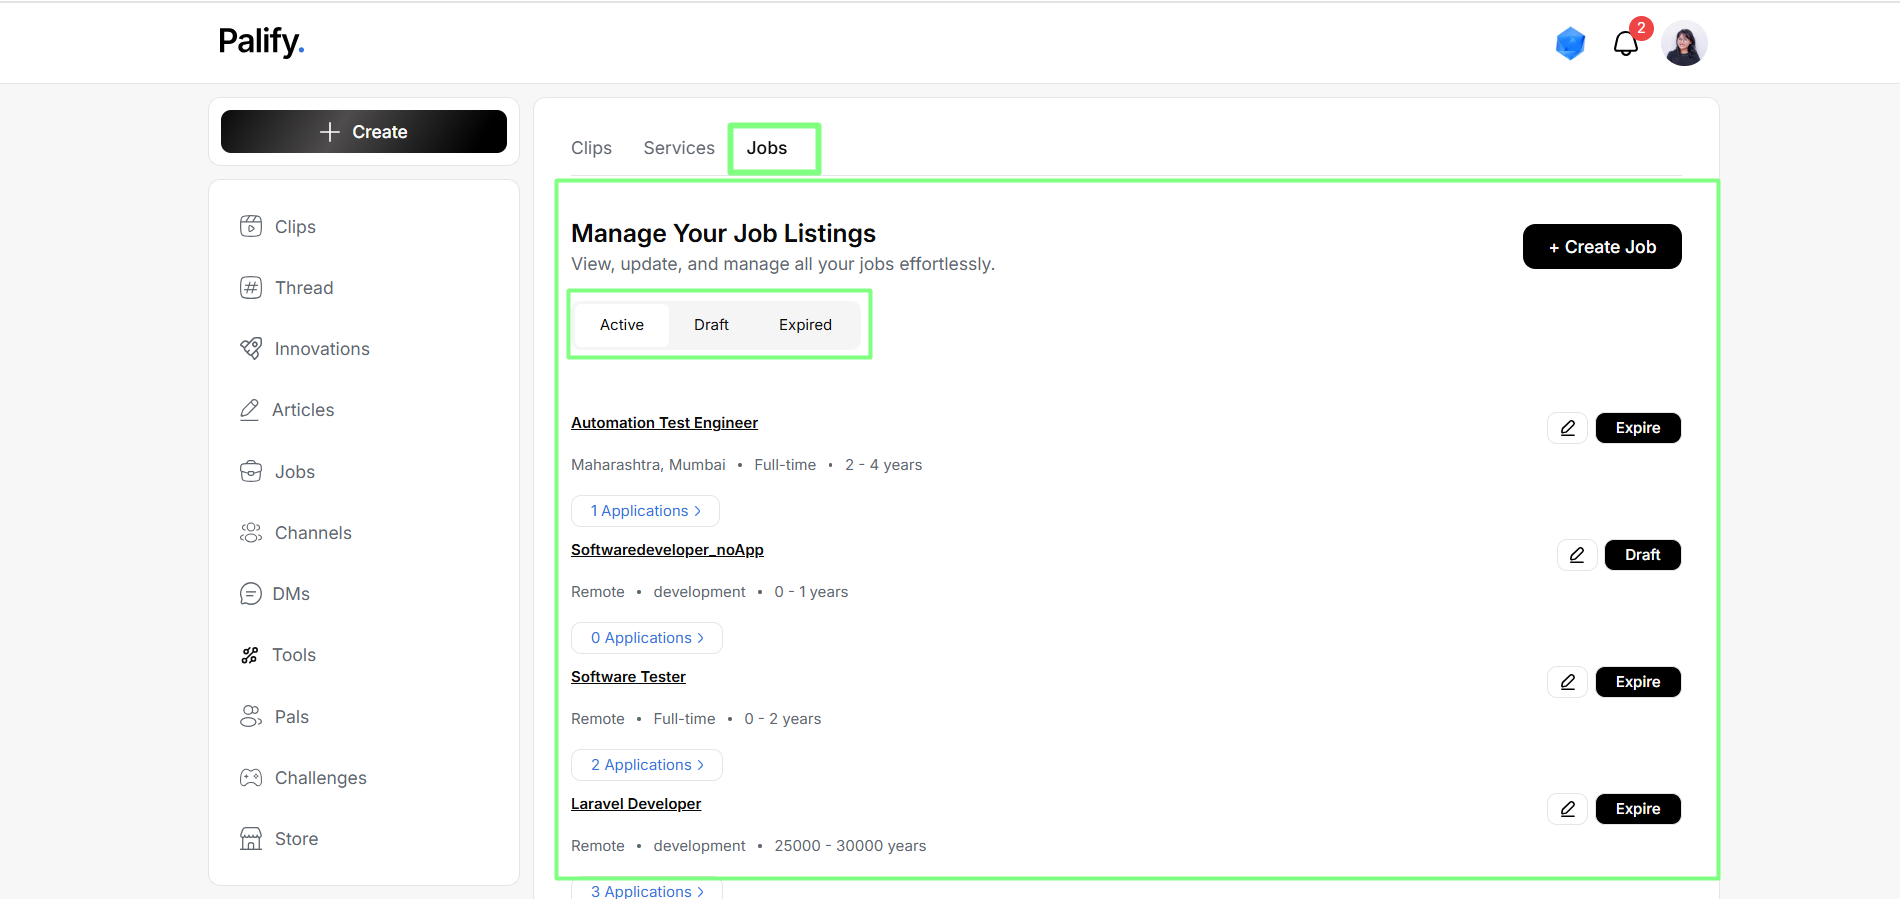
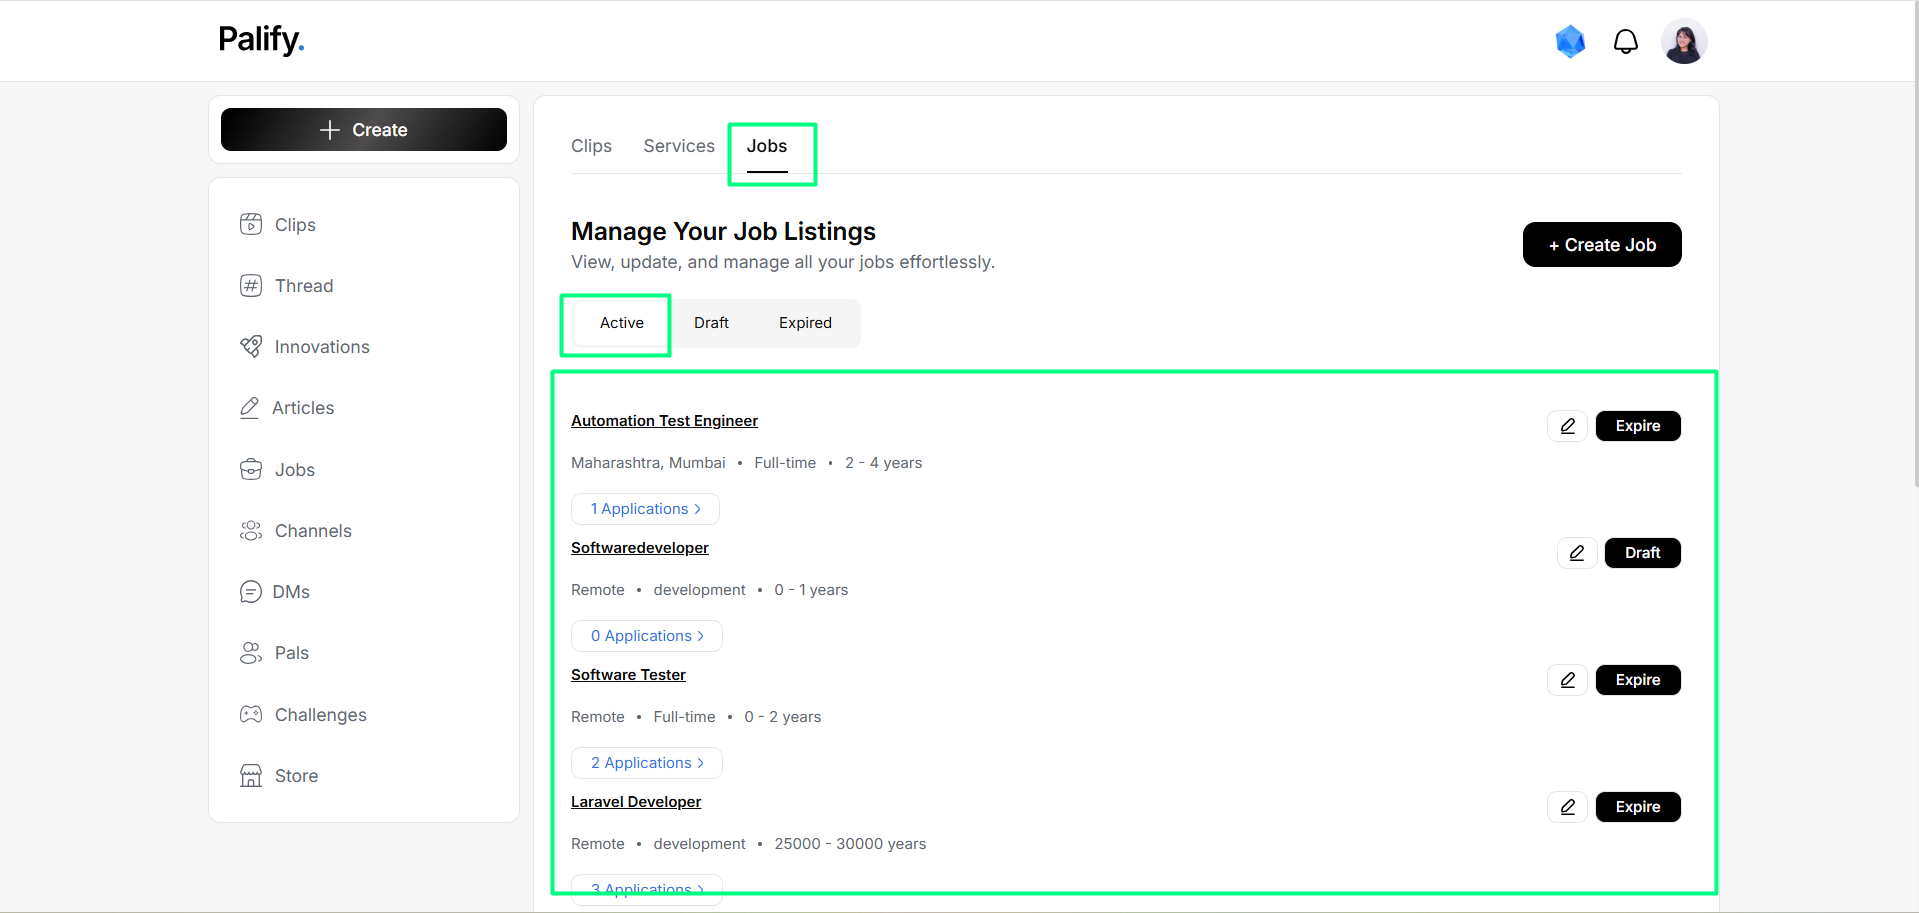
The Manage Job section in Palify allows recruiters to efficiently manage job postings across Active, Draft, and Expired stages.
🔹 Main Page Structure
The Manage Job section includes:
- Active – Currently live/published jobs.
- Draft – Saved as drafts, not visible to candidates.
- Expired – Jobs no longer accepting applications.
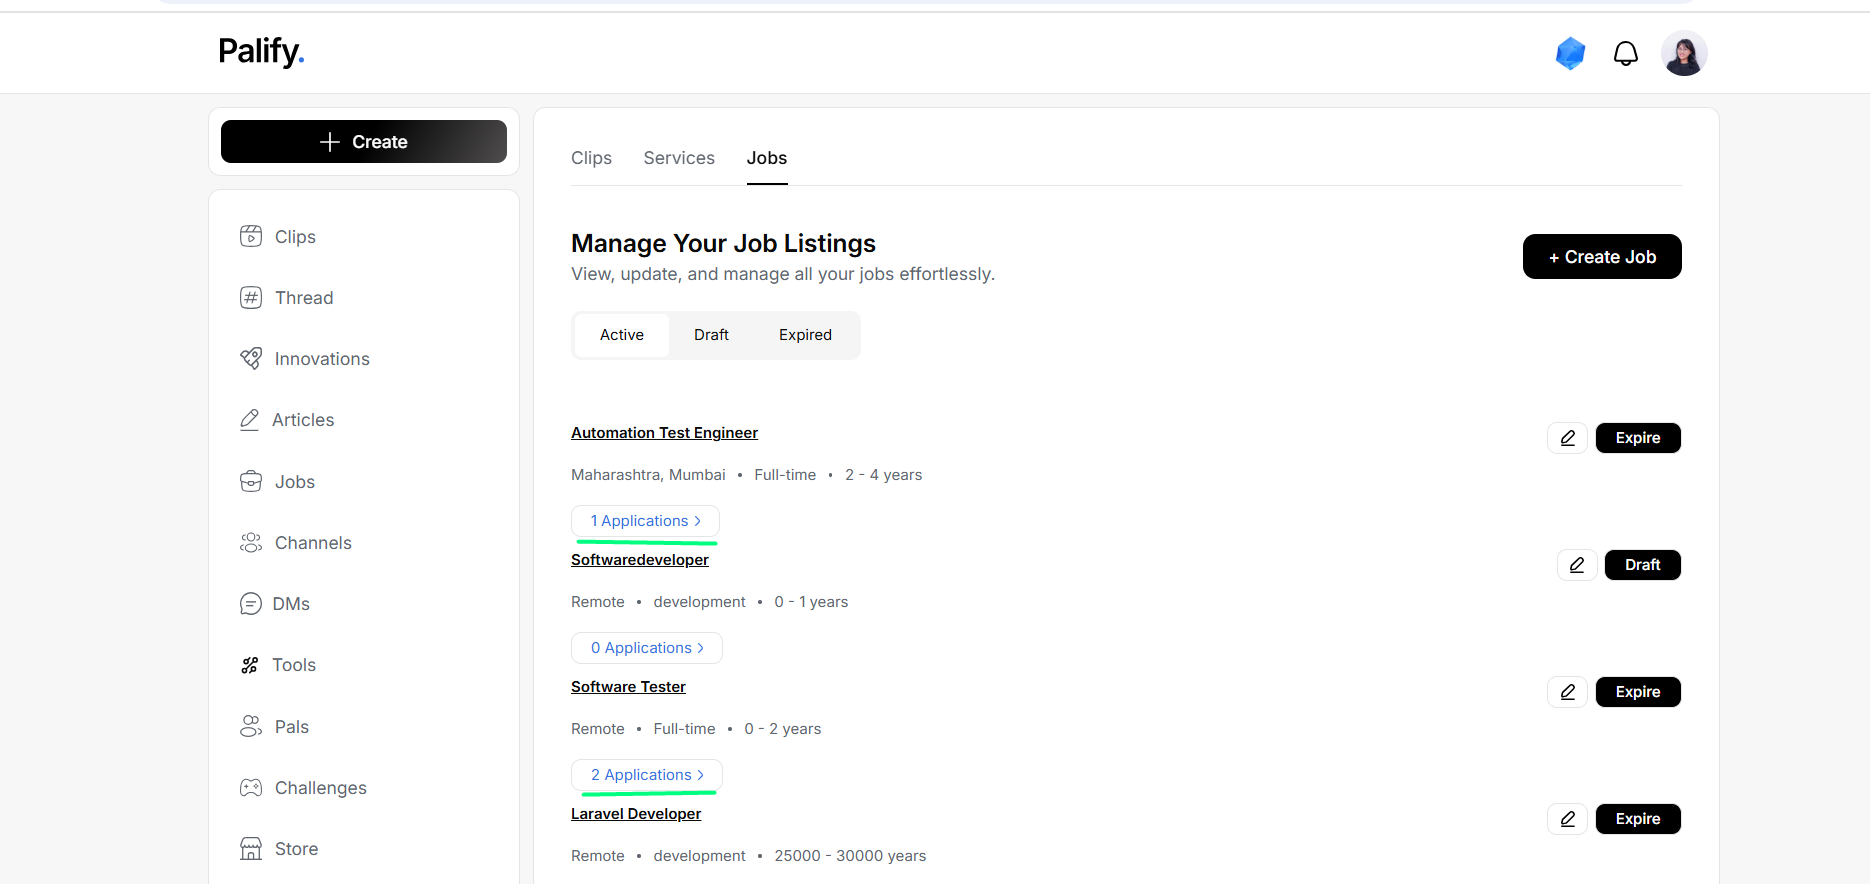
Active Jobs Tab
Displays all currently active (published) jobs.
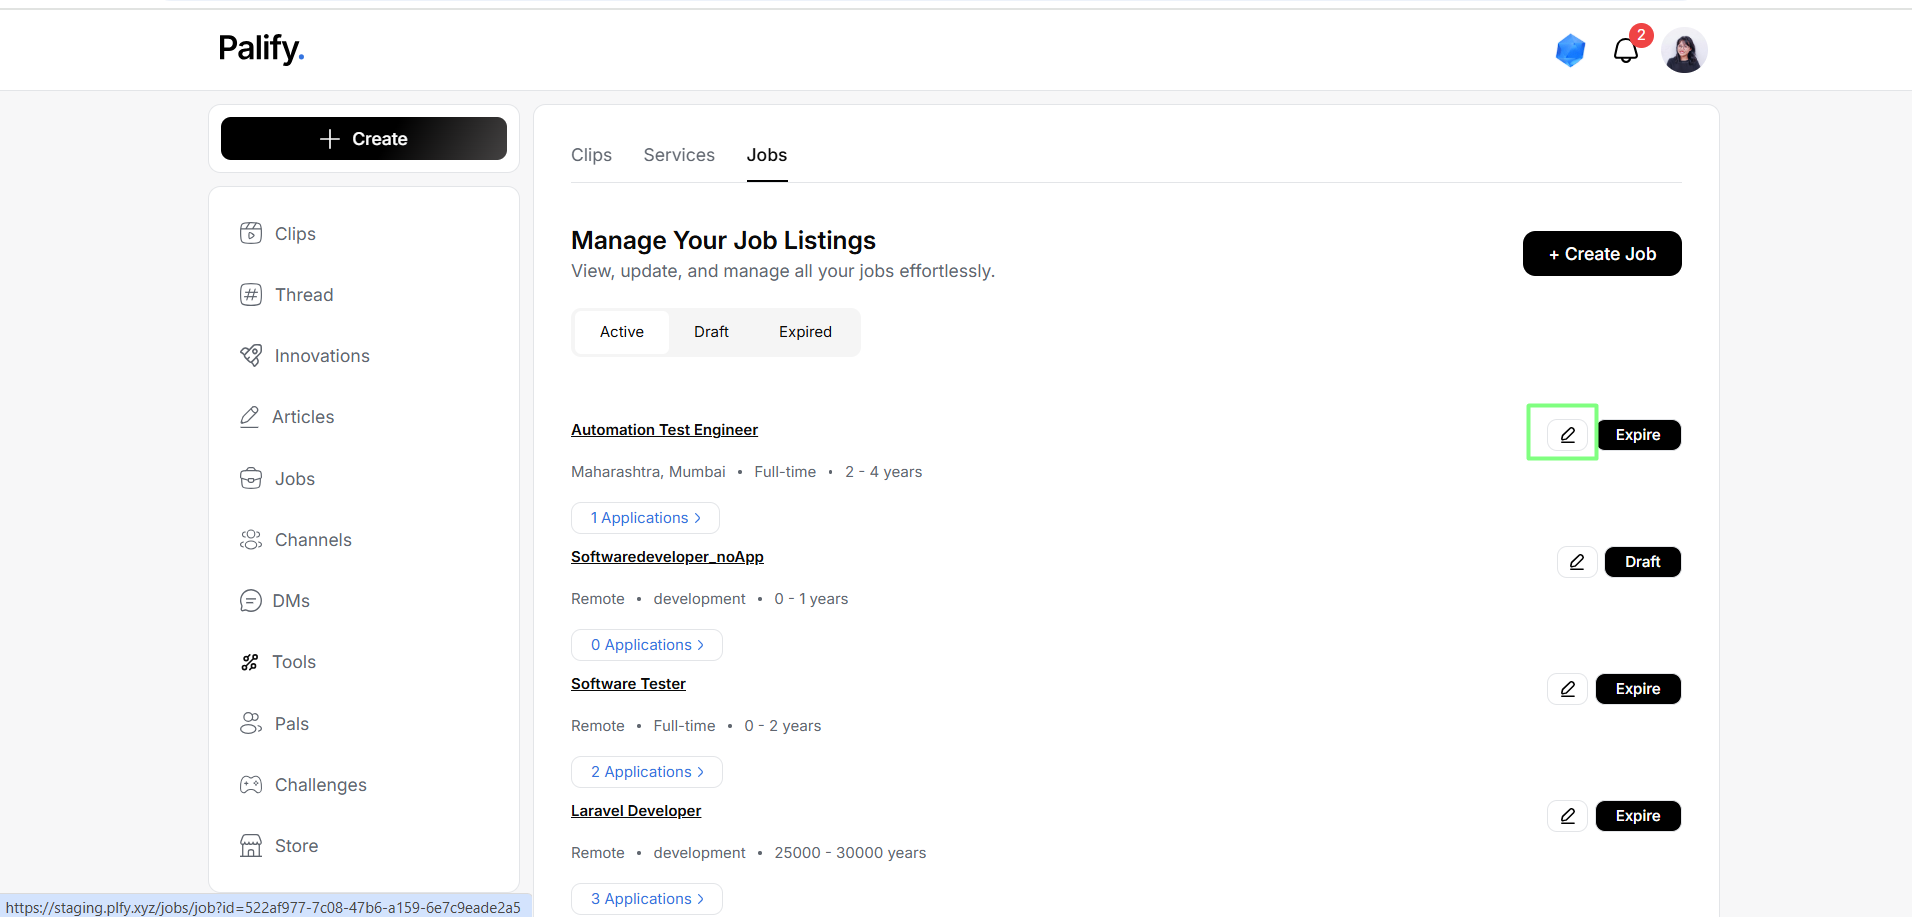
Edit Job – Step-by-Step
- Click the Edit icon.
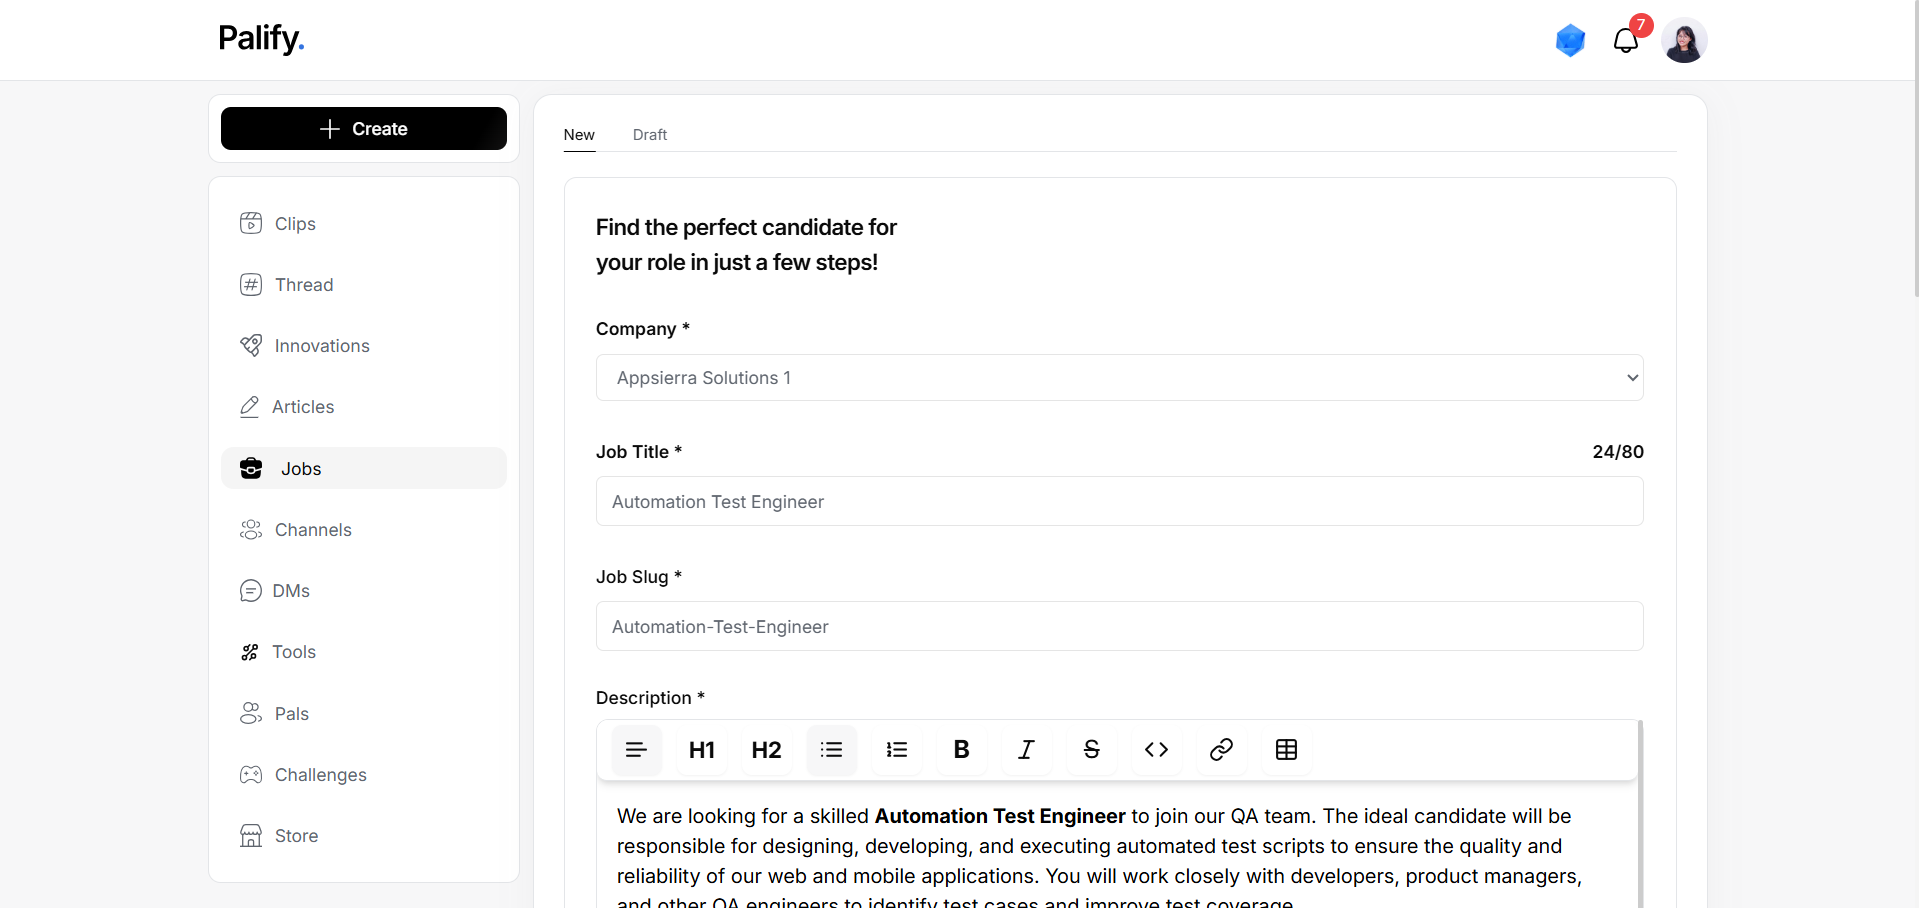
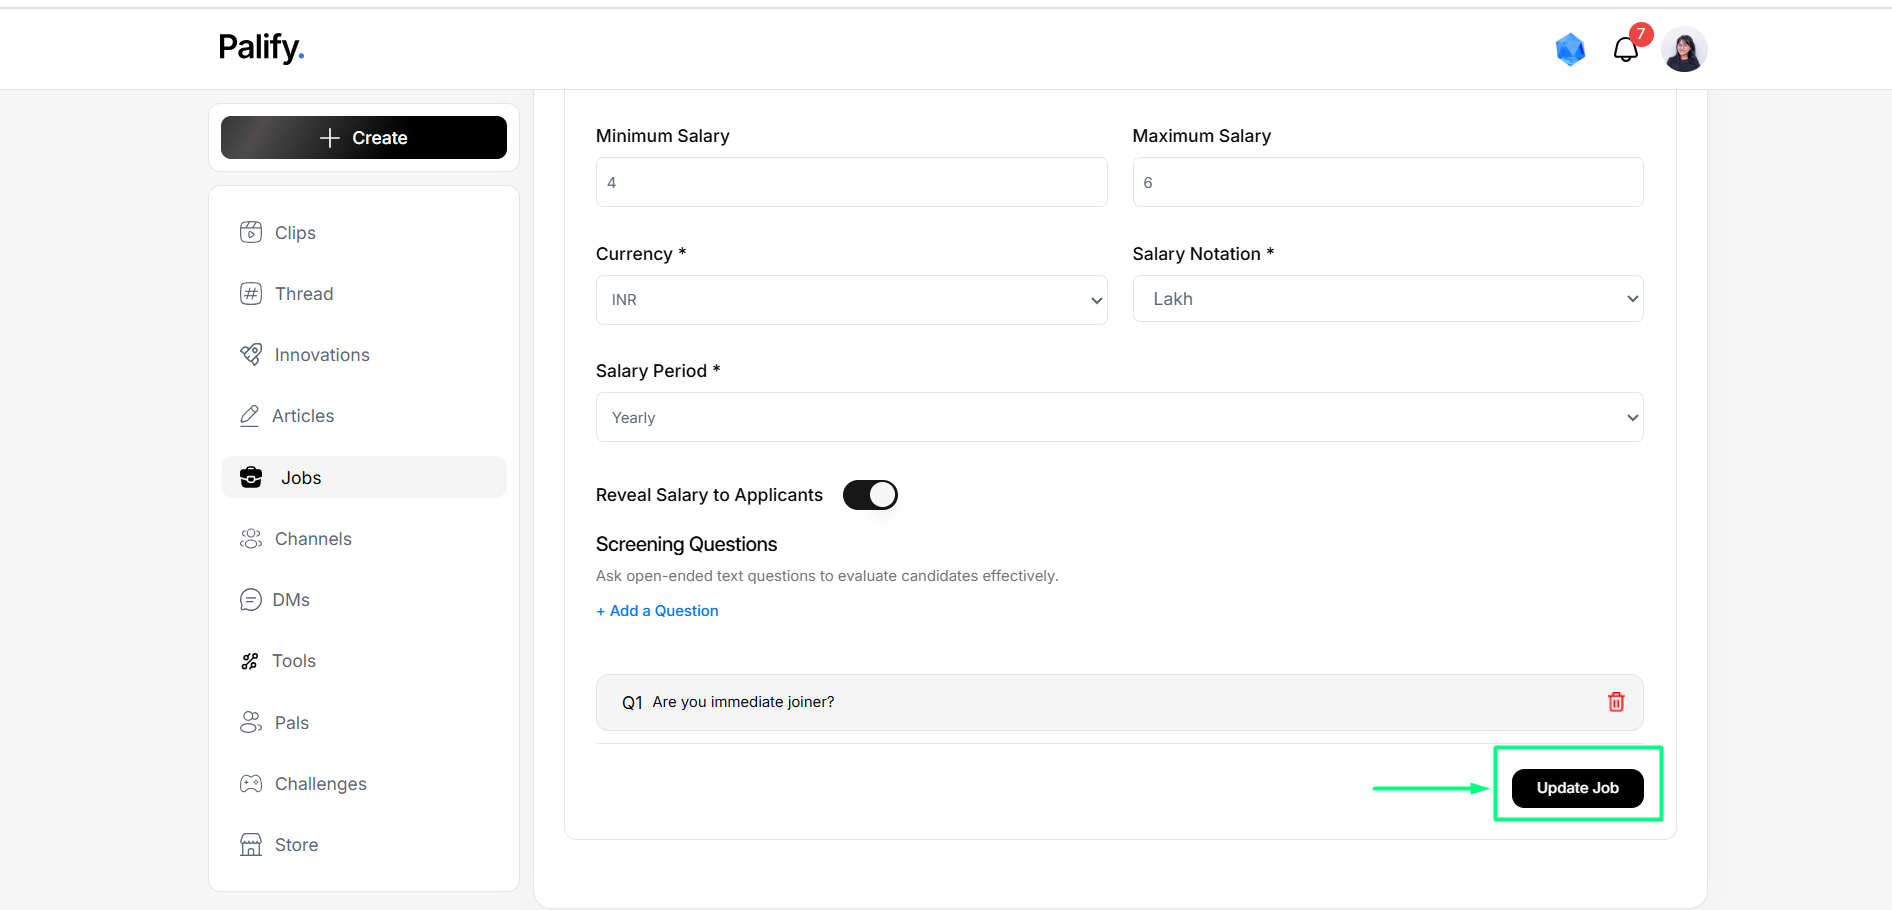
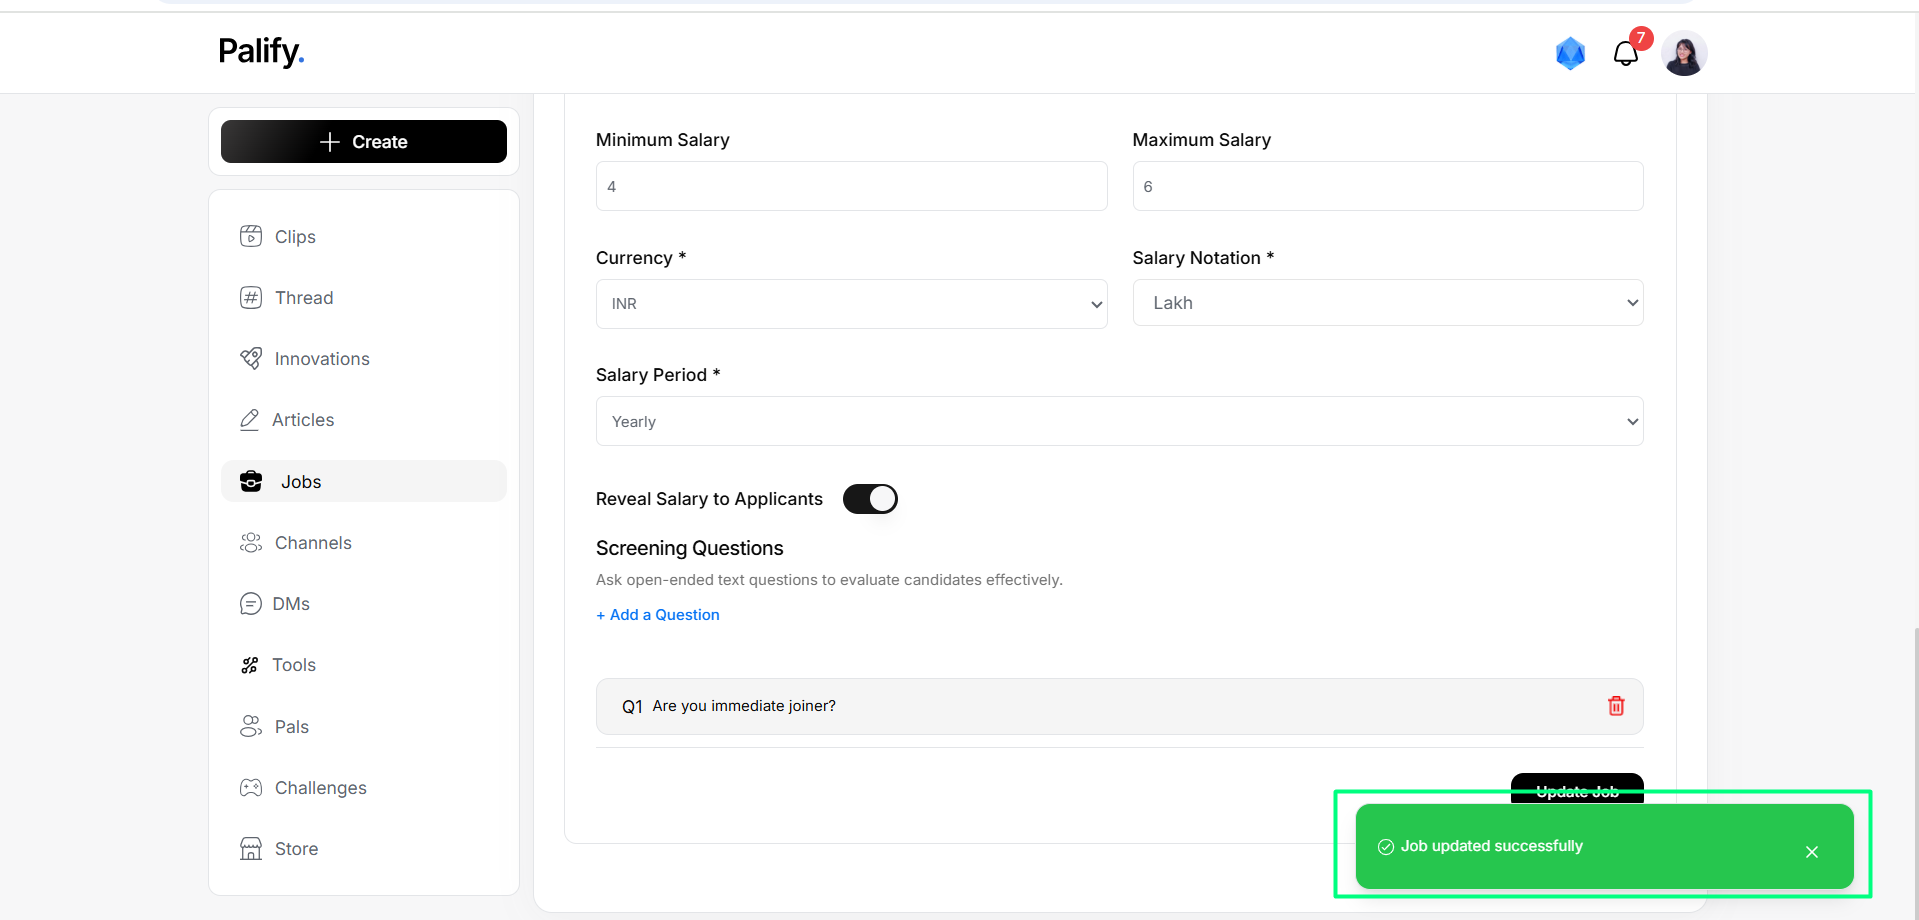
3. Make changes and click Update Job.
Expire Job – Step-by-Step
- Click Expire.
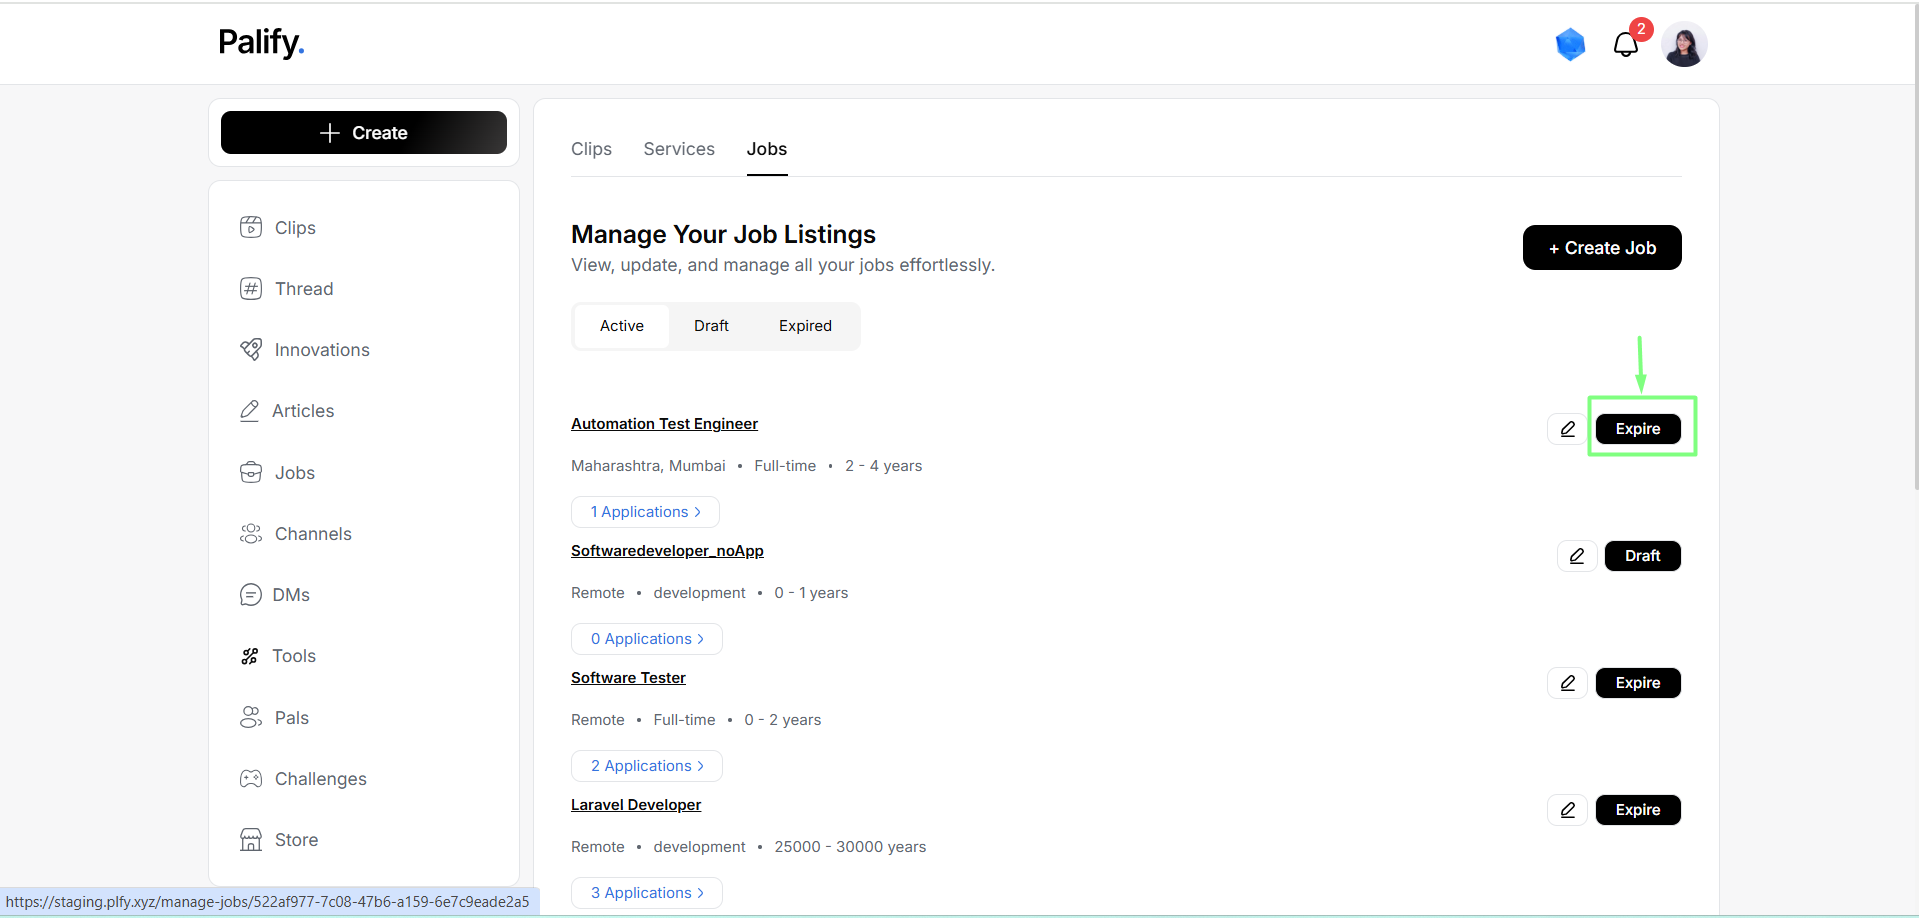
2. Job moves to Expired section.
Move to Draft (No Applicants Only)
- Click Draft.
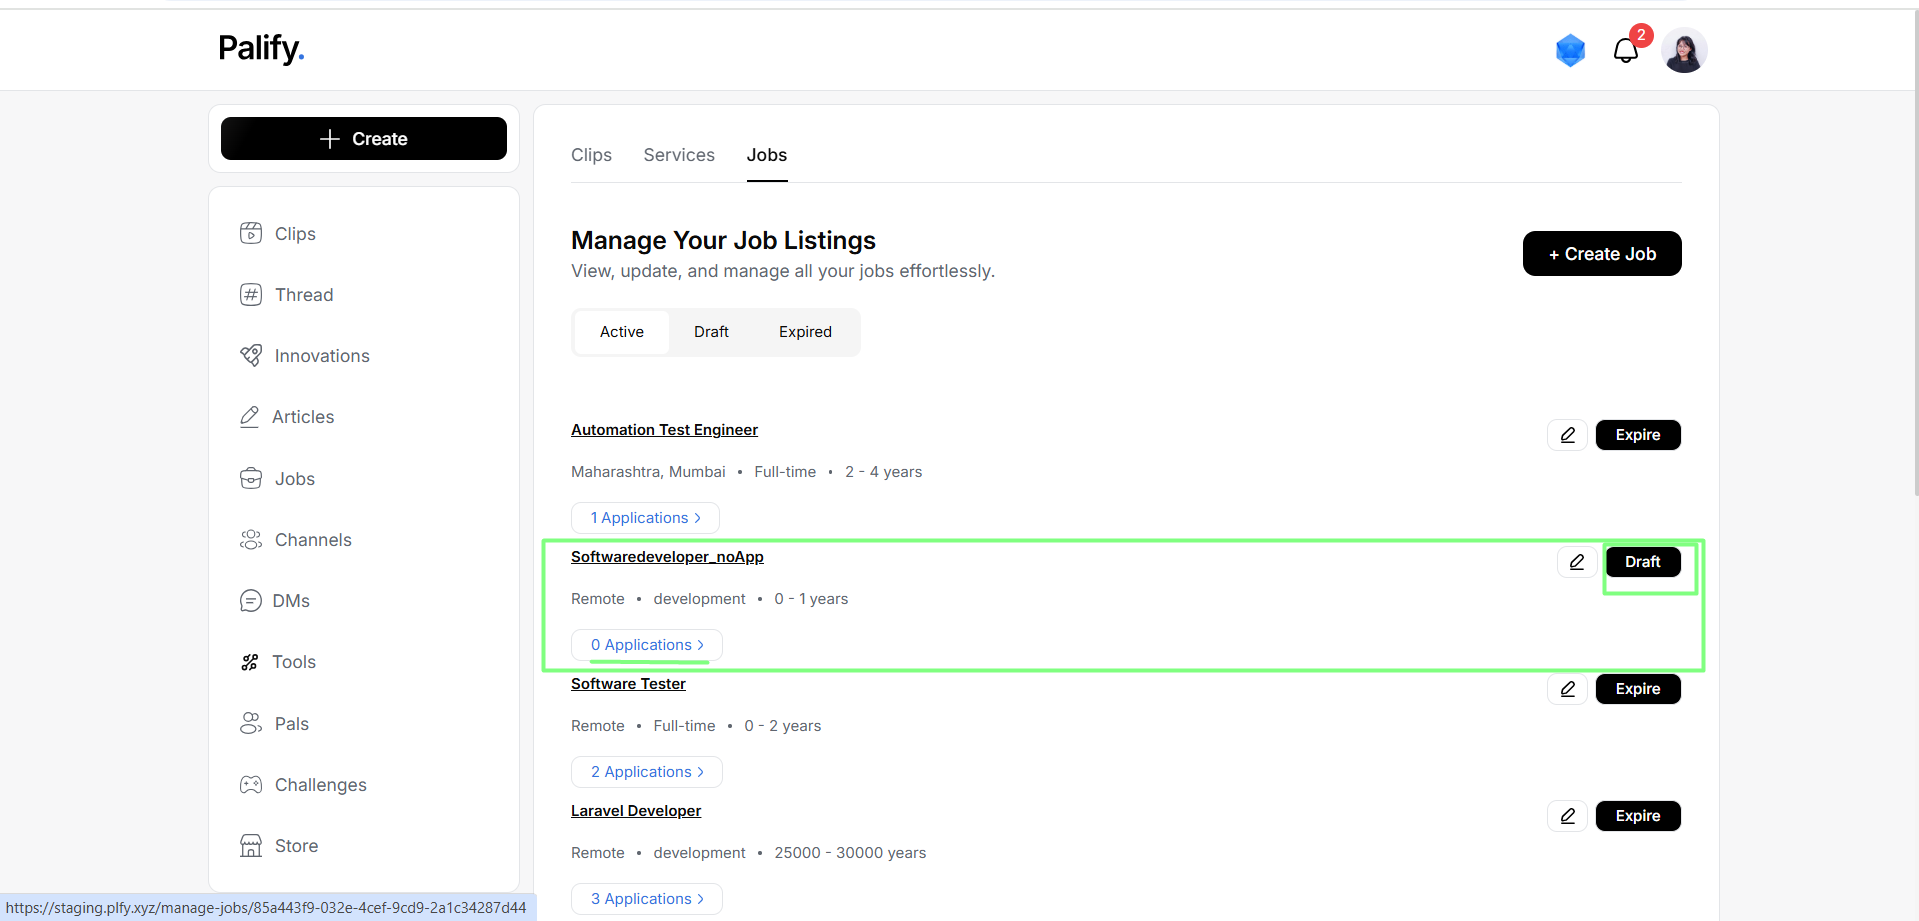
2. Job moves to Draft section.
Note: Jobs with applicants cannot be moved to Draft. Only expiry is allowed.
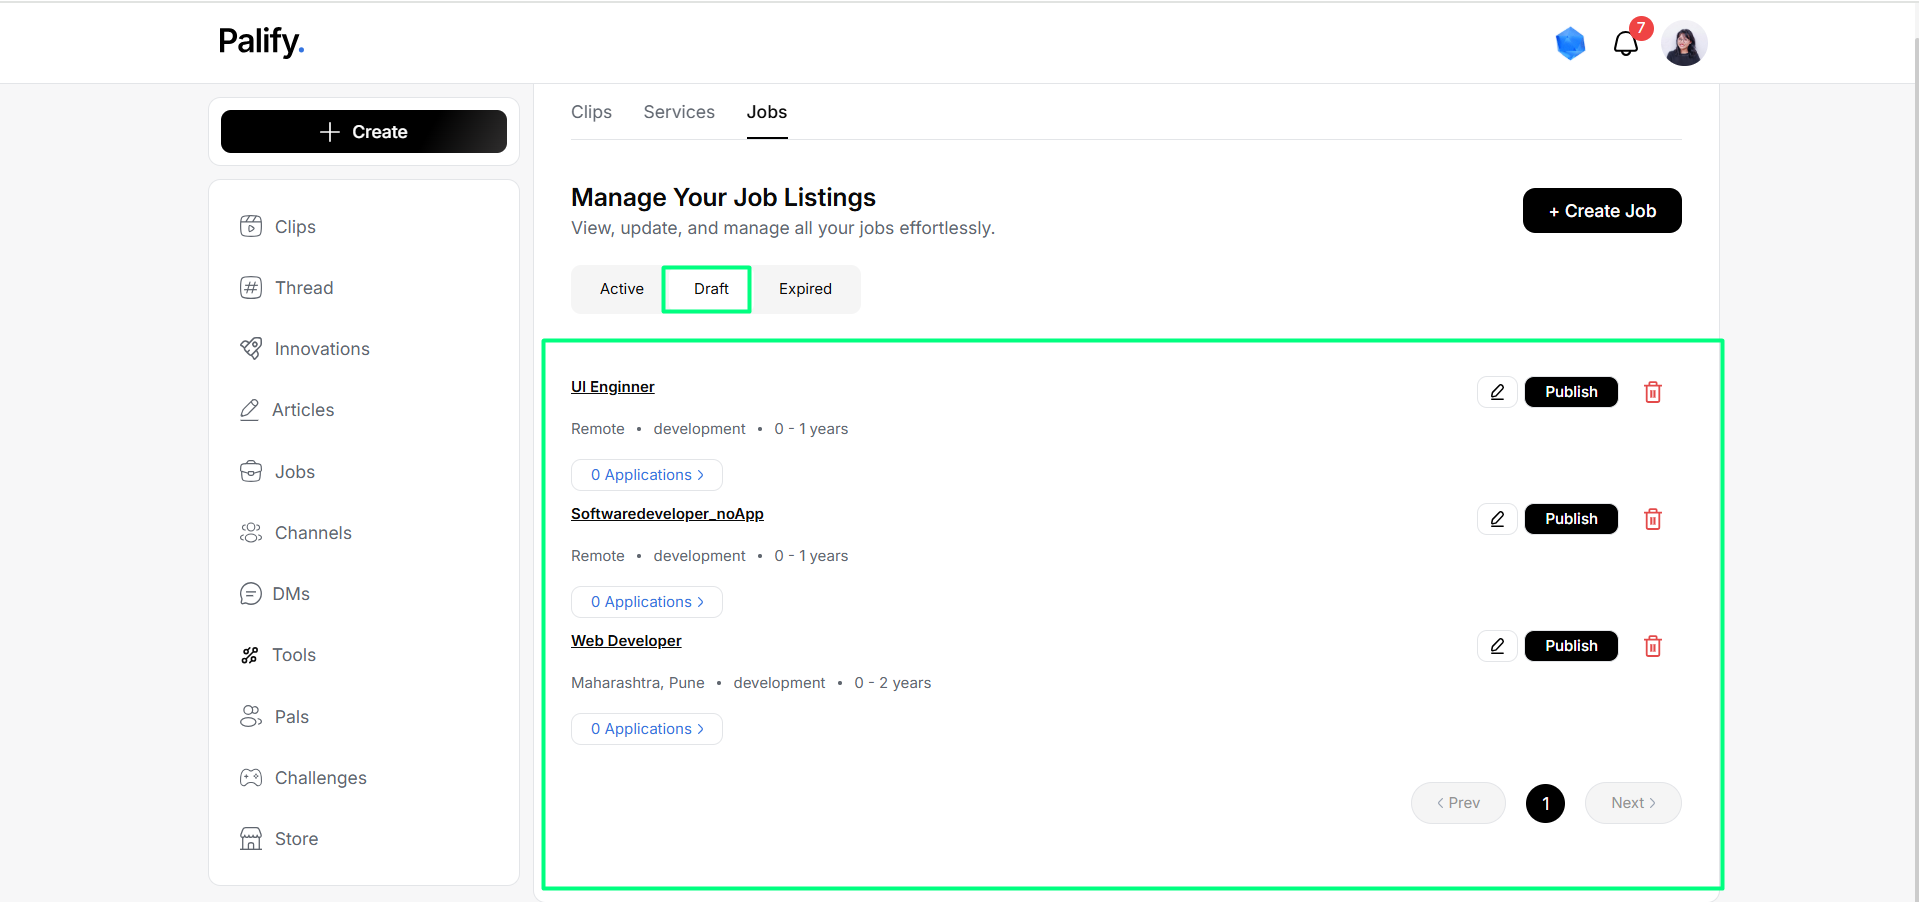
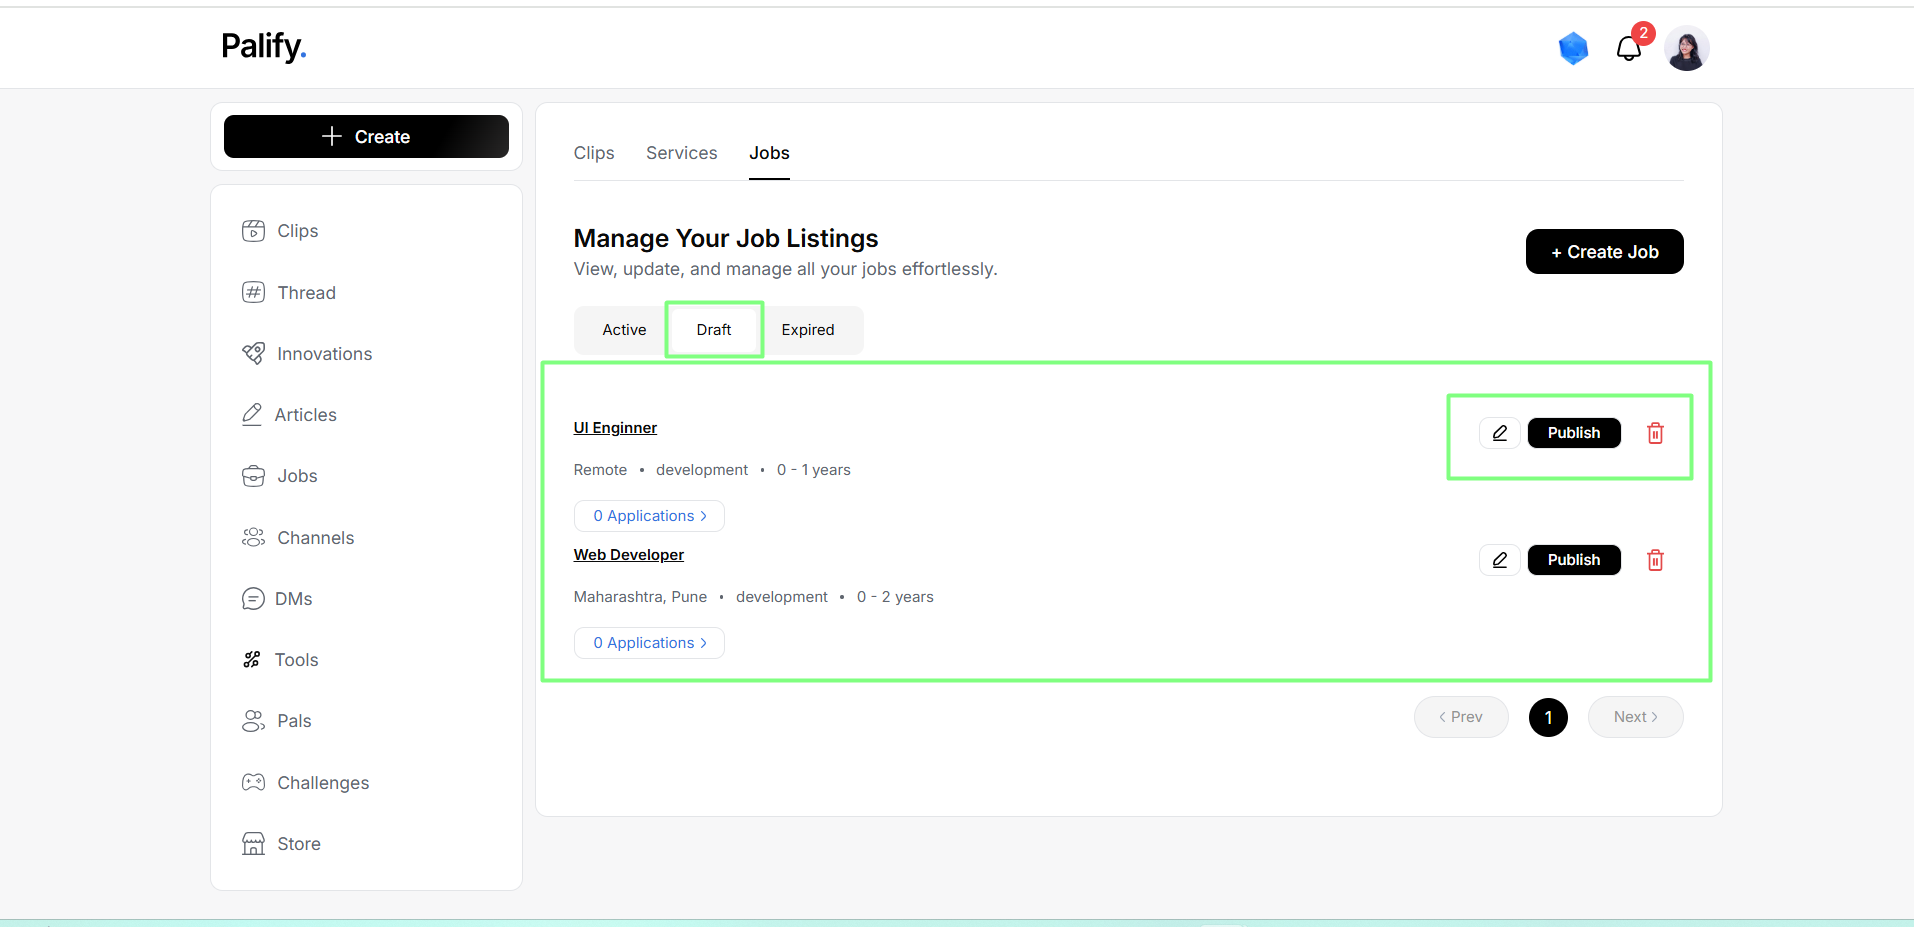
Draft Jobs Tab
Contains jobs not yet published.
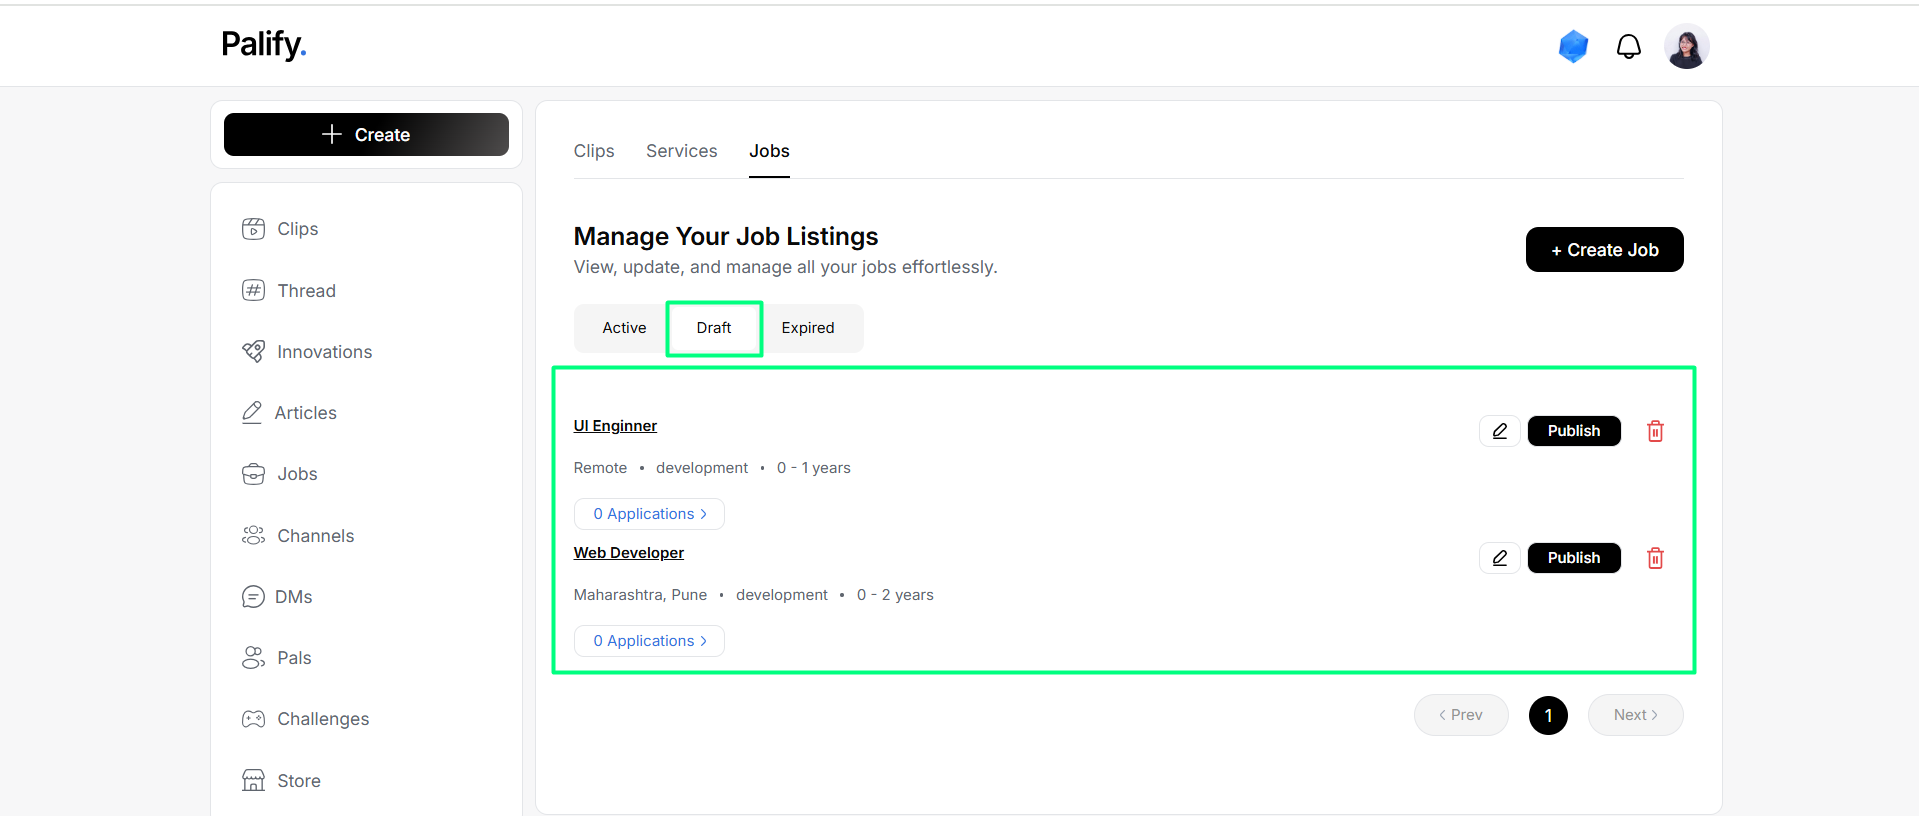
For each draft job:
- Edit
- Publish
- Delete
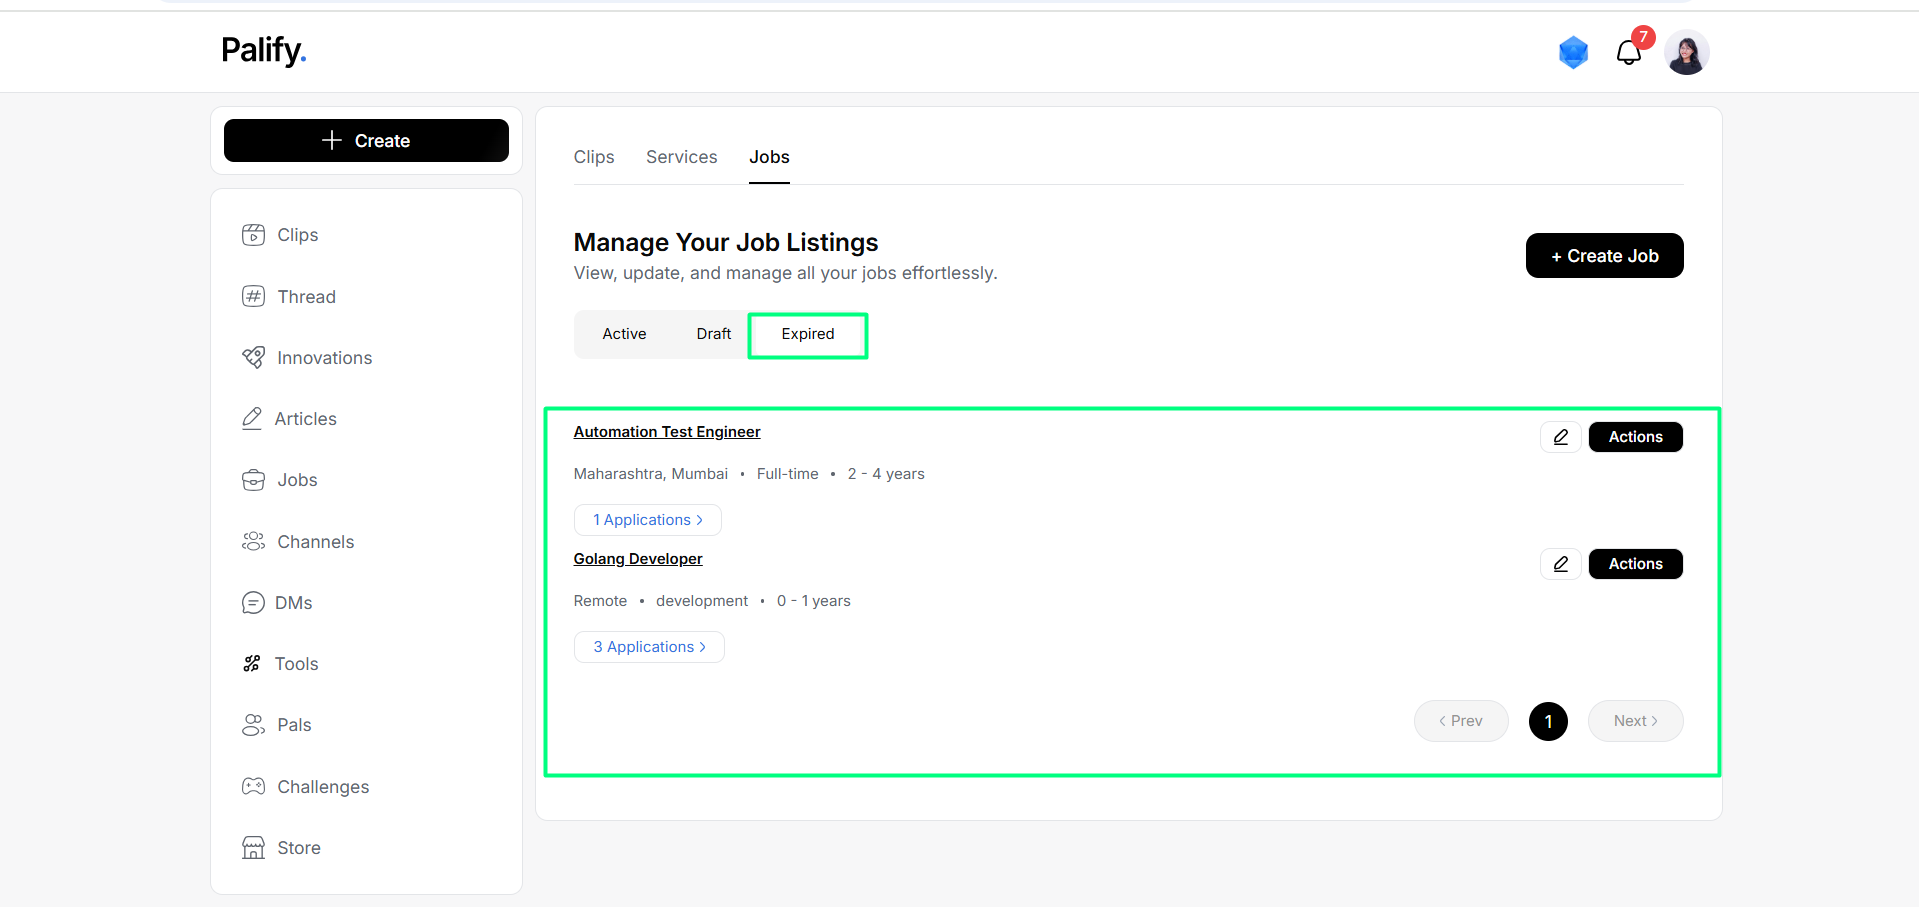
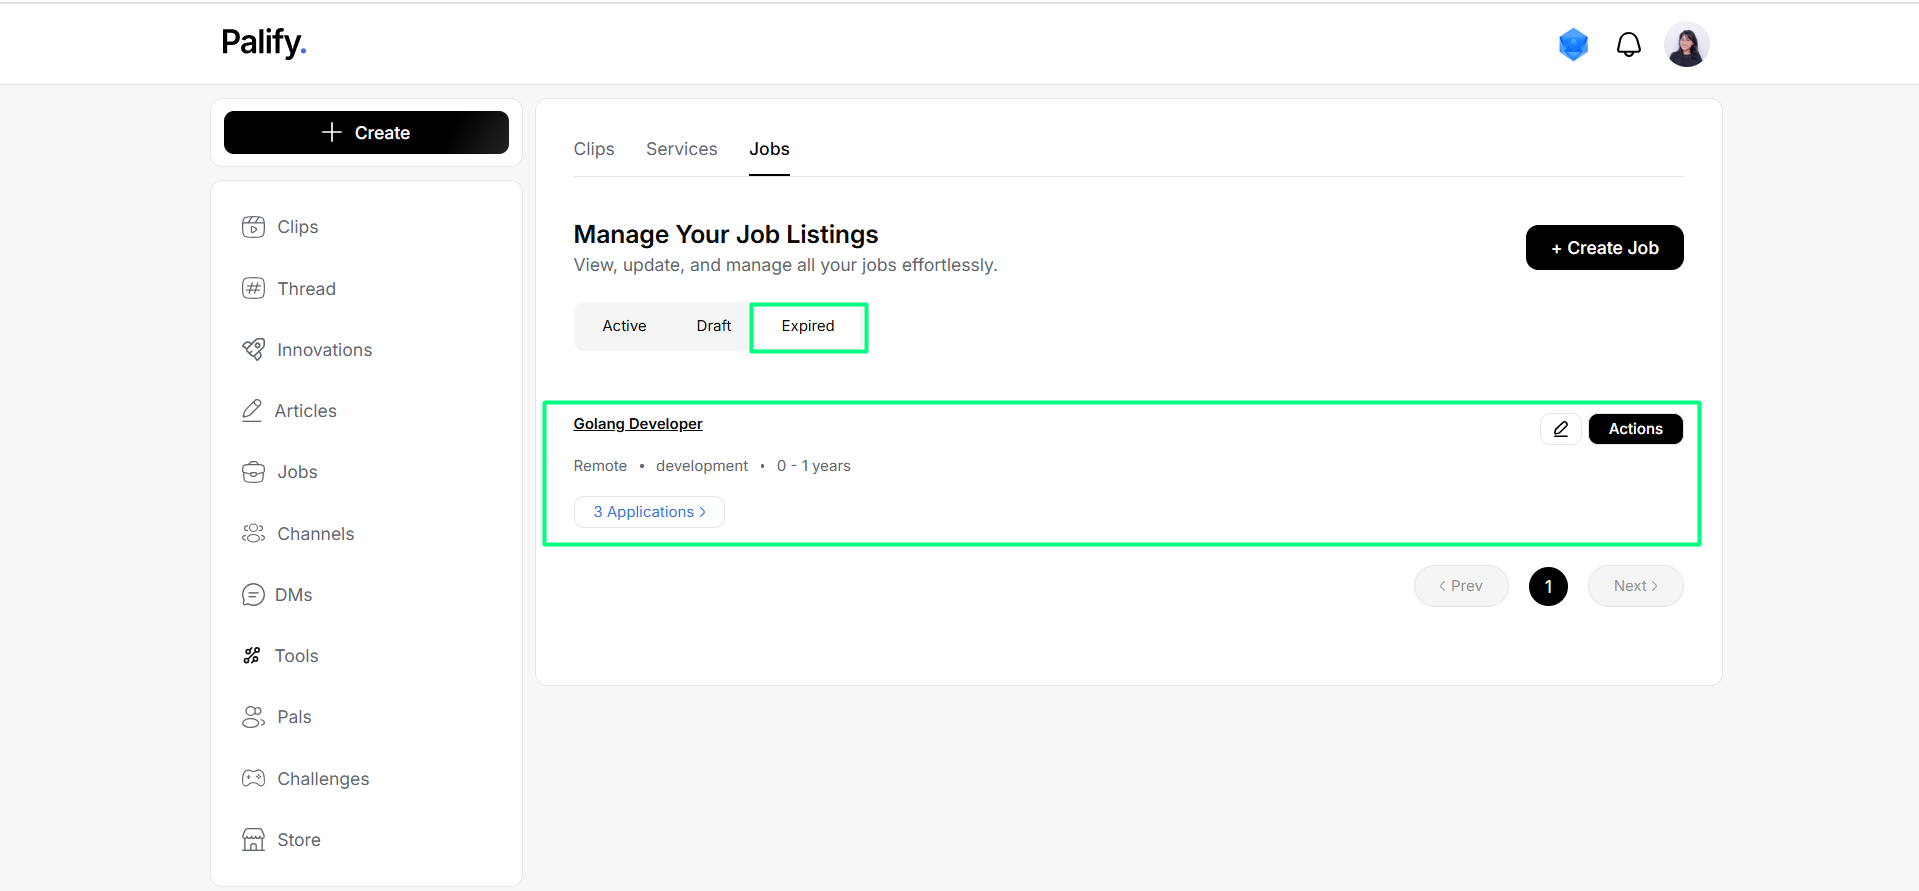
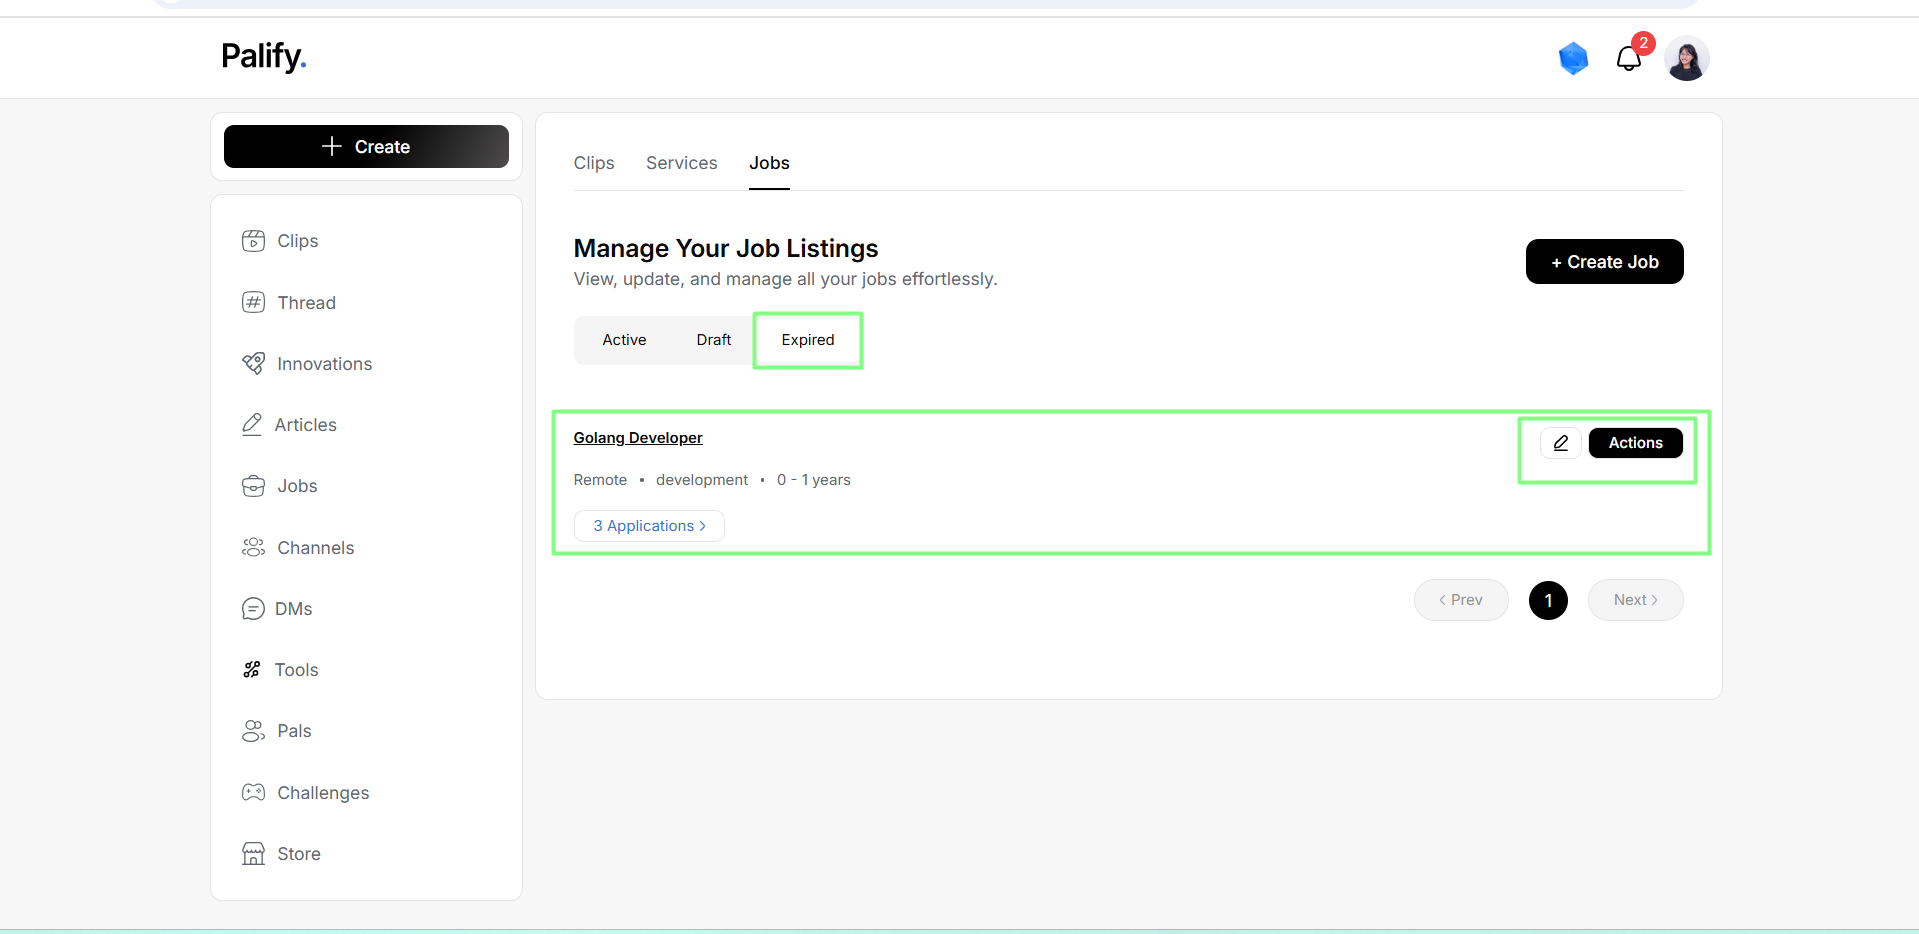
Expired Jobs Tab
Shows jobs expired manually.
Actions:
- Edit job
- Republish via Actions menu
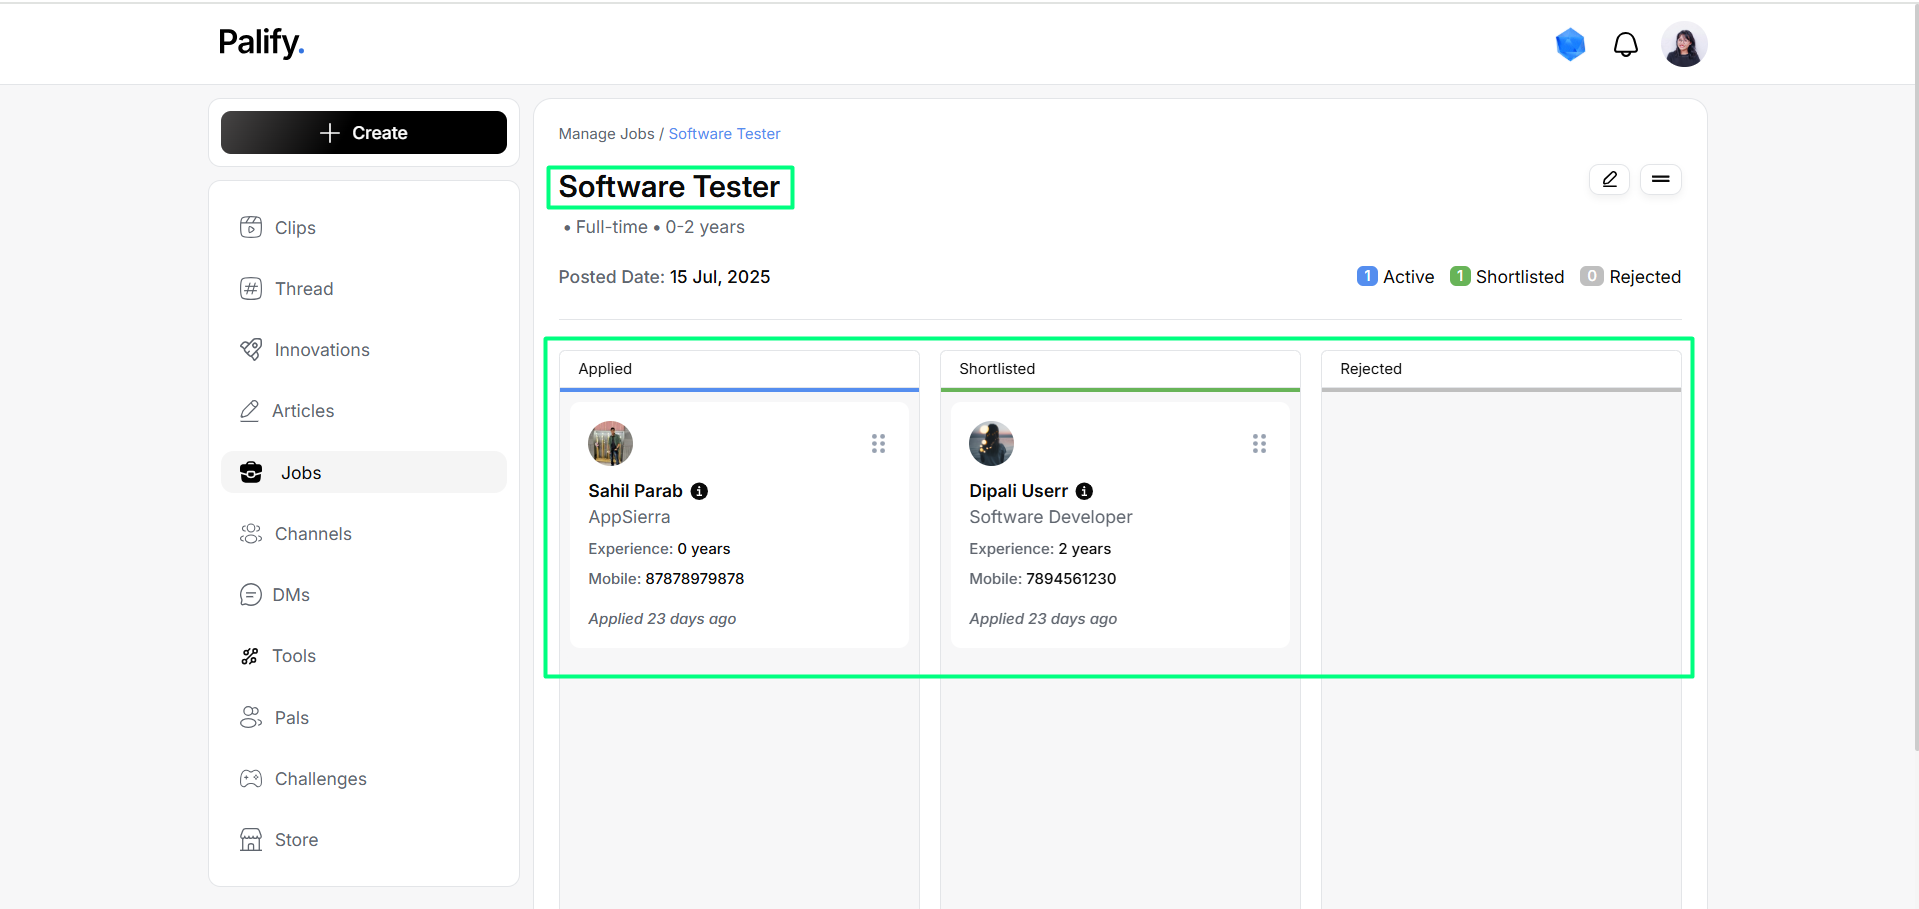
Viewing Applications
When a job has applications:
Click to view applicants:
Job Status Logic
- Jobs with no applicants: freely move between Active and Draft.
- Jobs with applicants: only expiry is allowed.
- Draft jobs: can be published or deleted.
- Expired jobs: can be edited and republished.
