Job Creation Guide - Palify
Overview
The Job Module in Palify serves as a comprehensive and user-centric solution for managing the end-to-end lifecycle of job postings. Tailored for modern recruiters, HR professionals, and talent acquisition teams, this module streamlines the process of creating, editing, saving, and publishing job listings with precision and ease.
From defining the job role and responsibilities to assigning listings to a specific company profile, the Job Module ensures complete control over how job opportunities are structured and presented on the platform. It supports both minimal and detailed listings—offering flexibility with optional enhancements like skill tags, screening questions, and salary visibility controls to improve applicant targeting.
Steps for Job Creation
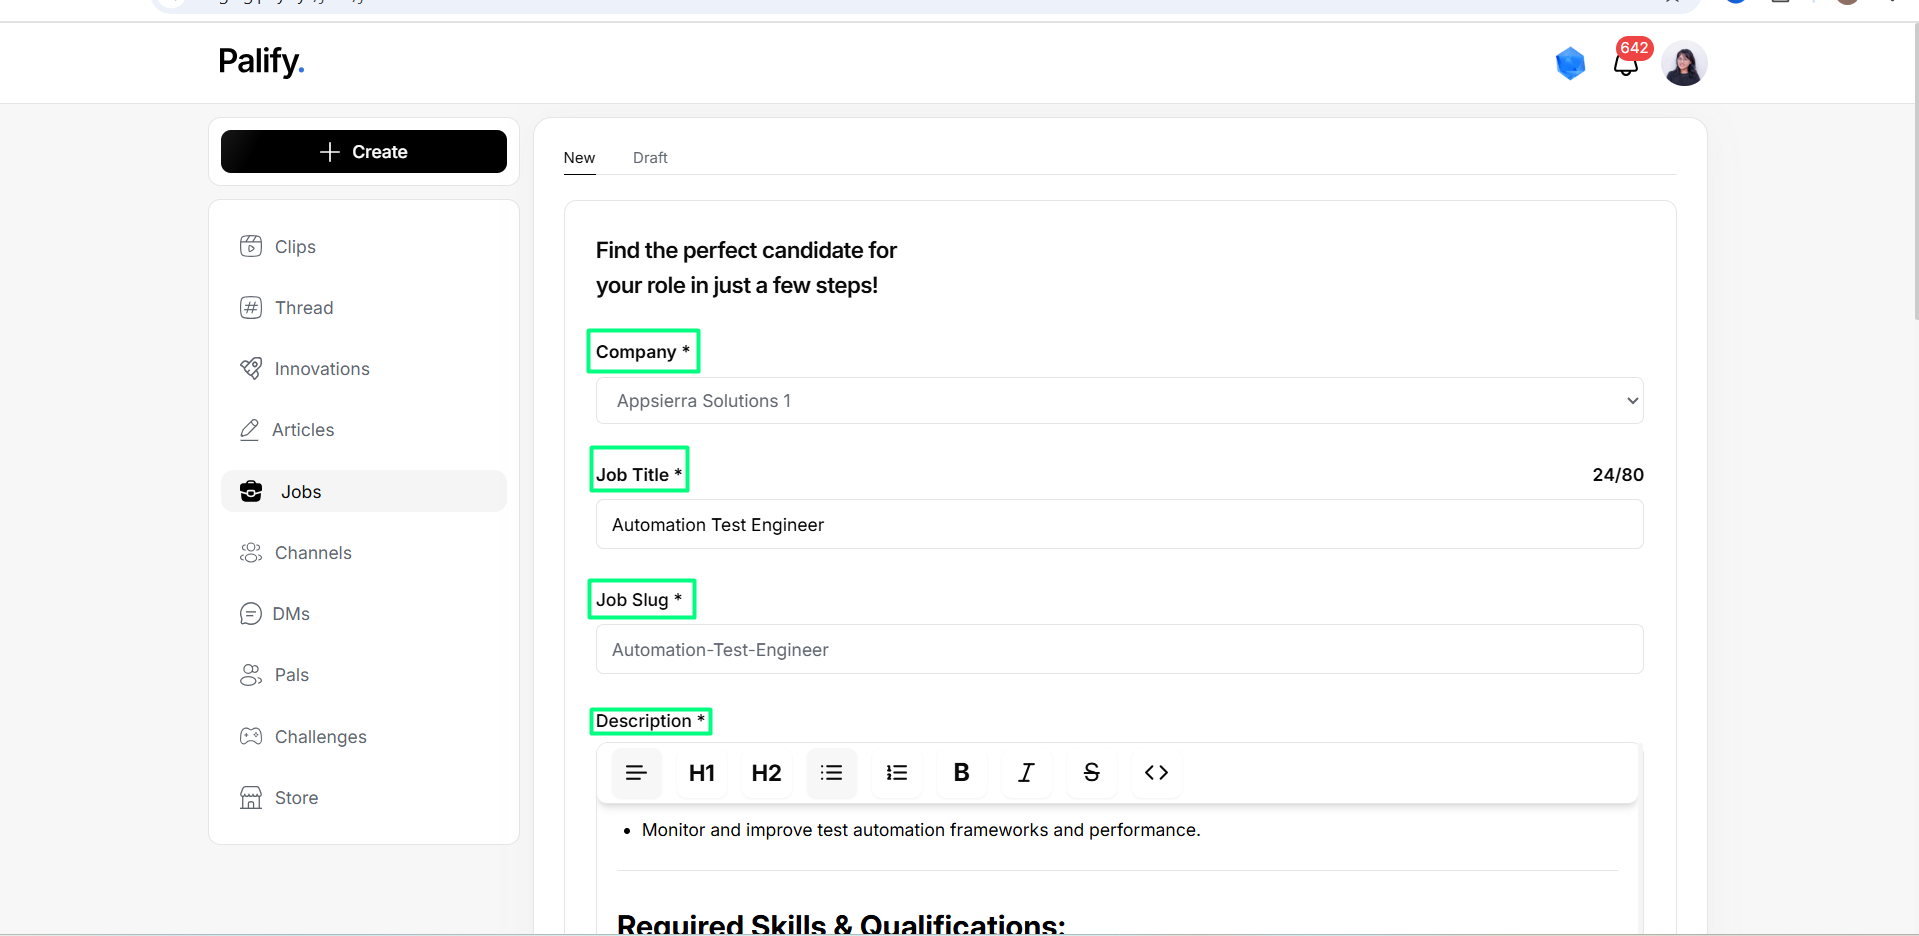
1. Select Company
Choose the relevant company from the dropdown to associate the job post correctly.
2. Fill in Job Details
Mandatory Fields :
- Job Title
- Description
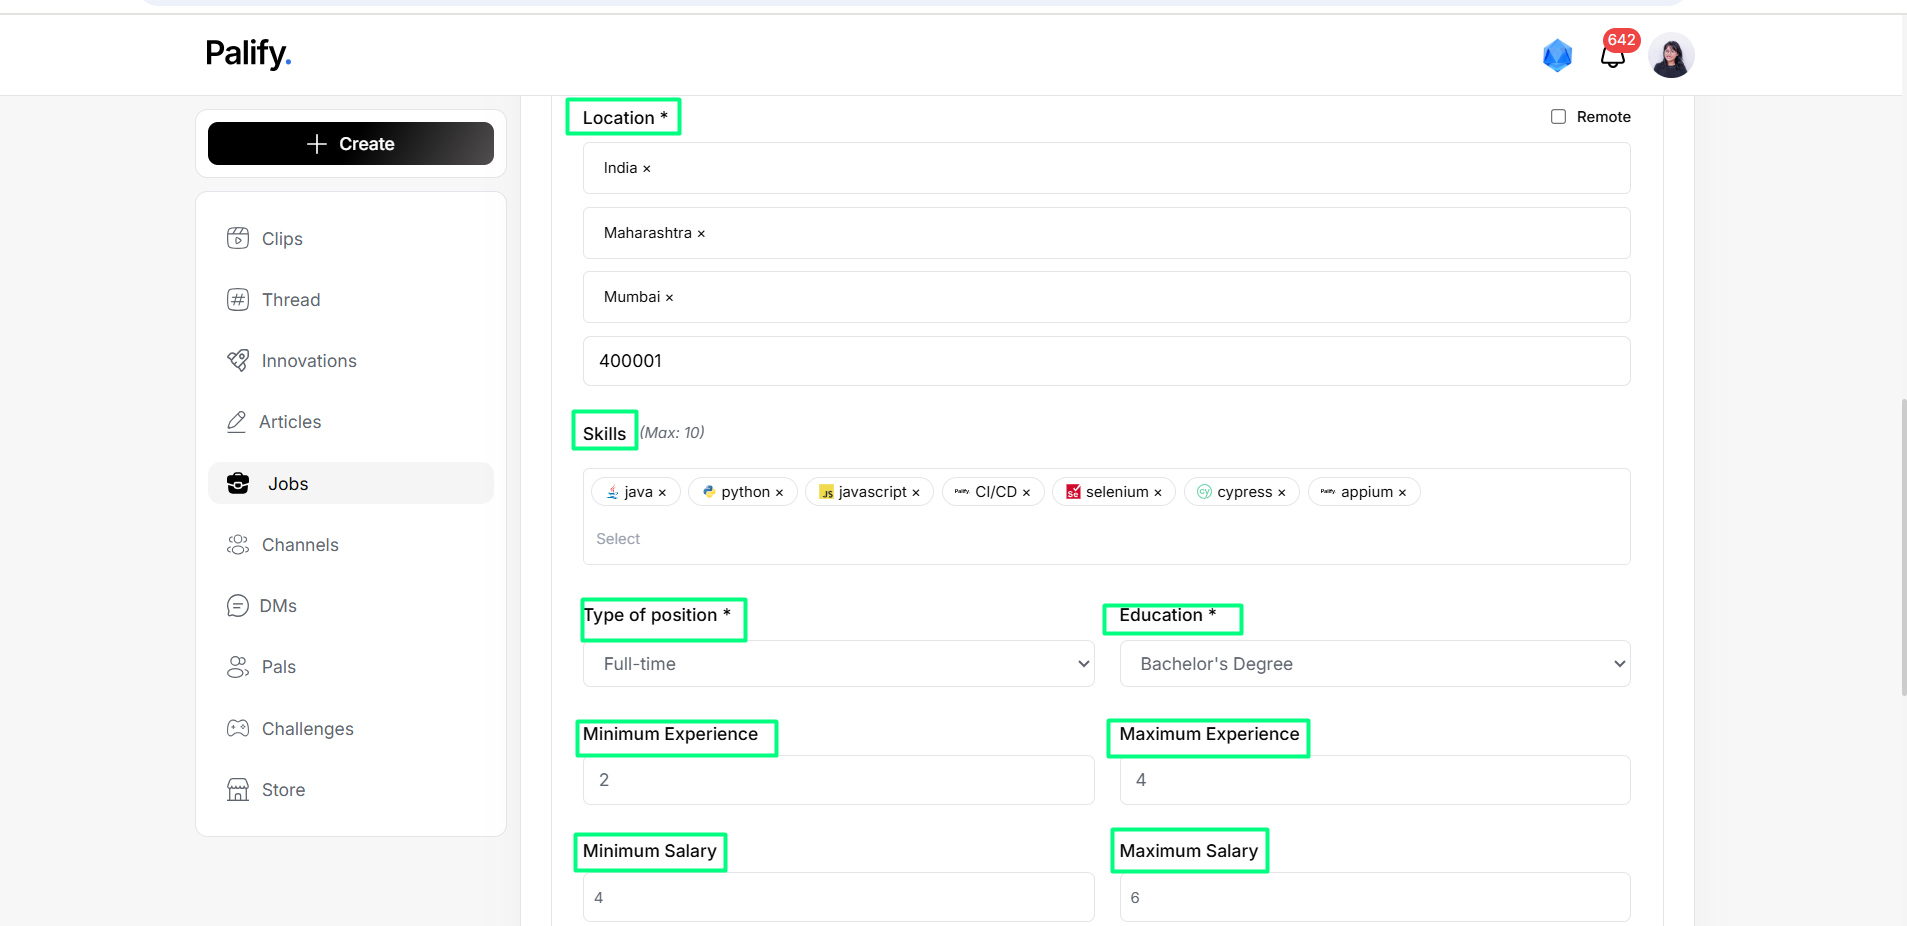
- Location – City/State or “Remote”
- Type of Position – Full-time, Part-time, Contract, Internship
- Education – e.g., Bachelor’s Degree
- Currency, Salary Notation & Period
Optional Enhancements :
- Skills
- Screening Questions
- Reveal Salary Toggle
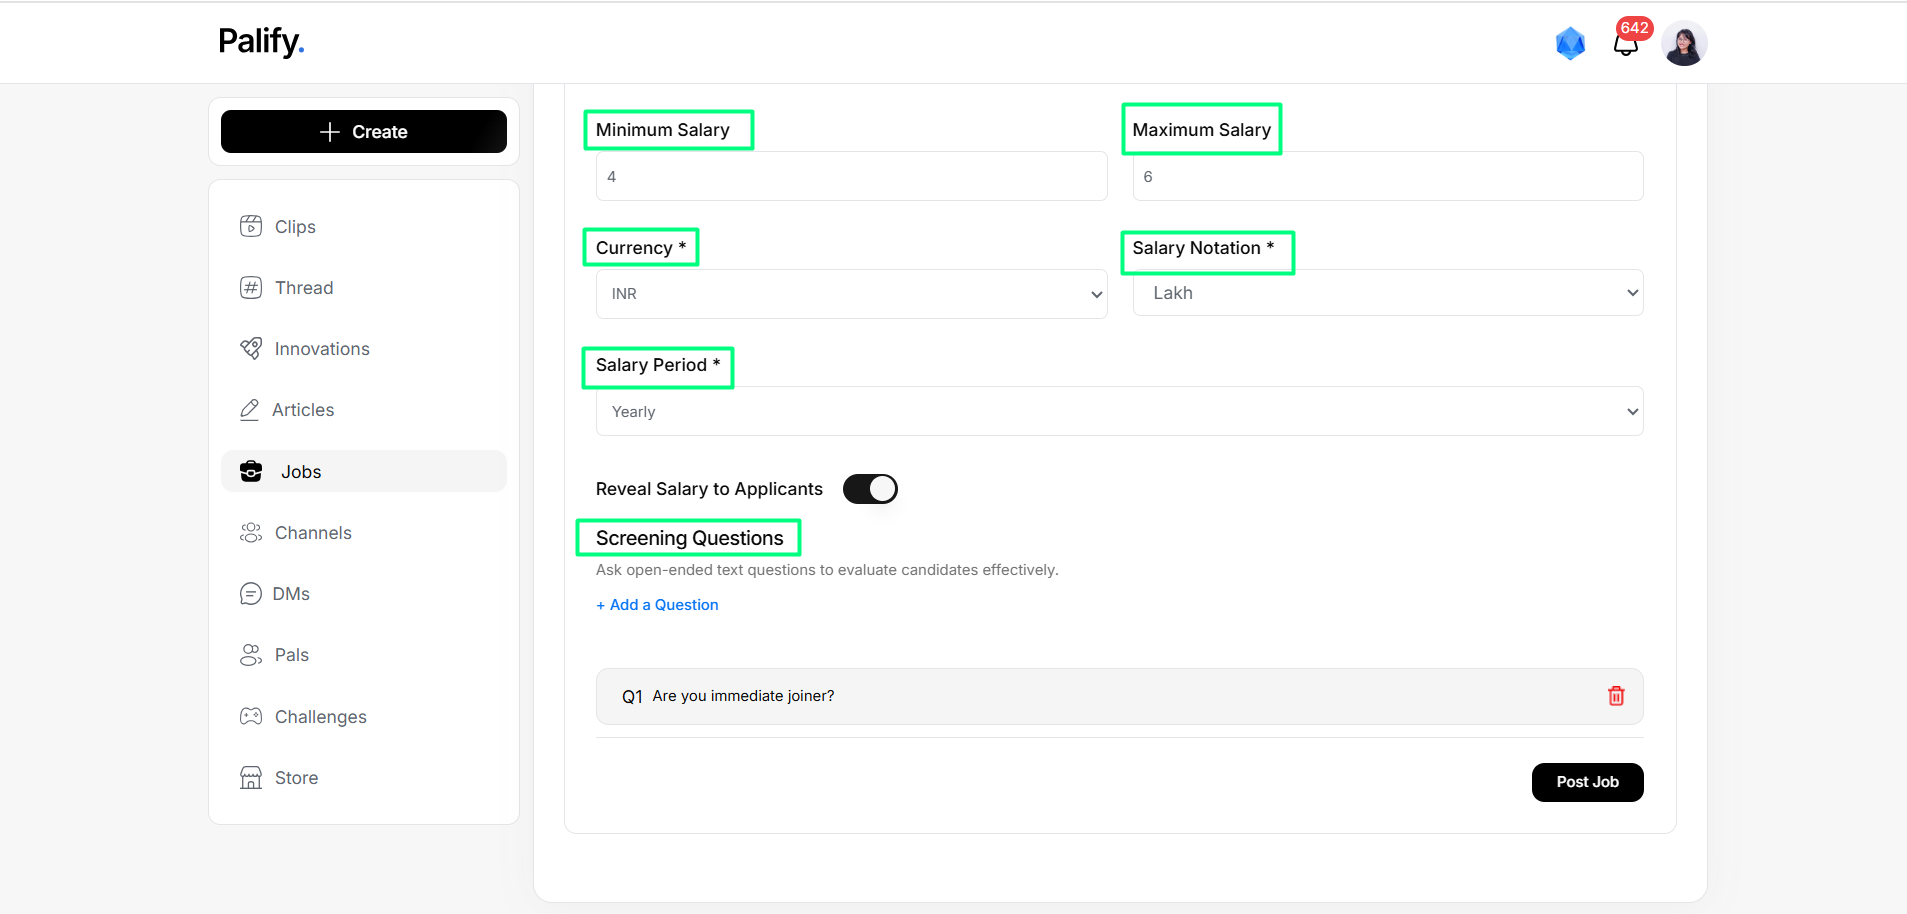
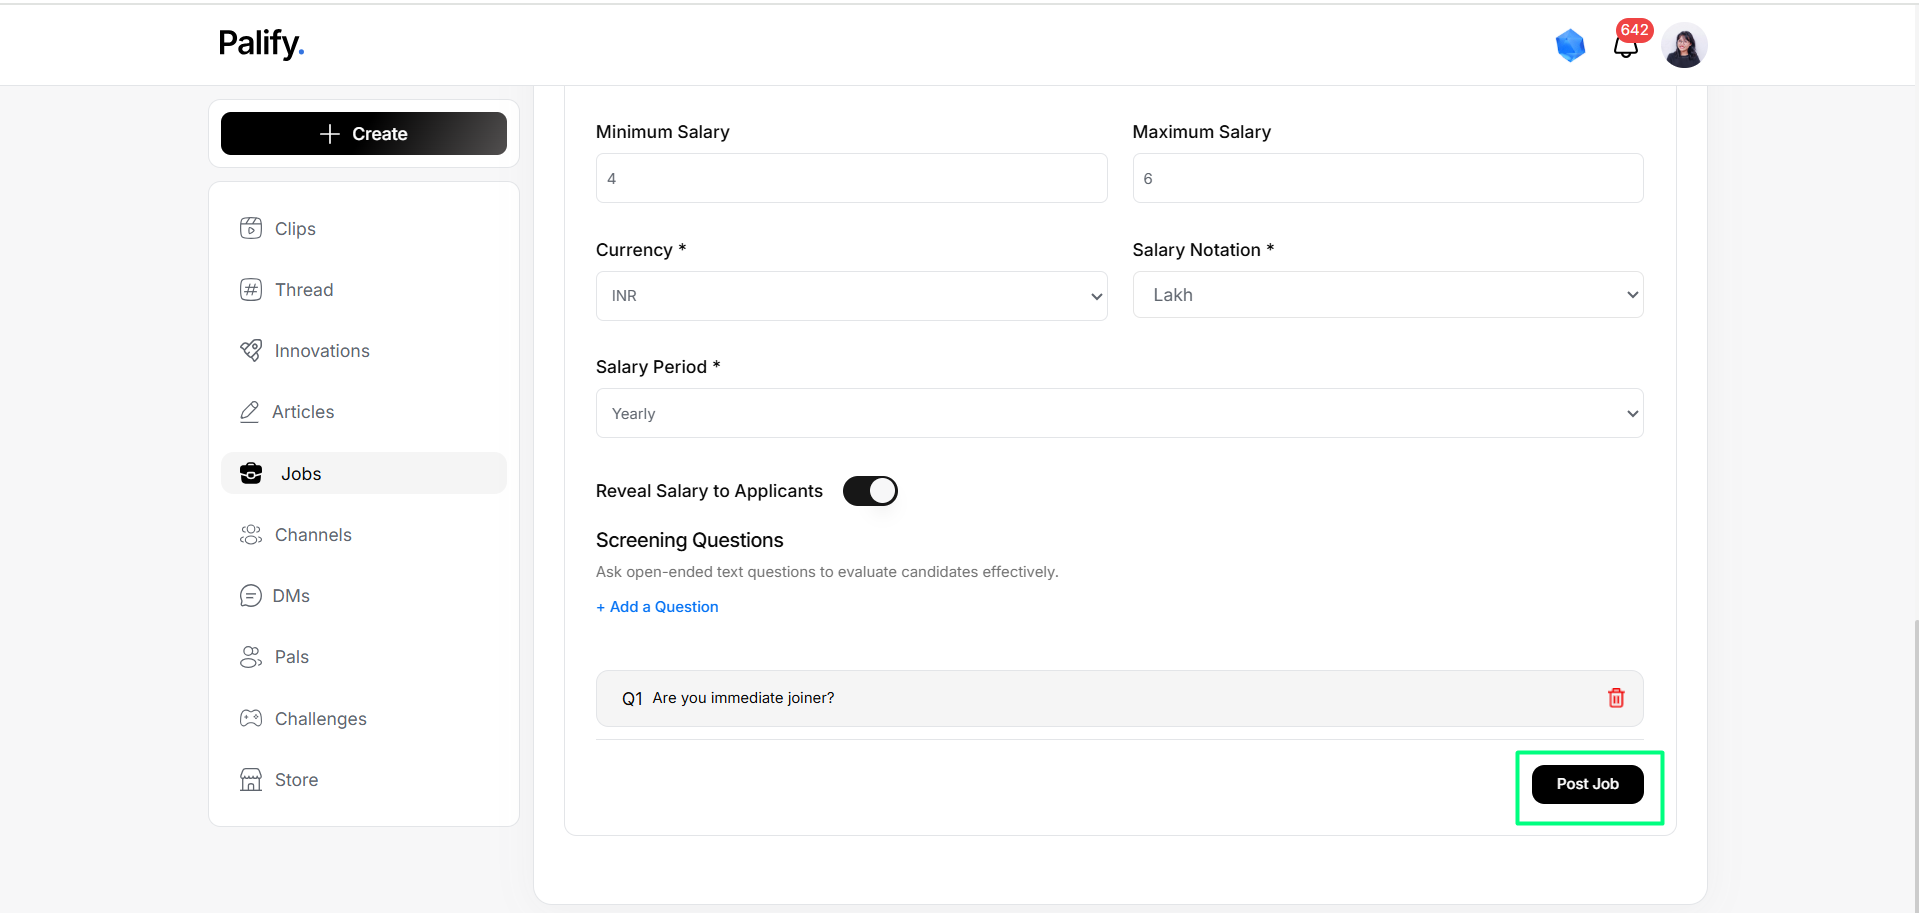
3. Post Job
Click the button below to save the job as a draft.
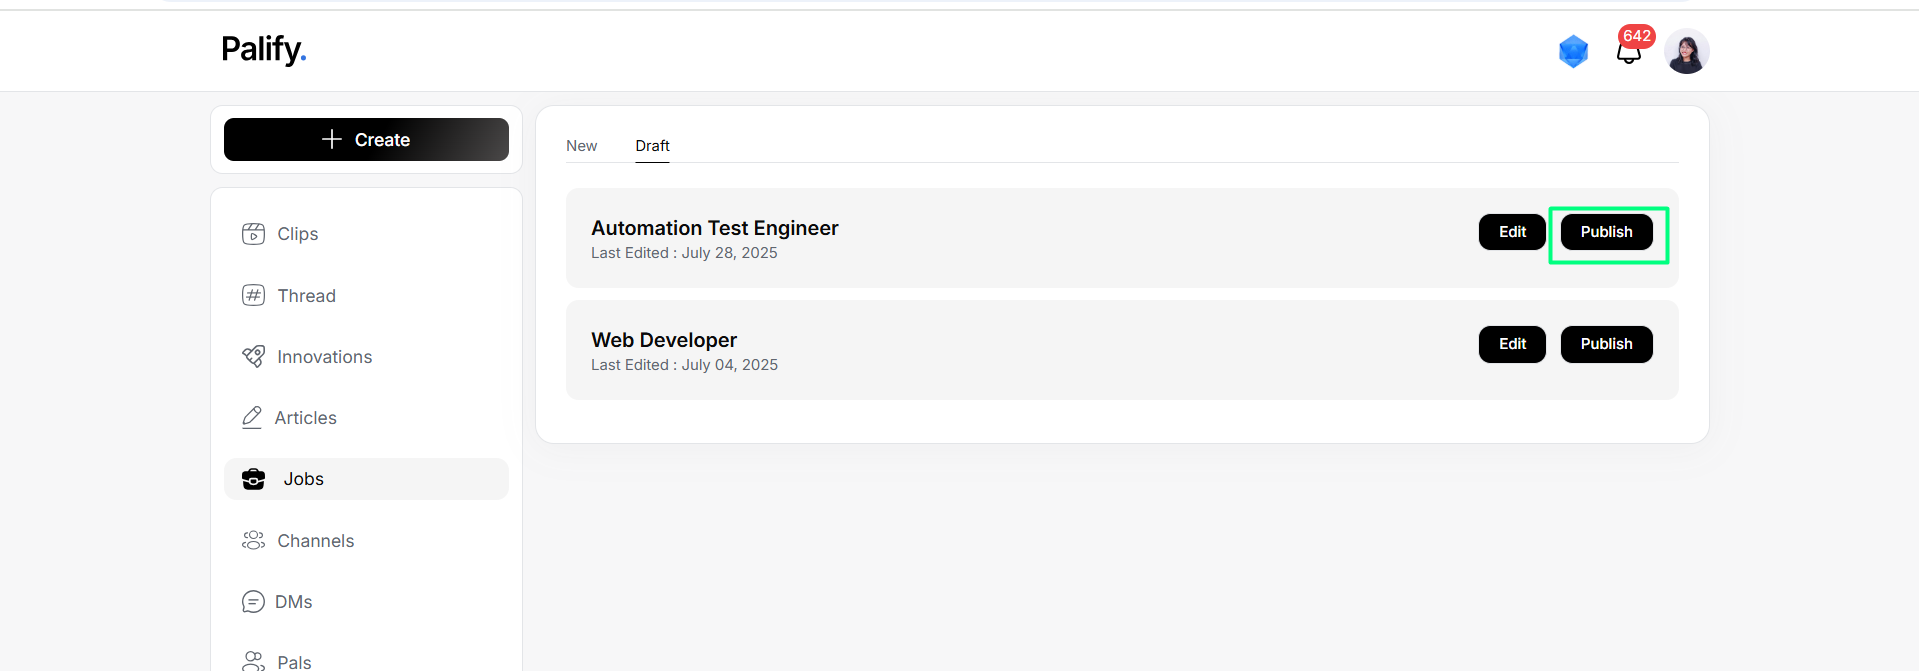
4. Publish the Job
- Go to Drafts
- Find your job listing
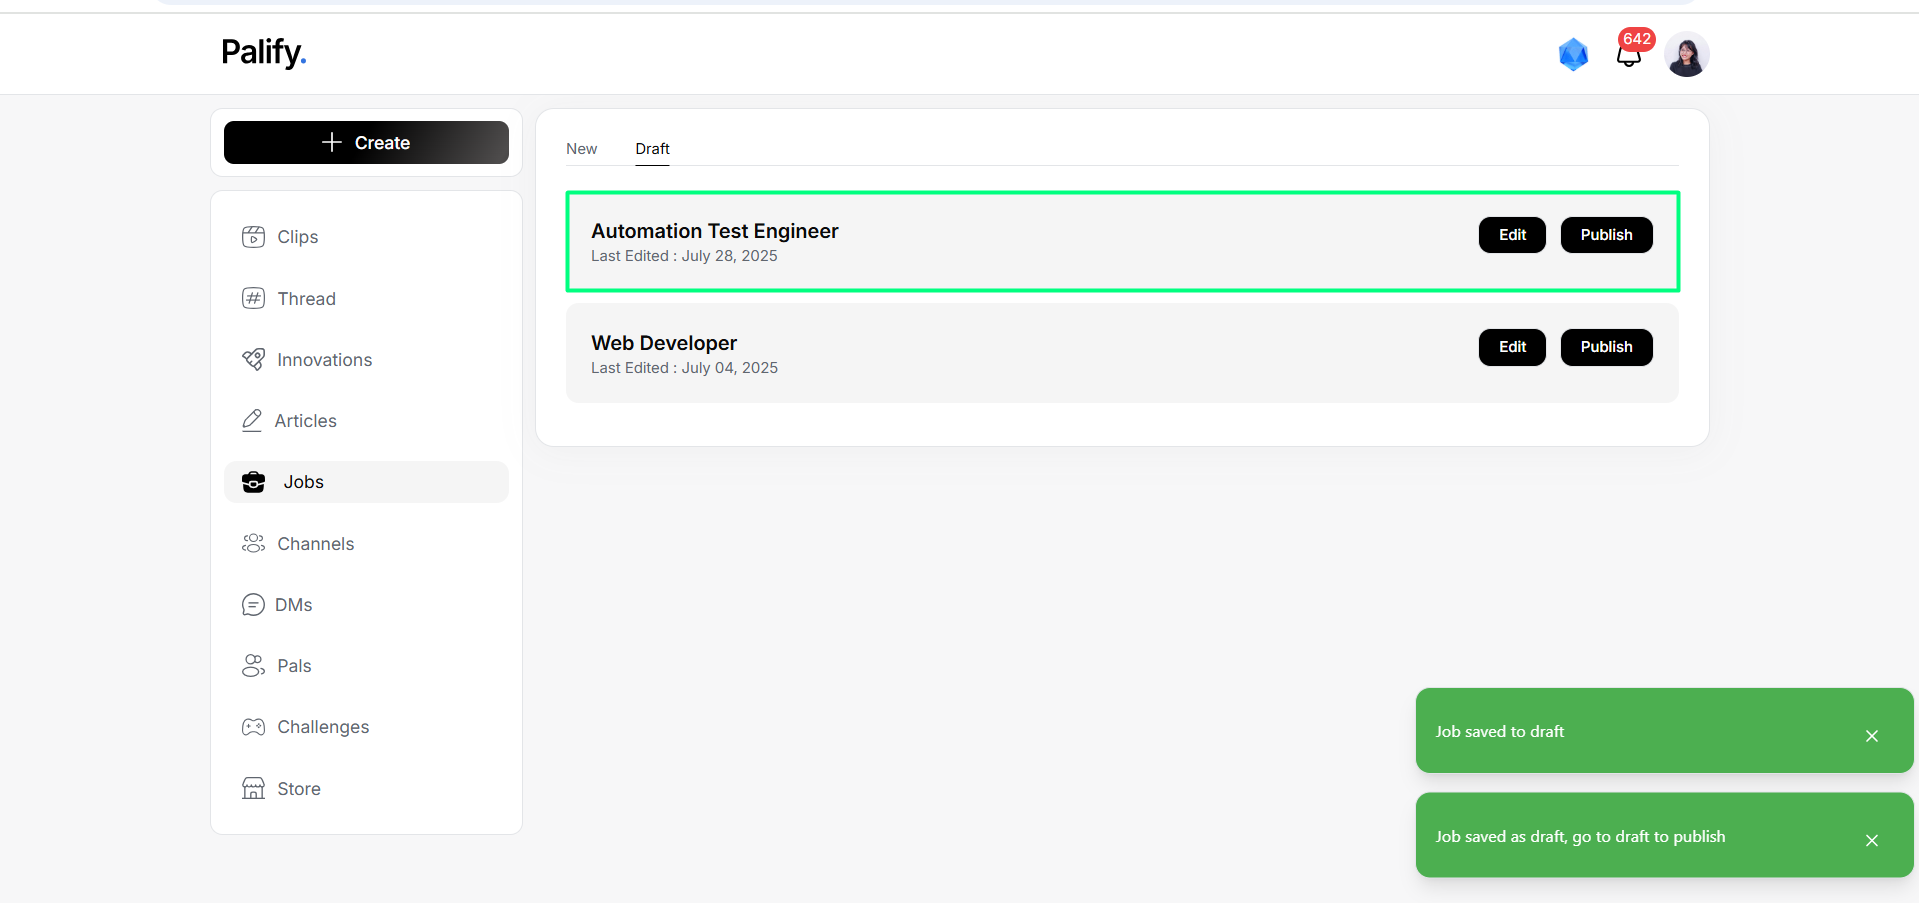
- Click Publish
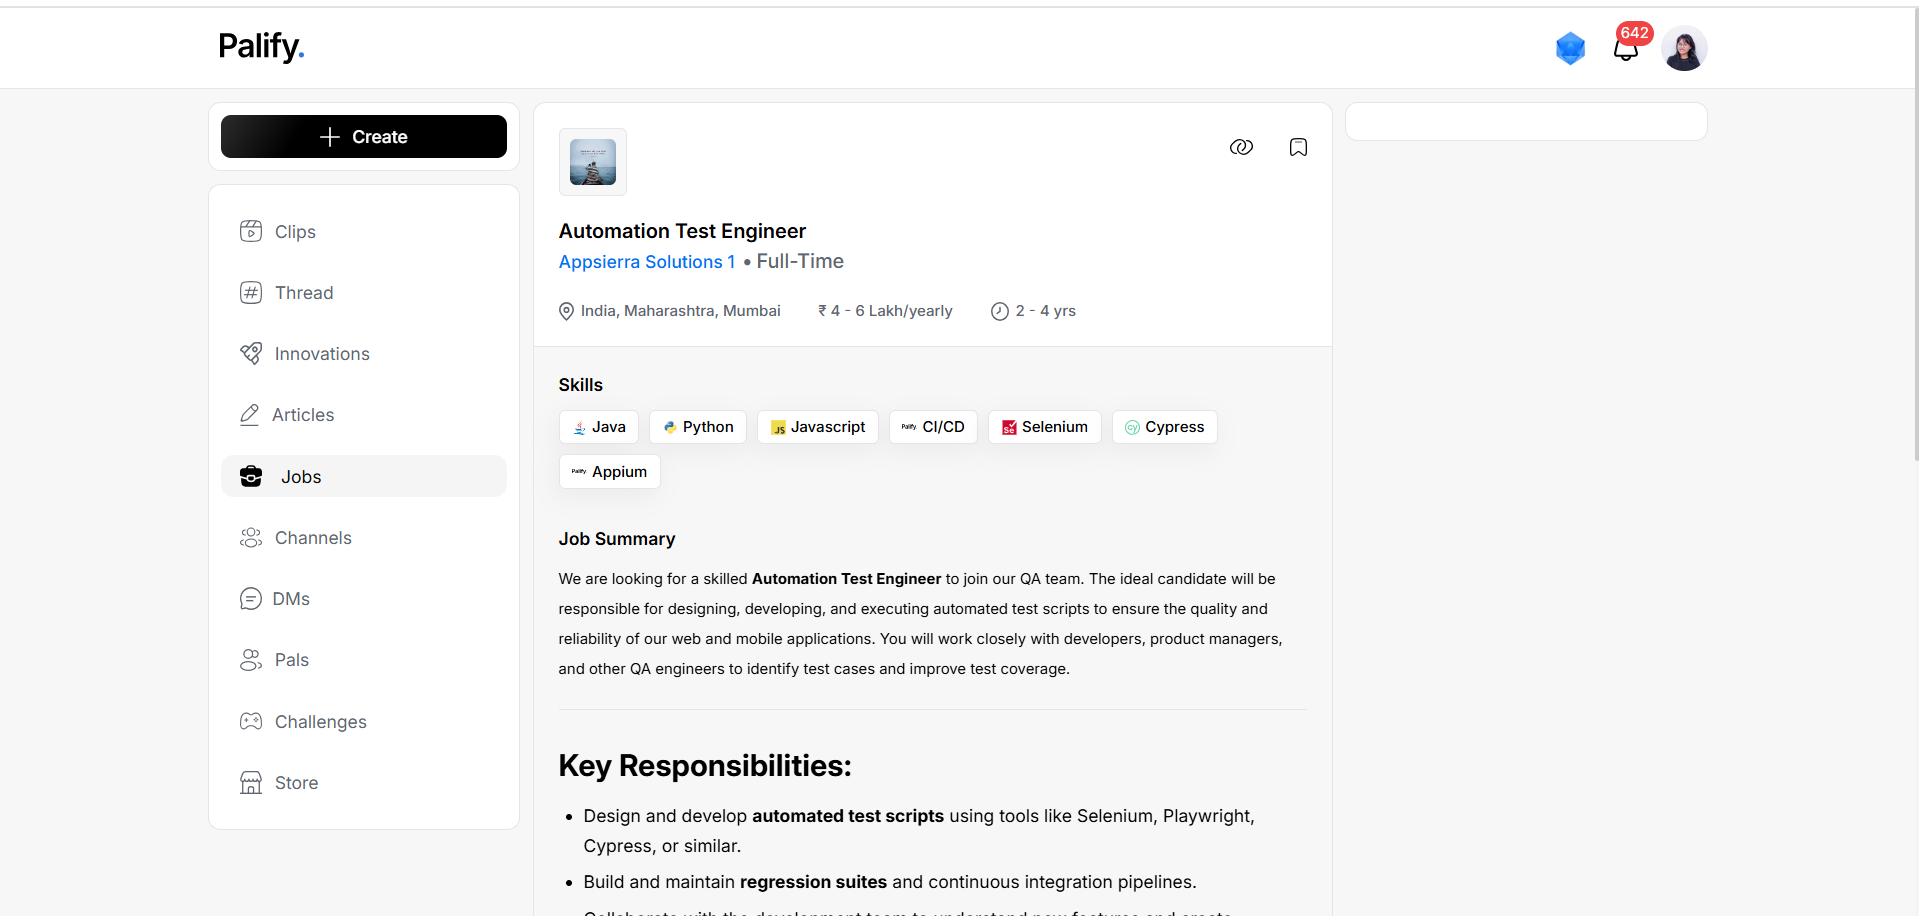
5. View in ‘Jobs > For You’
After publishing:- Go to Jobs > For You
- See your listing live
Summary
- Link job to company
- Add optional filters like skills and screening questions
- Draft & Publish workflow
- Appear in “For You” section post-publication