Dashboard & Theme Settings
Overview
The Dashboard provides users with a comprehensive view of their profile performance, engagement metrics, booked services, and service history.
It acts as a central hub for tracking your activity and service interactions on the platform.
How to Access the Dashboard
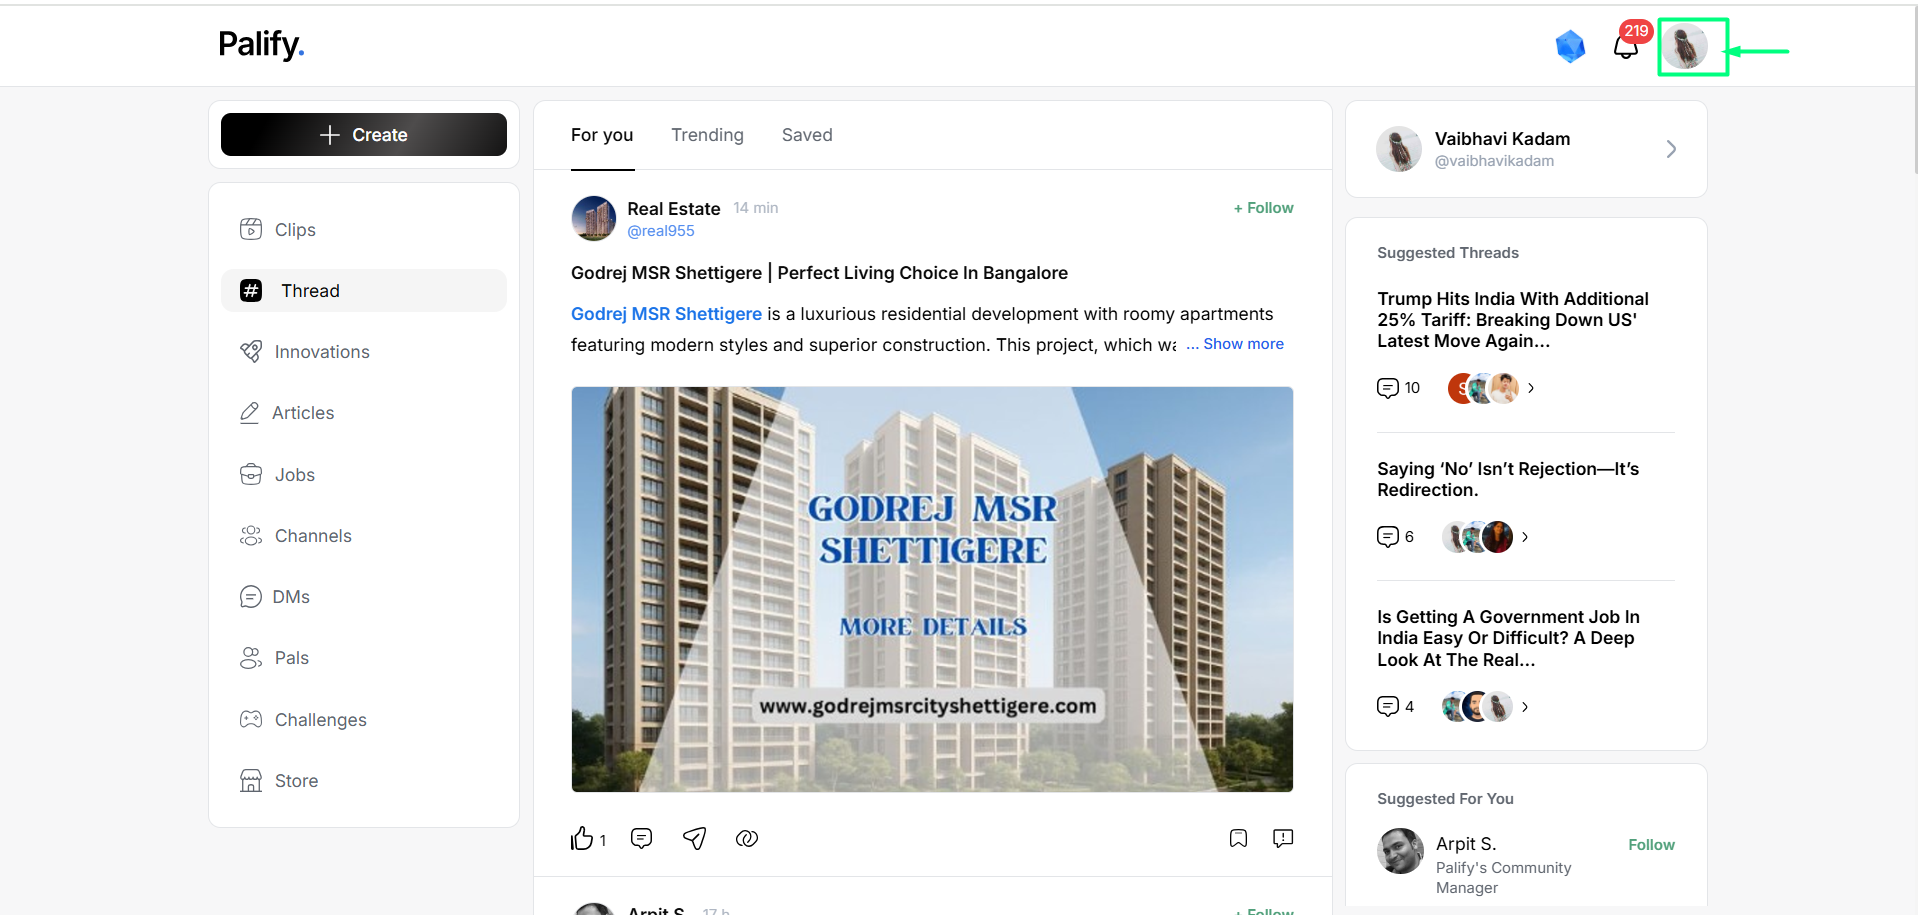
Step 2: Open Dashboard
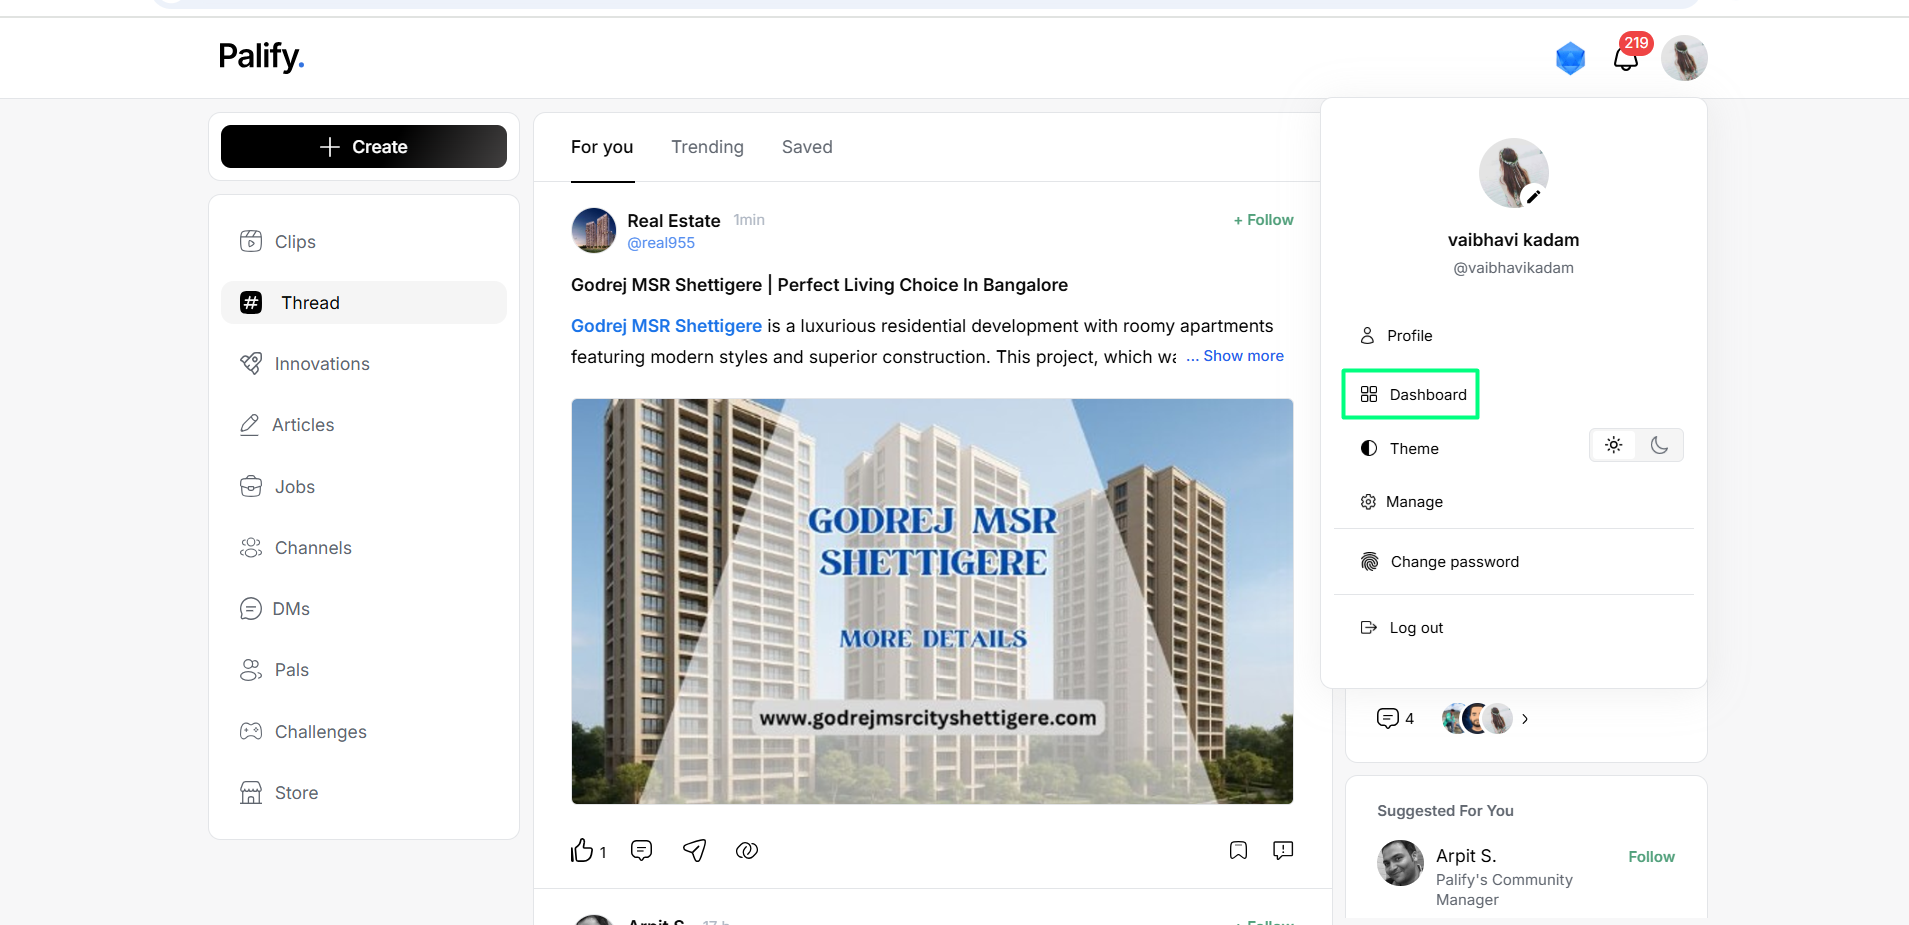
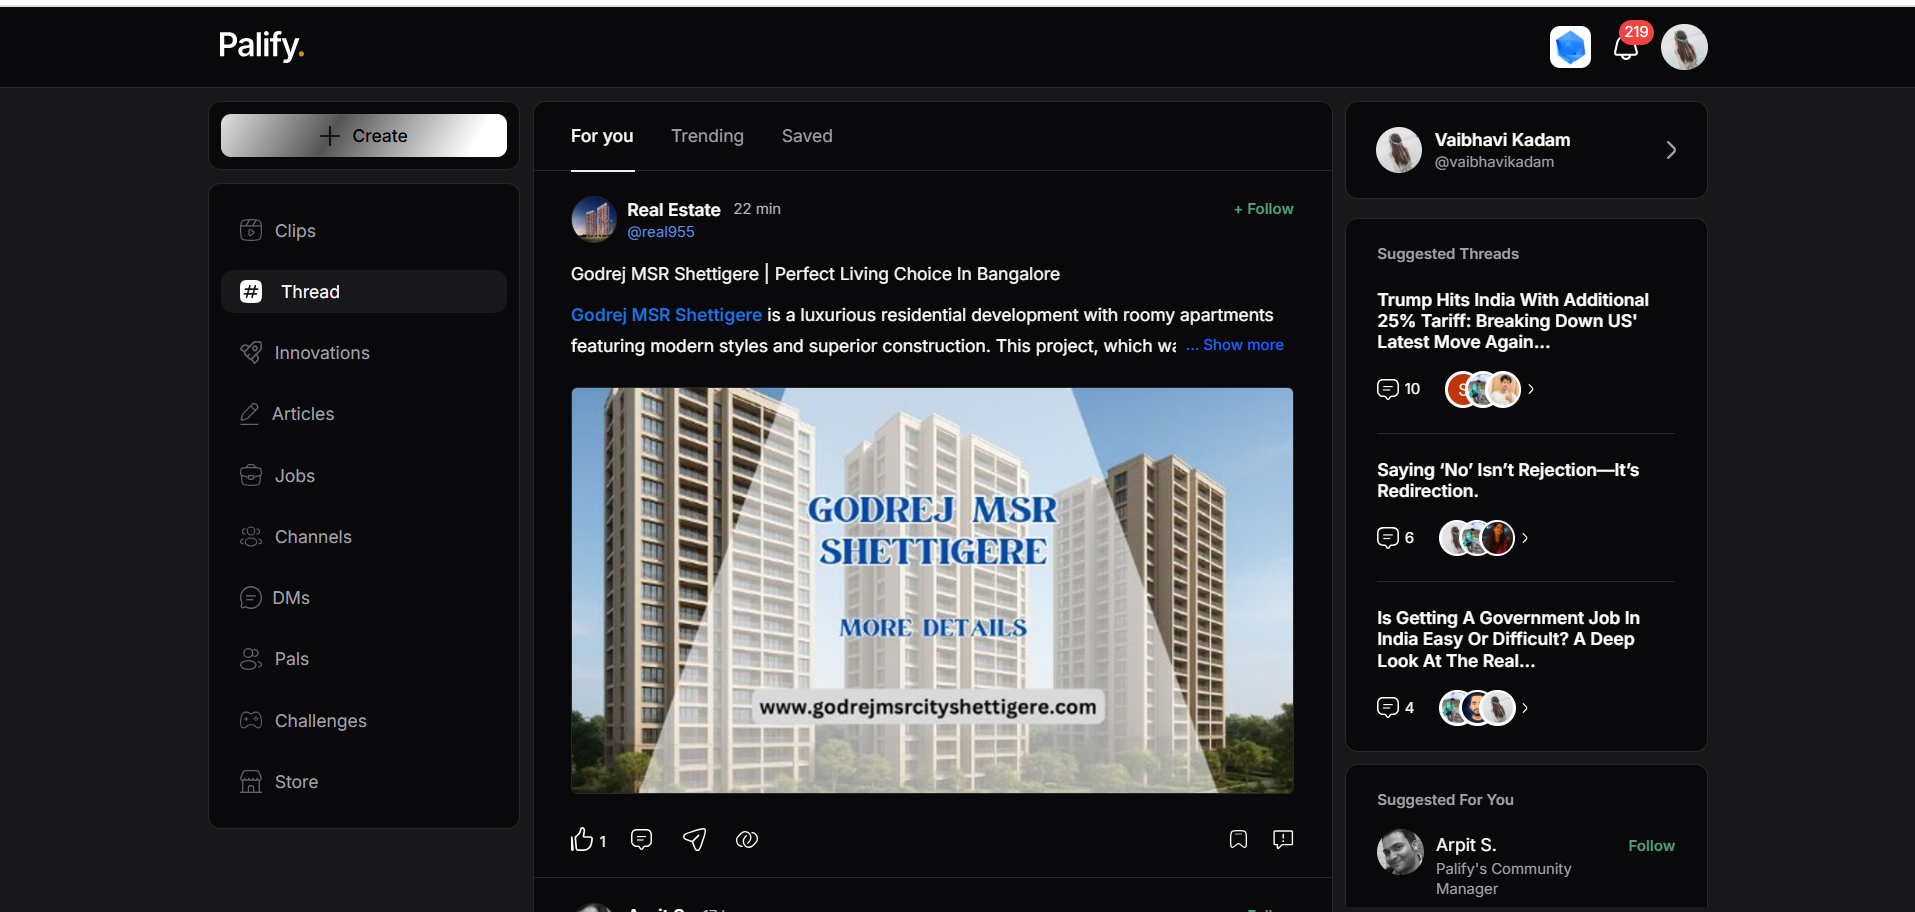
From the dropdown menu, click on Dashboard.
Dashboard Details
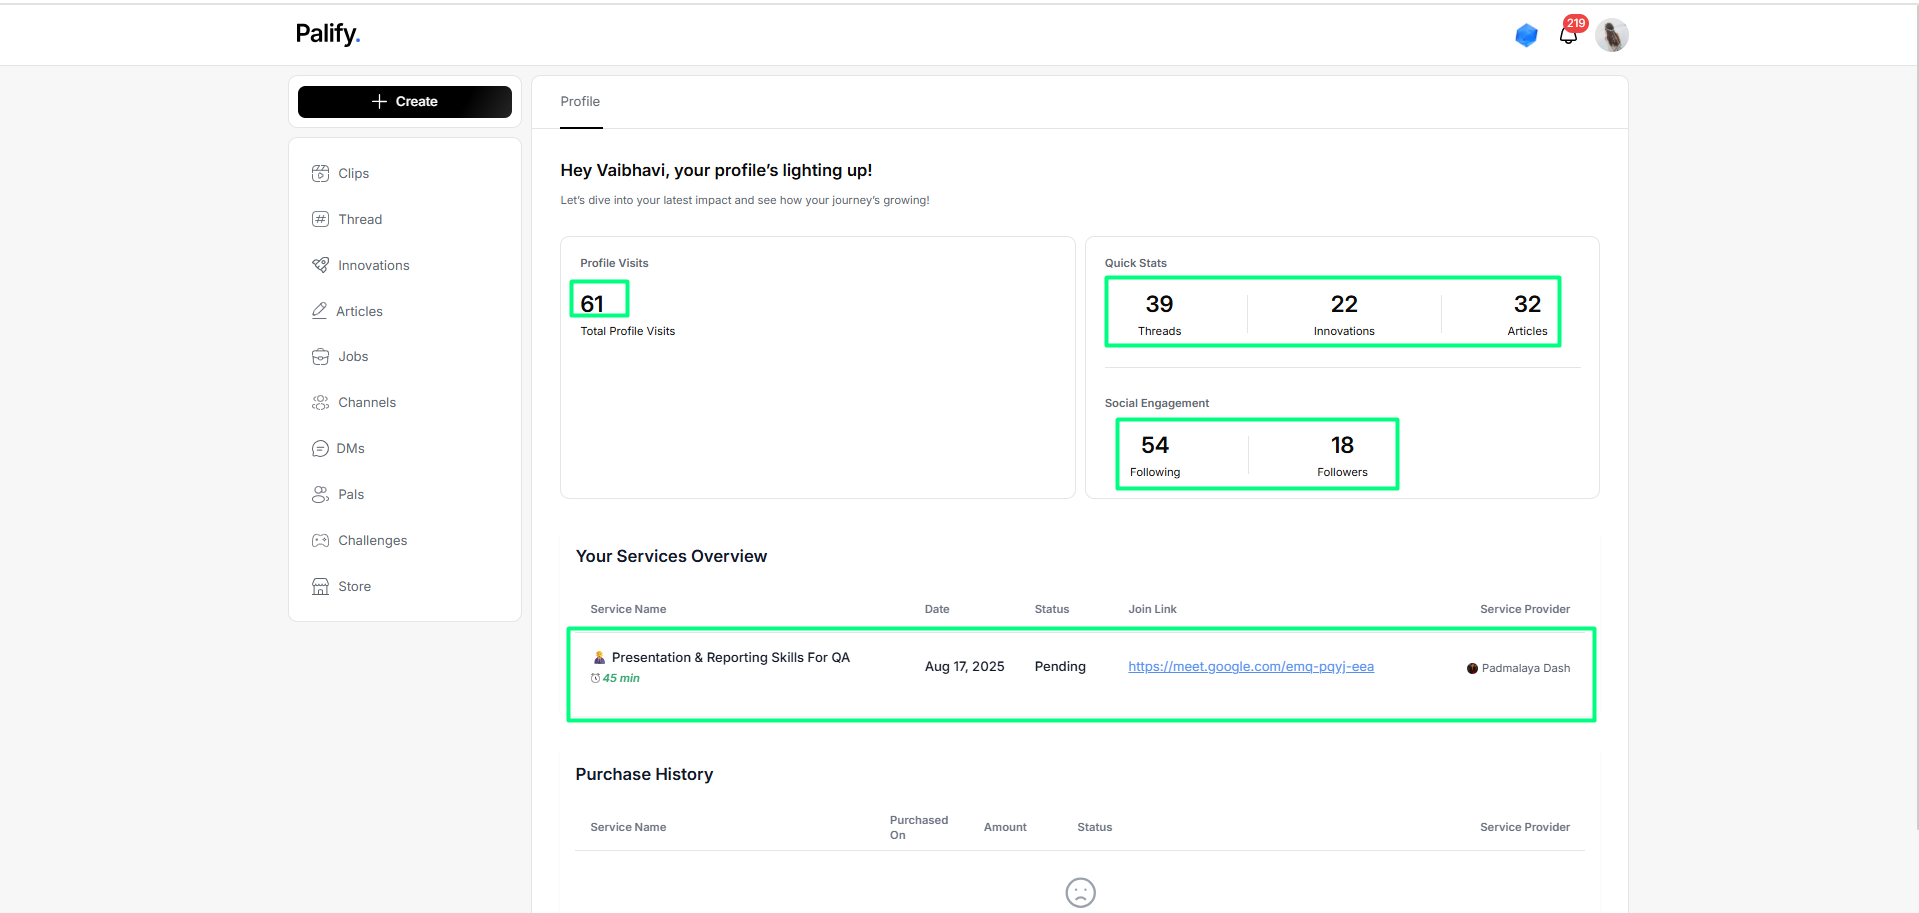
You will see a summary of your activities and engagement, including:
1. Profile Performance Overview
- Total Profile Visitors – Shows the number of users who have visited your profile.
- Profile Activity Status – Displays the number of:
- Threads created
- Innovations shared
- Articles published
2. Social Engagement
- Followers – Number of total users following you
- Following – Number of total users you are following
3. Booked Services Overview
- Service Name
- Booking Date
- Status
- Join Link
- Service Provider Name
4. Purchased Services History
Any services you’ve purchased will appear under Purchase History.
Information includes:
- Service Title
- Purchase Date
- Payment Status
Key Benefits
- One-stop view for all personal and service-related activities.
- Helps monitor your visibility and engagement on Palify.
- Allows easy access to join links and service tracking.
Palify Theme Settings – User Guide
This guide explains how to switch between Light Mode and Dark Mode in Palify using the Theme feature.
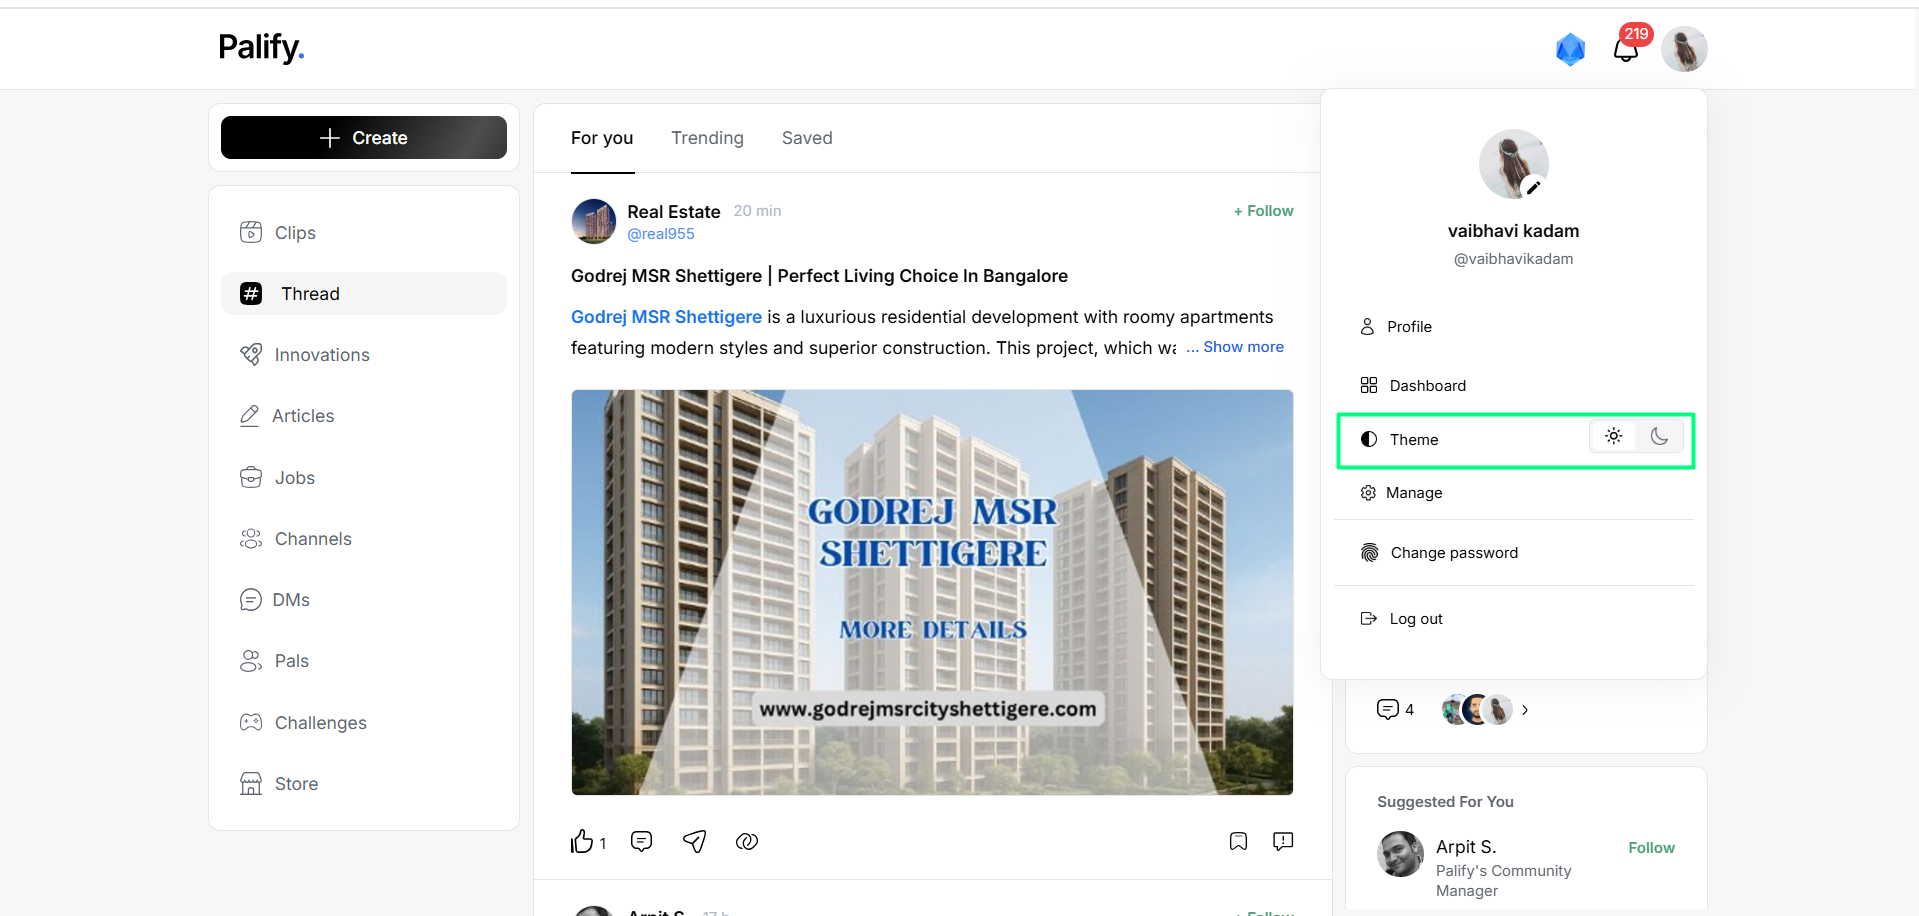
Theme
Steps to Change Theme
1. Click on Profile Icon
On the top-right corner, click your profile photo or icon.
2. Click on the Theme Icon
From the dropdown, click on the Theme icon to open theme options.
Switch to Dark Theme
3. Click on ‘Dark Theme’
Select the Dark Theme option from the available choices.
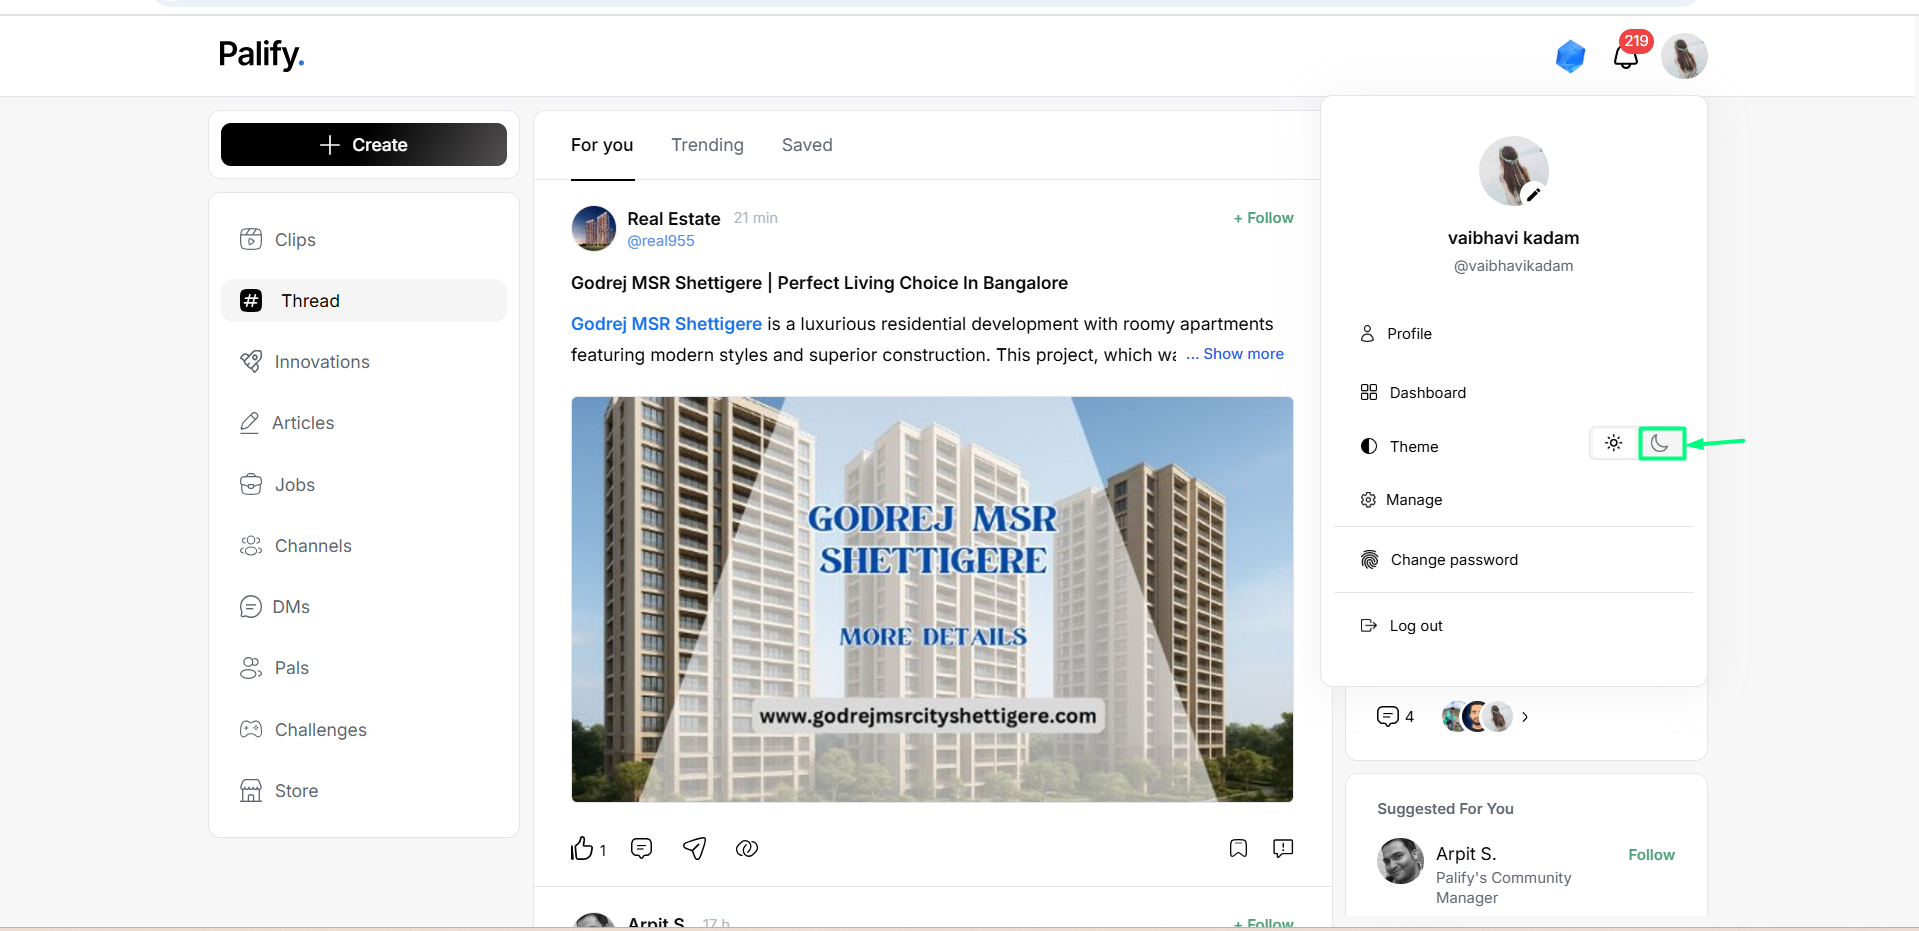
Result:
The interface will switch to Dark Mode, reducing brightness for a more eye-friendly experience.
Switch to Light Theme
4. Click on ‘Light Theme’
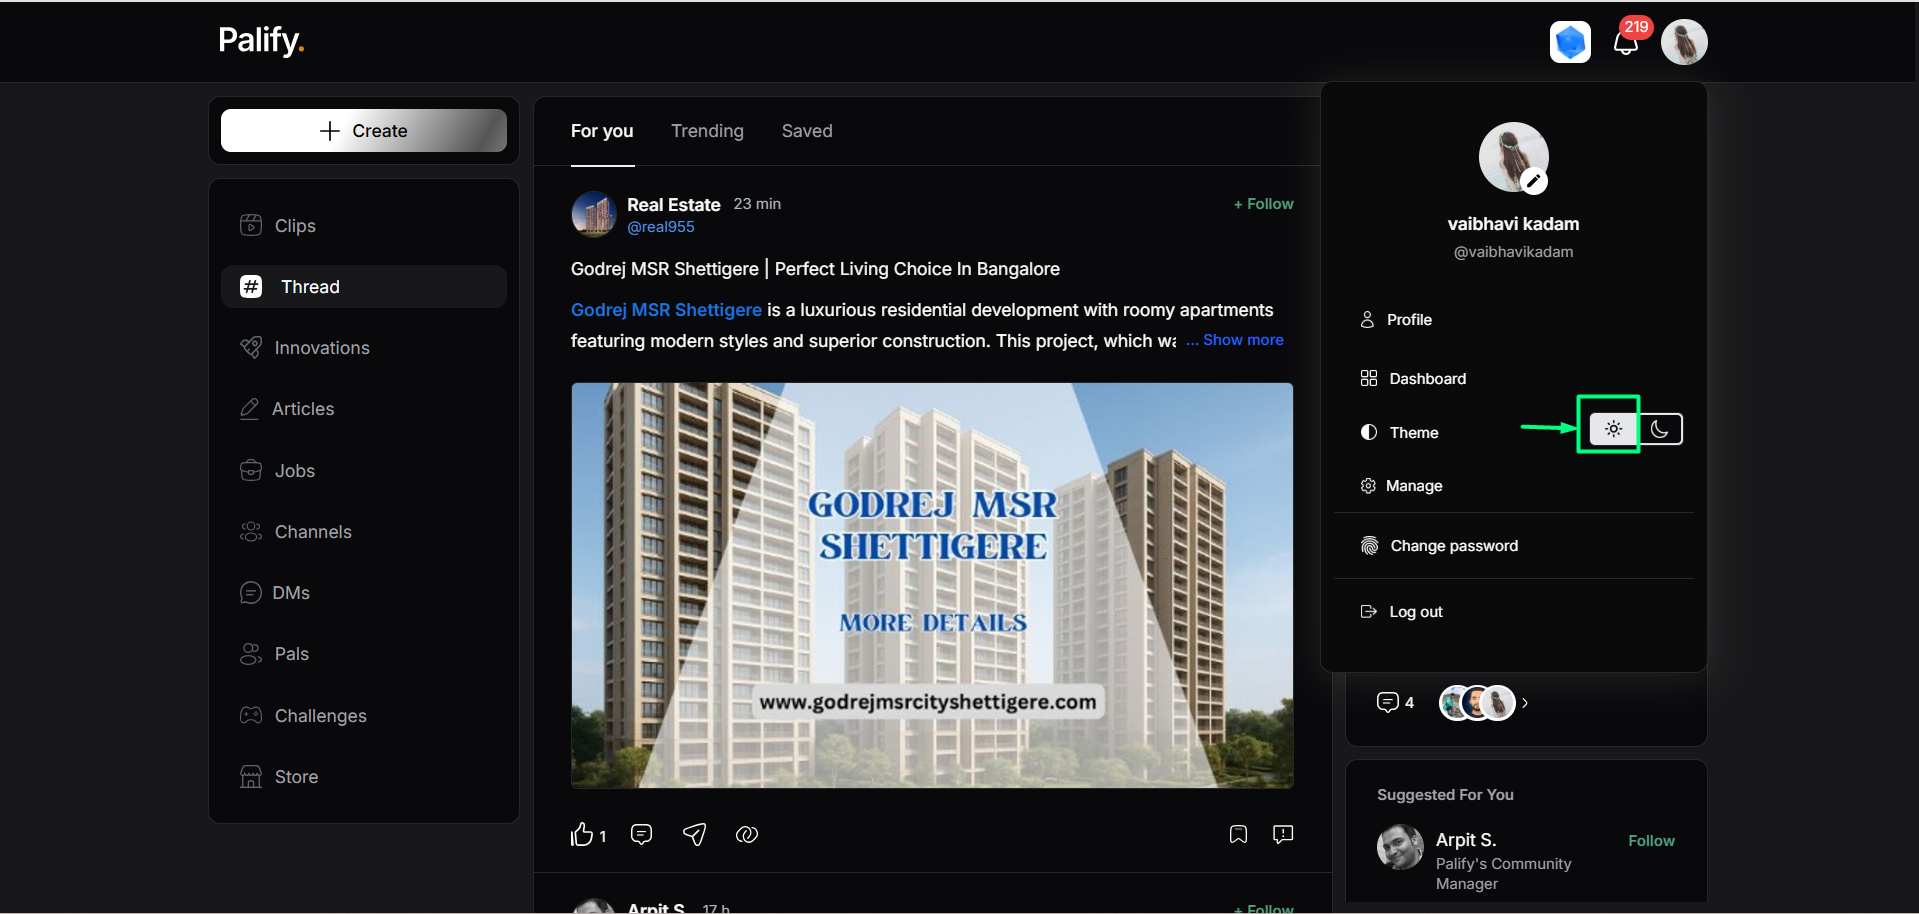
Result:
The interface will return to Light Mode, offering a clean and bright look.